
The Requests widget allows you to approve or decline event and SCORM course participation requests submitted by your reportees. In some cases, if a user wants to attend an event or take a SCORM course, they may need approval from their manager. If you are a manager and your reportee requires approval for an event or SCORM course, their request will appear in the Requests widget.

This widget can be added to the following pages in Design Studio:
-
Default Manager Dashboard: Used to configure the default layout for the Manager/Reportee screen, viewable to all managers who do not have access to a manager-specific dashboard.
-
Manager Specific Dashboard: Used to configure a manager-specific layout for the Manager/Reportee screen, based on custom profile fields.
Filtering the Requests widget
You can filter the Requests widget to show only event requests, SCORM requests or both.
The following filter options are available:
|
Option |
Description |
|---|---|
|
Events |
Only shows event participation requests sent by your reportees. 
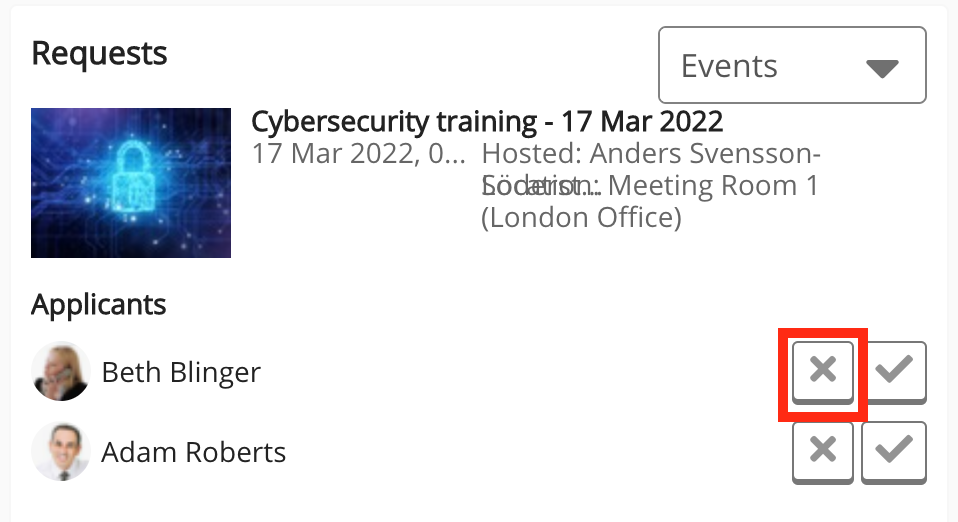
Approving or declining event requests
To approve an event request, click the tick button next to the reportee. 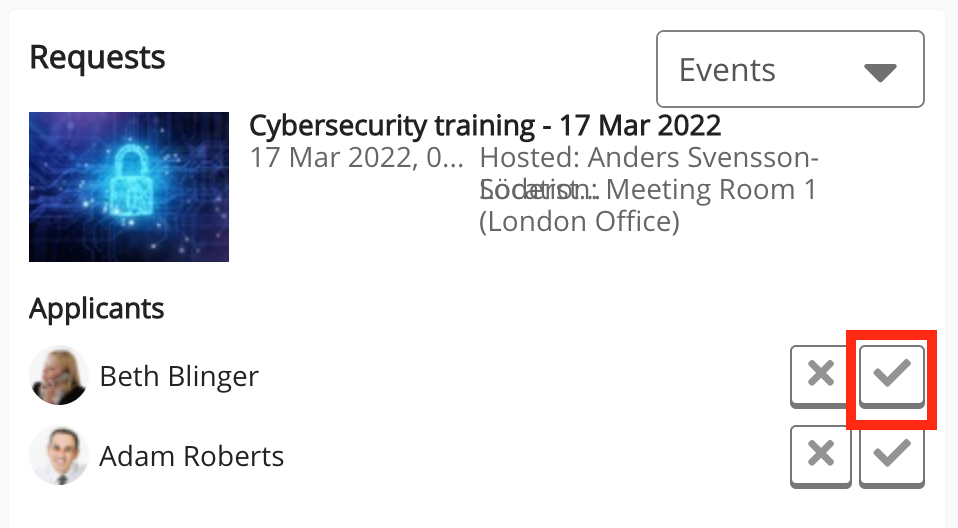
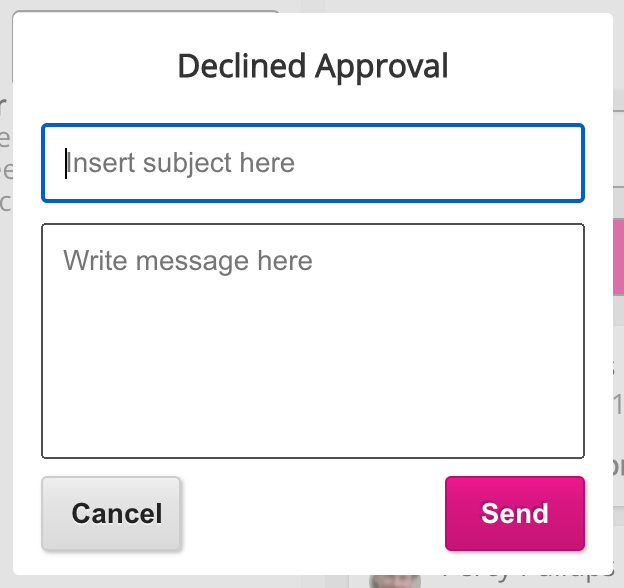
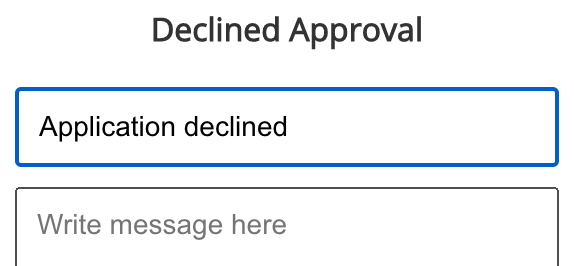
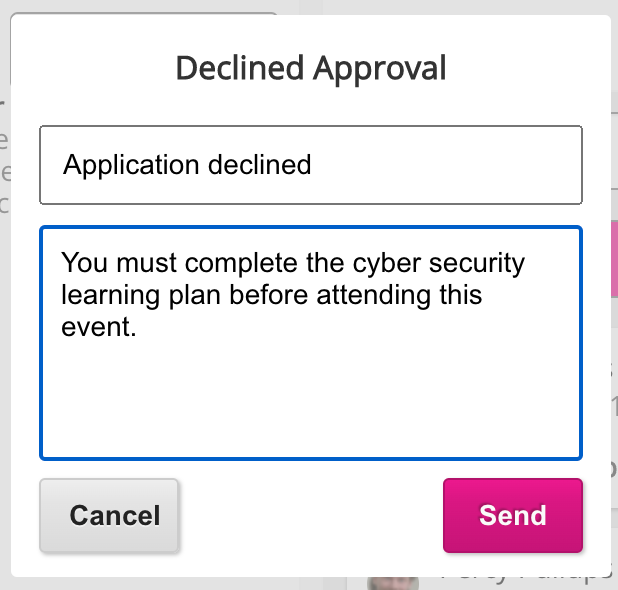
To decline an event request:
|
|
Scorms |
Only shows SCORM participation requests sent by your reportees. 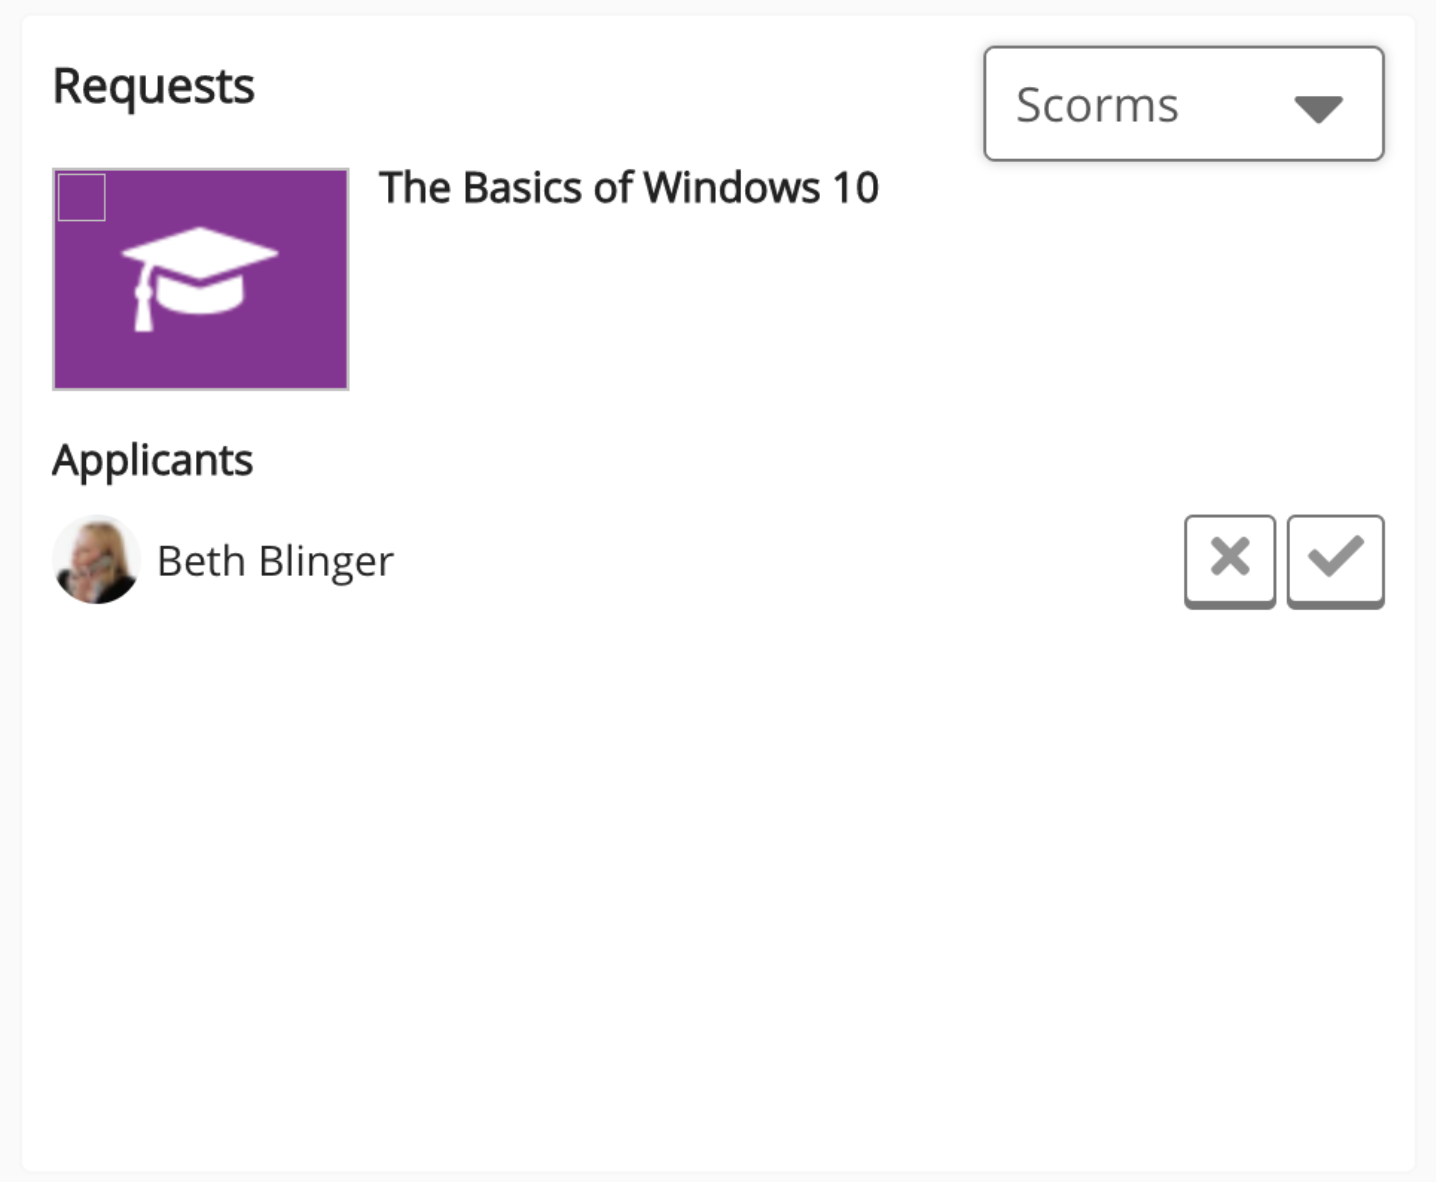
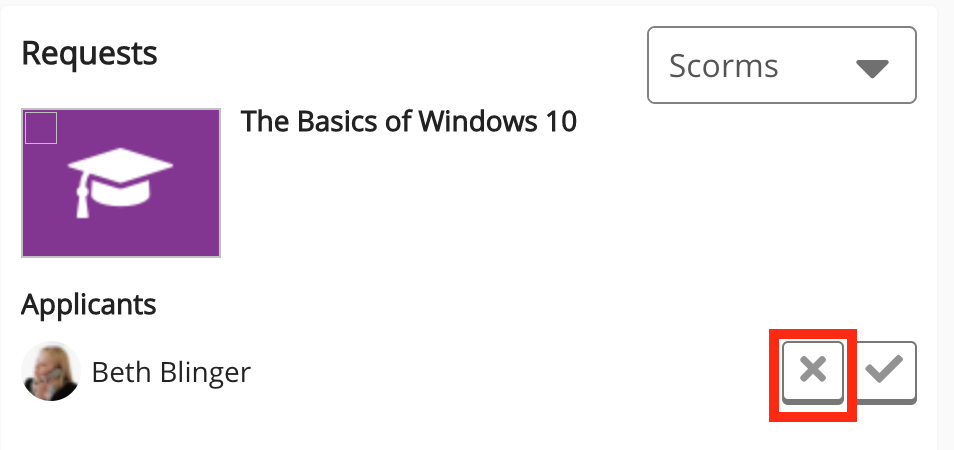
Approving or declining SCORM requests
To approve a SCORM request, click the tick button next to the reportee. 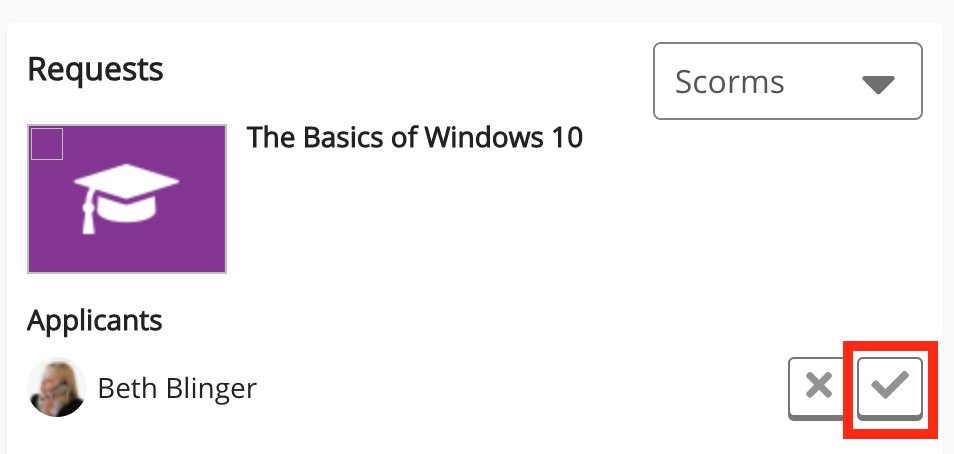
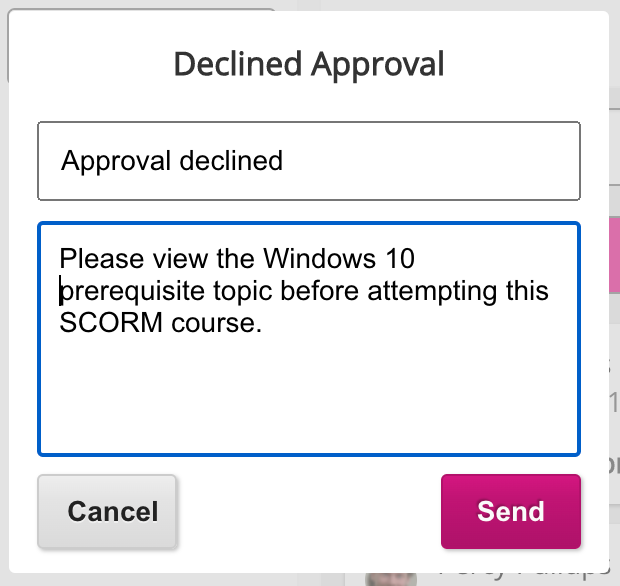
To decline a SCORM request:
|
|
All request types |
Shows both event and SCORM participation requests in the same list. 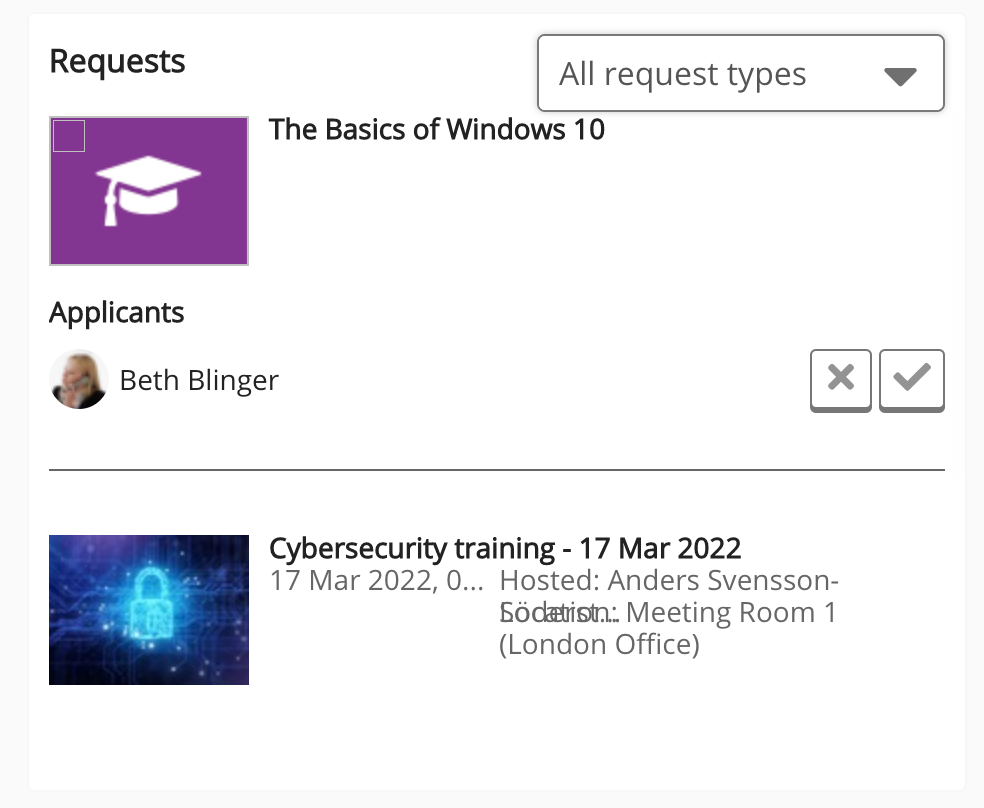
|

Configuring the Requests widget
If you are a Fuse admin, you can add this widget to the Default Manager Dashboard or Manager Specific Dashboard pages, adjust the width, and change the positioning.
To configure the Requests widget:
-
In the Admin Panel, click Design Studio.
Design Studio opens. -
Click one of the following tabs:
-
Default Manager Dashboard: Used to configure the default layout for the Manager/Reportee screen, viewable to all managers who do not have access to a manager-specific dashboard.
-
Manager Specific Dashboard: Used to configure a manager-specific layout for the Manager/Reportee screen, based on custom profile fields.
-
-
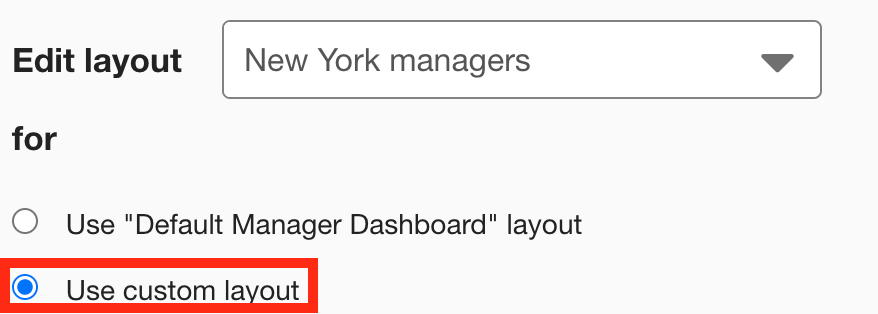
If you have clicked the Manager Specific Dashboard tab:
-
From the Edit Layout for dropdown, select a layout.

-
Select Use custom layout.
-
-
On the Widgets menu, select Requests.
The Requests widget appears on the layout grid.
-
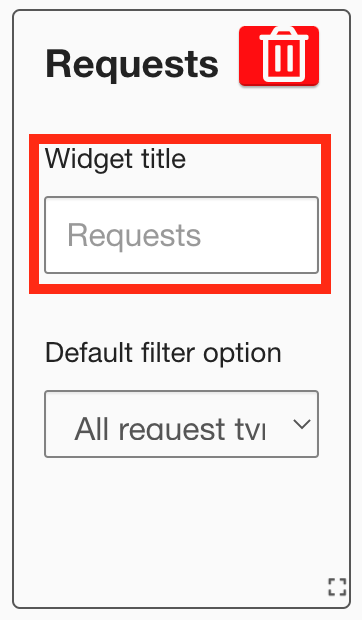
[Optional] In the Widget title field, enter a custom title that will be displayed on the widget.
-
If a custom title is not entered, the default Requests title is displayed.
-
Custom titles in widgets are not translated in the Fuse UI.
-
-
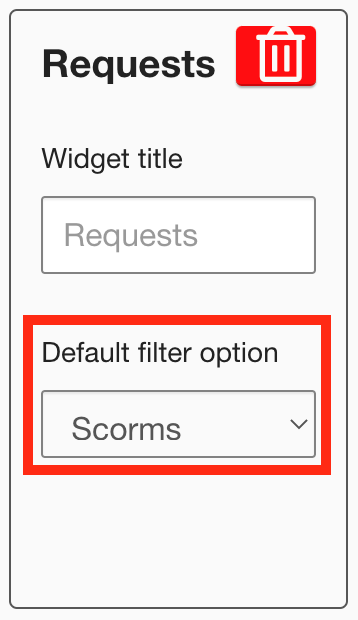
From the Default filter option dropdown, set the default filter that will be selected when viewing the widget:
-
All request types: If selected, both event and SCORM requests are displayed on the widget by default.
-
Events: If selected, event requests are displayed on the widget by default.
-
Scorms: If selected, SCORM requests are displayed on the widget by default.
-
-
[Optional] Click and drag the widget to a new position on the layout grid:
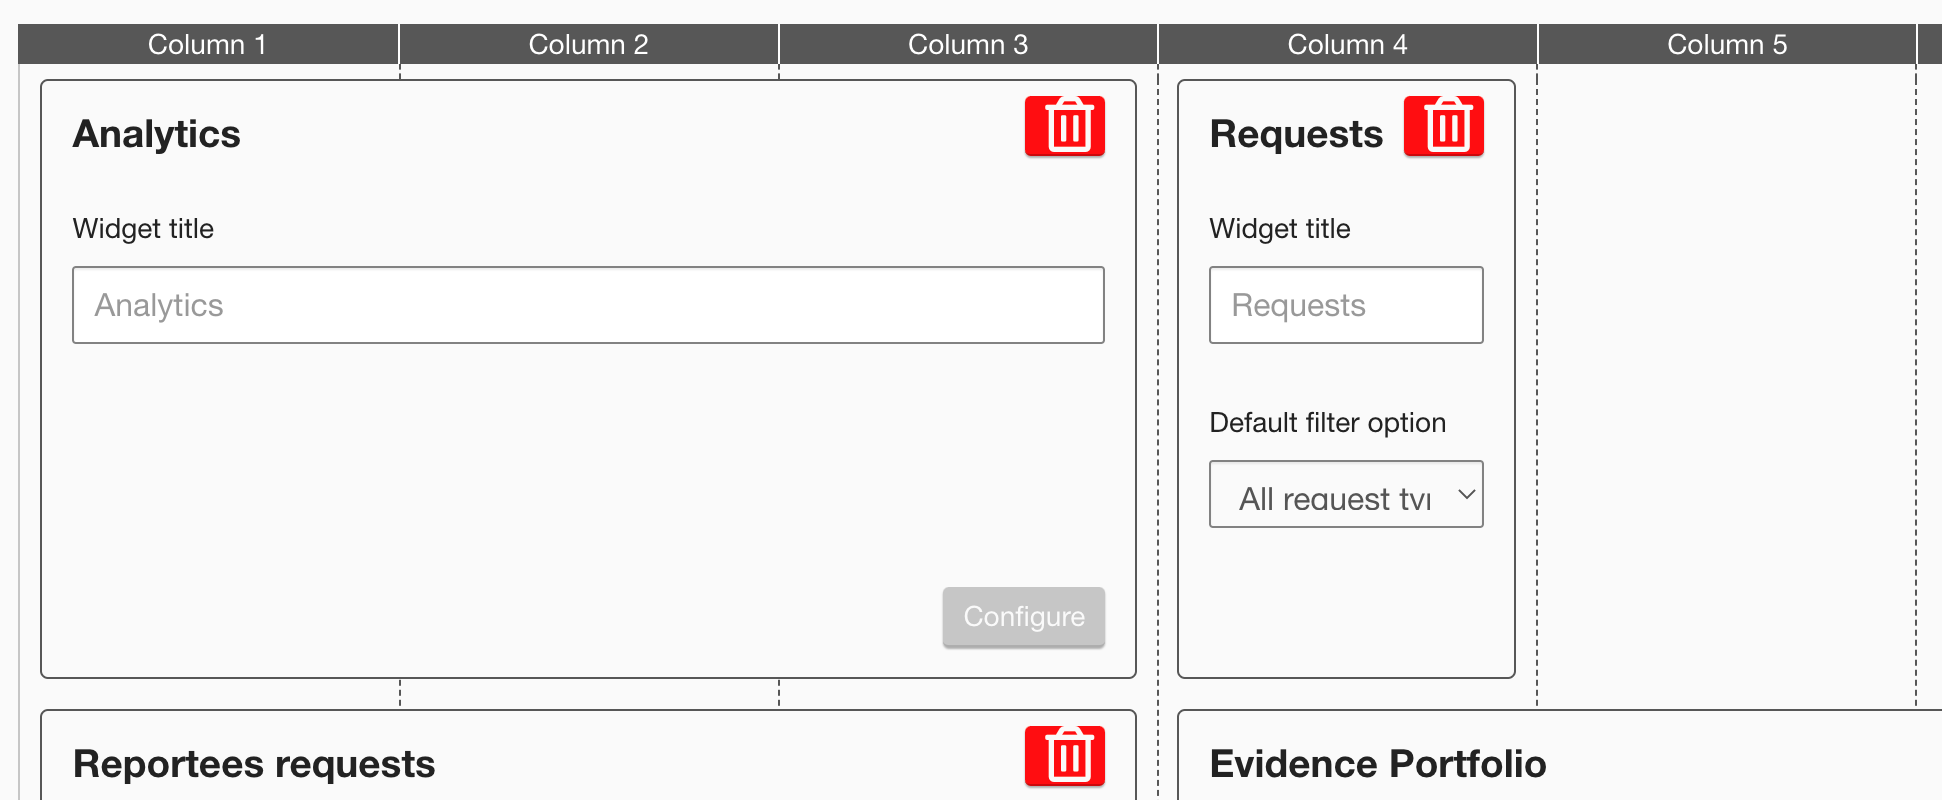
Other widgets on the layout grid adjust their positions accordingly.
-
[Optional] Click and drag the square in the bottom-right corner to resize the widget.
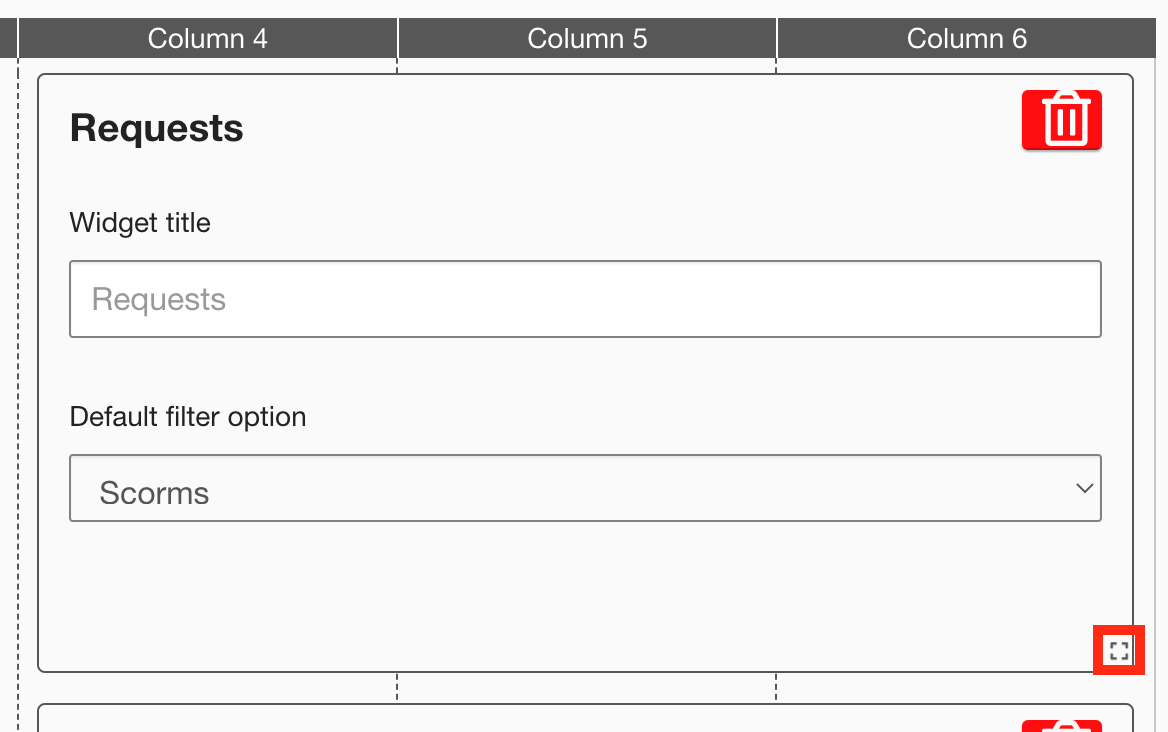
Other widgets on the layout grid adjust their positions accordingly.
-
The recommended width for this widget is 2-3 columns wide.
-
It is not possible to change the height of this widget.
-
-
Click Publish.

To remove the widget from the layout grid, click the delete button.