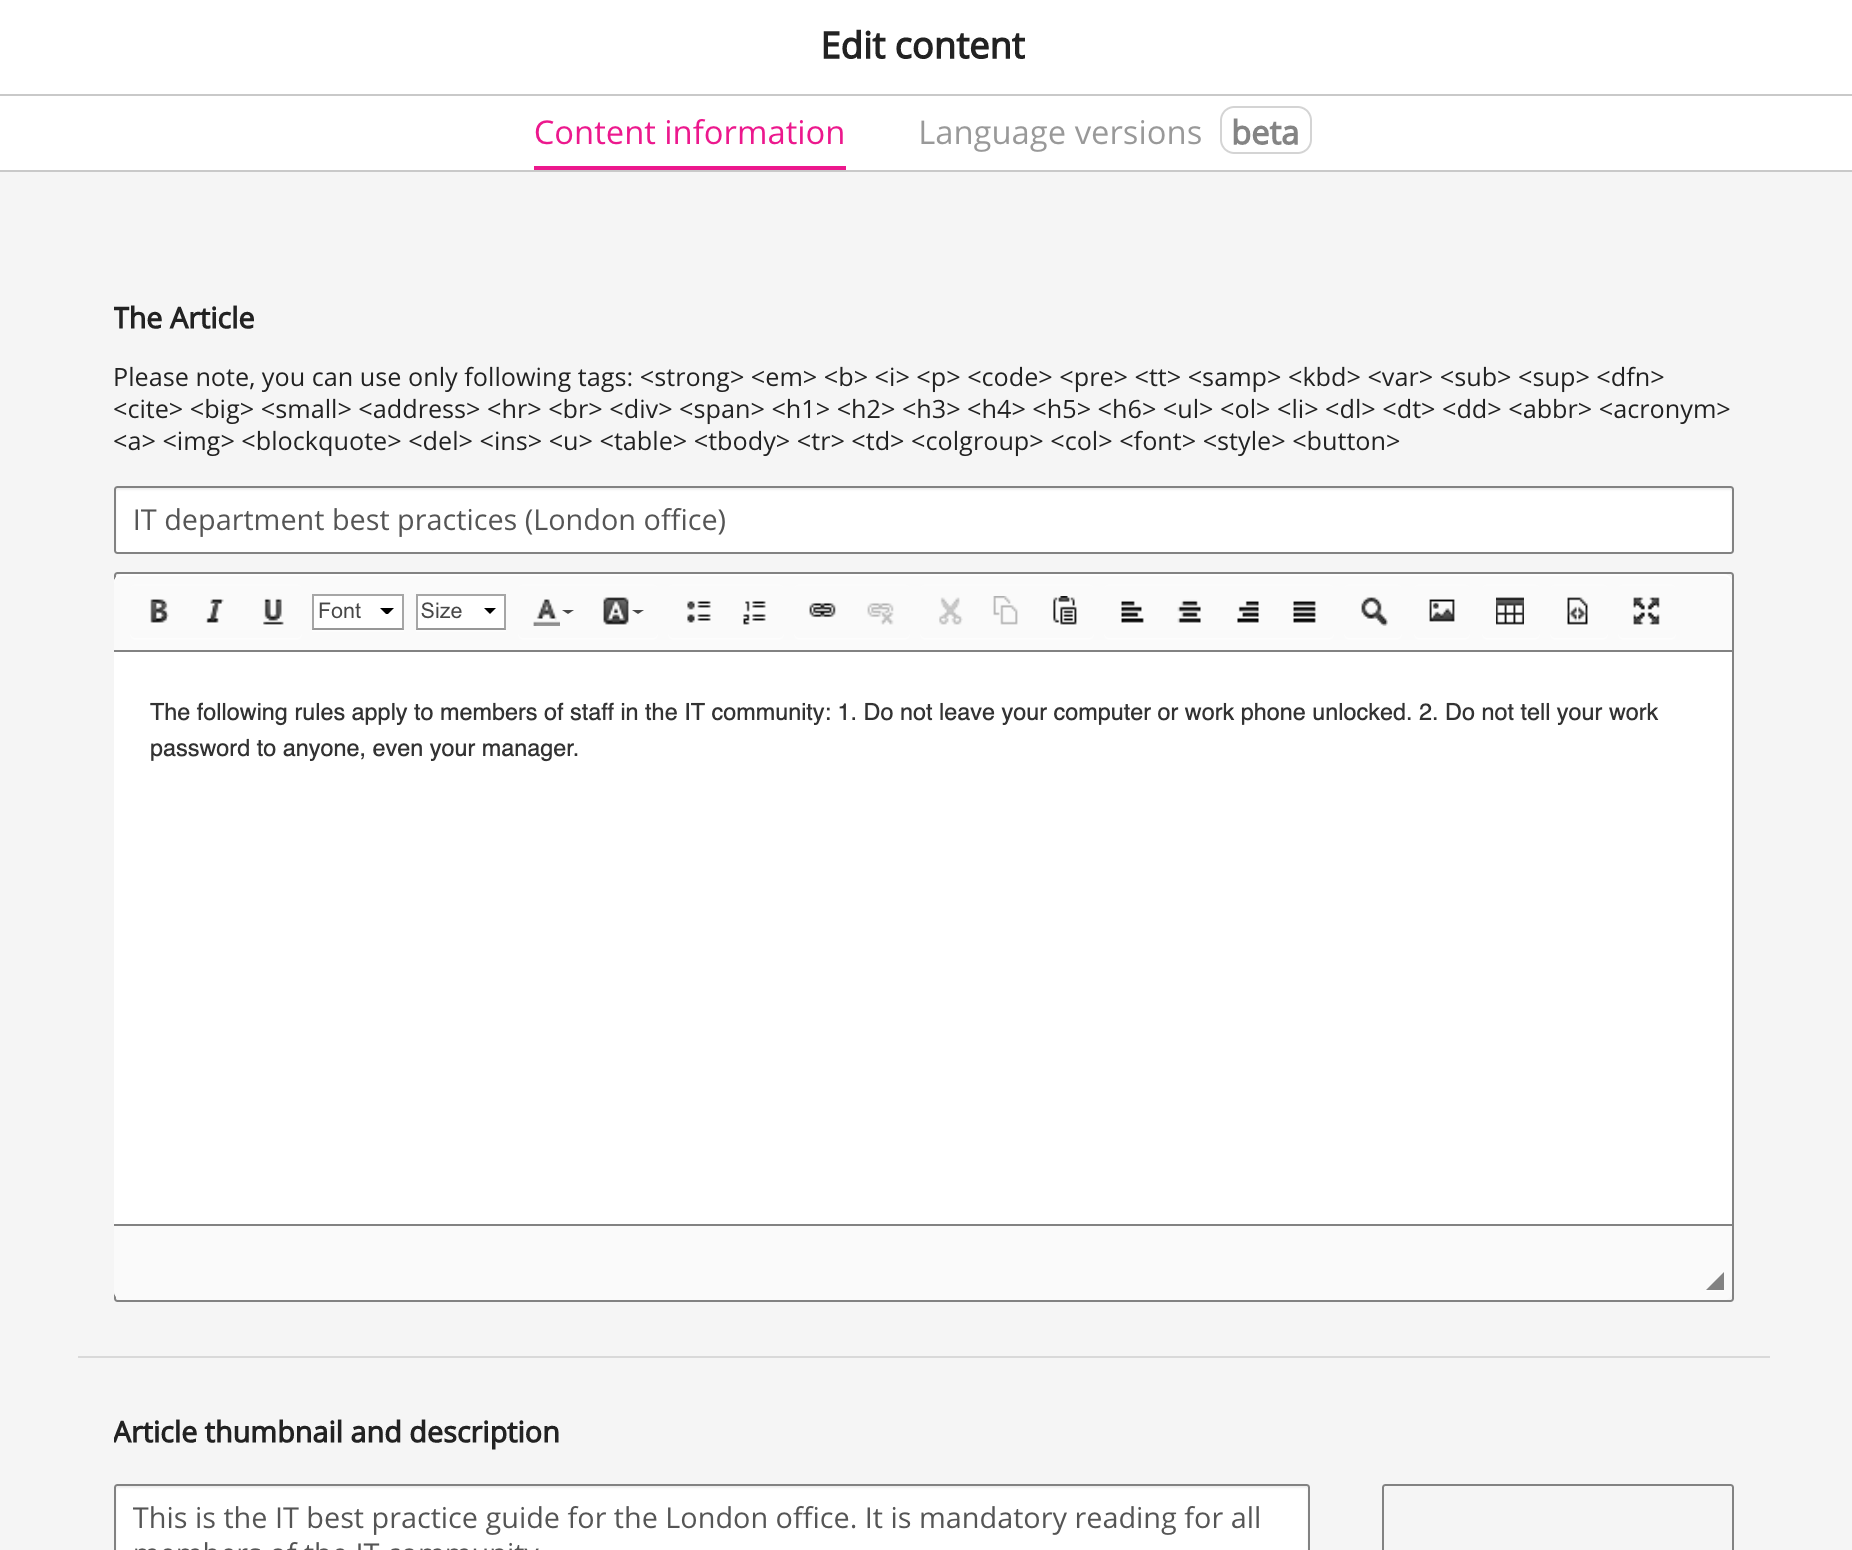
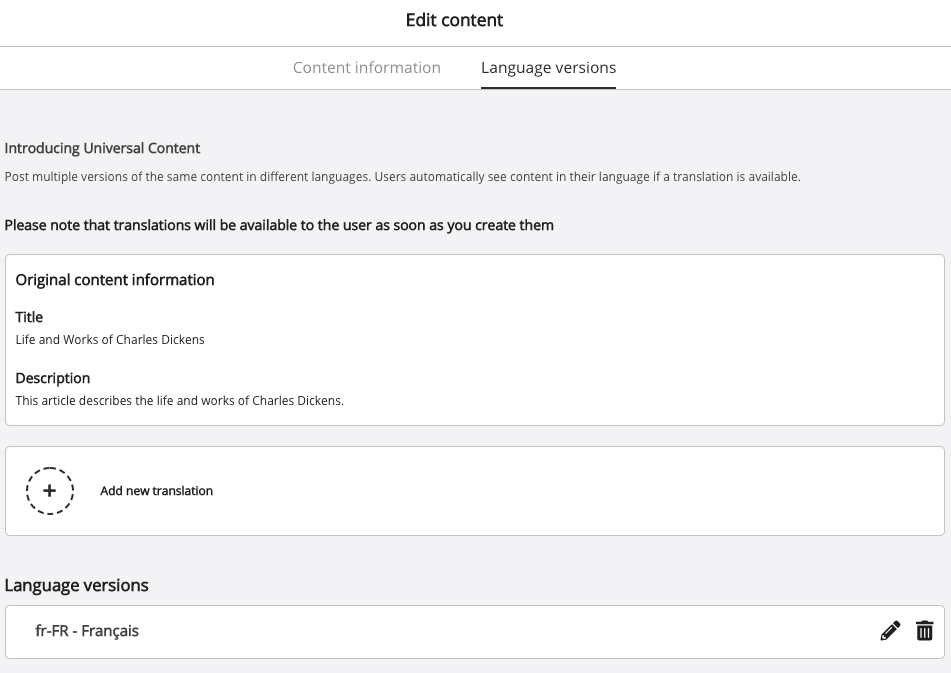
If you are the content owner or an admin, you can edit an item of content on the Edit content screen. You can edit details such as the title, description, thumbnail image, and owner. You can also add transcriptions to posted videos, configure download settings (if enabled), and provide multiple versions of the same content in different languages using the Language Versions tab.
If you are the content owner or an admin, you can also delete an item of content.
The Edit content screen consists of the following tabs:
Content information tab
The Content information tab allows you to edit information about content uploaded to Fuse.

The table below displays the different editing options available depending on the type of content being edited (such as an article or a video).
Wordings of individual option fields may differ depending on content type.
Expand the table to see all columns ( ![]()
|
Option |
Description |
Question |
Article |
Link |
Video |
File |
SCORM |
|---|---|---|---|---|---|---|---|
|
Title |
Edit the title of the content. |
✓ |
✓ |
✓ |
✓ |
✓ |
✓ |
|
Update content with a new file |
Click Choose file to replace the uploaded content with a new file. If you overwrite an existing SCORM file with a new one using the Update content with a new file button:
|
✗ |
✗ |
✓ |
✓ |
✓ |
✓ |
|
Description |
Edit the content description. |
✓ |
✓ |
✓ |
✓ |
✓ |
✓ |
|
Add a thumbnail |
Click anywhere in the space to upload a thumbnail. For information on supported image formats, see the Images section in Supported formats.
|
✓ |
✓ |
✓ |
✓ |
✓ |
✓ |
|
Convert audio to text |
In the Convert audio to text section, you can transcribe the video in different languages. For example, you might want to have additional subtitles in other languages alongside the video’s original language.
|
✗ |
✗ |
✗ |
✓ |
✗ |
✗ |
|
Subtitles |
Click Add a subtitle file to upload an SRT subtitle file. Transcriptions created using the Convert audio to text feature, above, are automatically added as subtitle files. For more information about transcriptions, see Adding transcripts to videos.
Subtitles may not appear on the video if there are blank lines in the SRT file. If the subtitles are not appearing, check the SRT file to ensure there are no blank lines. If blank lines are present, remove them and re-upload the file. The following options are available for added subtitle files:
|
✗ |
✗ |
✗ |
✓ |
✗ |
✗ |
|
Translate subtitles |
Translate existing subtitle files from one language to another. For information on how to do this, see Translating transcripts. |
✗ |
✗ |
✗ |
✓ |
✗ |
✗ |
|
Required view percentage |
Enter how much of the video, as a percentage, users must watch to before they can proceed. This feature is useful for videos posted in learning plans. |
✗ |
✗ |
✗ |
✓ |
✗ |
✗ |
|
Display "Jump to" tab |
Select the checkbox to enable the "Jump to" tab. |
✗ |
✗ |
✗ |
✓ |
✗ |
✗ |
|
Communities |
Click the field to add the communities that are able to view the content. |
✓ |
✓ |
✓ |
✓ |
✓ |
✓ |
|
Tags |
Type a tag and press Enter. |
✓ |
✓ |
✓ |
✓ |
✓ |
✓ |
|
Schedule content to be posted later |
Allows content owners, community admins or a members of an admin group with the Manage content permission enabled, to schedule an existing item of content to be posted to a community at a future date and time. For more information, see Scheduled posting. |
✓ |
✓ |
✓ |
✓ |
✓ |
✓ |
|
Digital signature |
Select Digital signature to provide a statement that users must confirm by clicking a button to show they have engaged with the content. If the Digital signature checkbox is selected after an item of content has been posted, any users who have already viewed the content prior to it being enabled, will not be notified that they must provide a digital signature. The following settings are available:
|
✓ |
✓ |
✓ |
✓ |
✓ |
✓ |
|
Ownership |
Click the dropdown to enter the name of a user to transfer ownership of the content to. 
For more information about changing content ownership, see Changing content ownership. By default, ownership belongs to whoever uploaded the content.
|
✓ |
✓ |
✓ |
✓ |
✓ |
✓ |
|
Downloadable |
The following options are available:
|
✗ |
✗ |
✗ |
✓ |
✓ |
✓ |
|
Custom HTML |
Use HTML to customise the content. This feature is only available to admins.
|
✓ |
✓ |
✓ |
✓ |
✓ |
✓ |
|
Signature |
Click Choose file to upload an image to use as a signature on SCORM course certificates. |
✗ |
✗ |
✗ |
✗ |
✗ |
✓ |
|
Launch the course in a new window |
Select the checkbox to open SCORM courses in a new window. |
✗ |
✗ |
✗ |
✗ |
✗ |
✓ |
|
Enable Certificate |
Select to enable certificates to be received upon completion of SCORM courses. |
✗ |
✗ |
✗ |
✗ |
✗ |
✓ |
|
Price |
Enter a price using any currency symbol as necessary. |
✗ |
✗ |
✗ |
✗ |
✗ |
✓ |
|
This course requires sign off from |
Select one of the following options:
|
✗ |
✗ |
✗ |
✗ |
✗ |
✓ |
|
Disable Comments |
Allows community admins or owners to disable users' ability to comment on an item of content. You cannot disable comments on questions. For more information on disabling comments, see Disabling comments on an item of content. |
✗ |
✓ |
✓ |
✓ |
✓ |
✓ |
Language versions tab
Click the Language versions tab to provide your own translations of content posted to Fuse. For more detailed information on the Language versions tab, as well as how to add translations to an item of content, see Universal Content.


