By default, all users assigned as managers on a company instance have access to newly created observations. However, when creating or editing an observation, admins can manually grant or restrict access to specific users or user types.
If your organisation has coaching or training roles who are required to carry out regular observations of other users to assess their progress without being their direct manager or having access to full observation-related admin permissions, you can add these users to an admin group with the Complete all observations permission enabled.
If a user belongs to an admin group with this permission enabled:
-
They can see the Observations option on the side menu and can access the main Observations screen.
-
They can carry out observations on their own reportees (if they have reportees) but they can also carry out observations on any other user on the platform by searching for and selecting them on the screen
-
They cannot access the full observation admin functionality, such as the ability to create, edit, manage and delete observation templates (unless they have the Observations permission enabled as well)
User access
The following options allow admins to grant access to the observation.
|
Option |
Description |
|---|---|
|
All users have access |
All users assigned as managers on the company instance can access the observation. This option is enabled by default. |
|
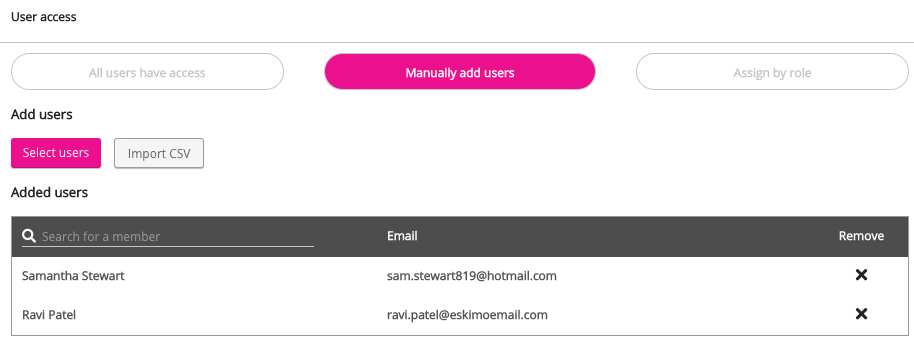
Manually add users |
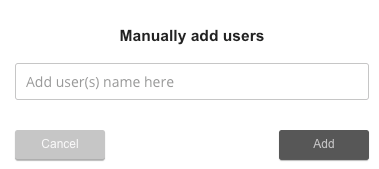
Only selected users can access the observation. To manually select user(s):
|
|
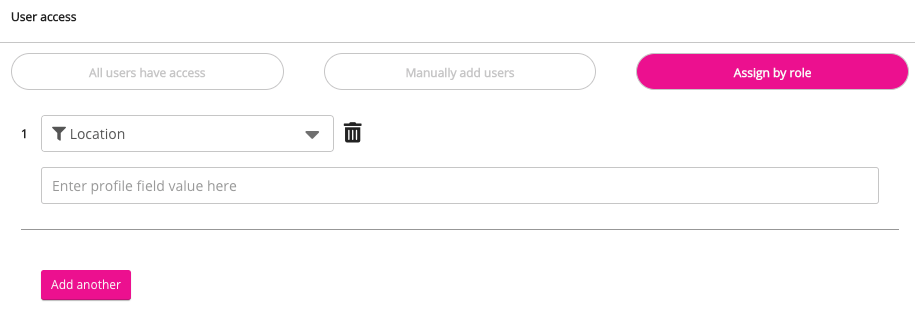
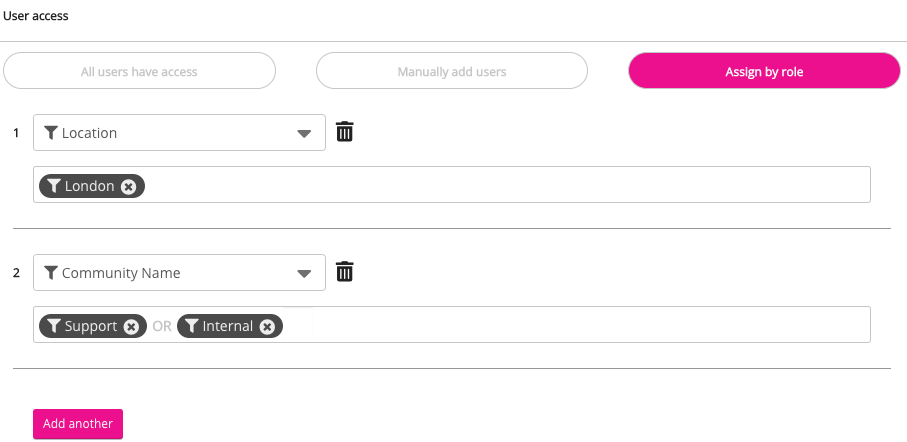
Assign by role |
Only specific user types can access the observation. To specify the user types able to access the observation:
|
Click Save to save your configurations.
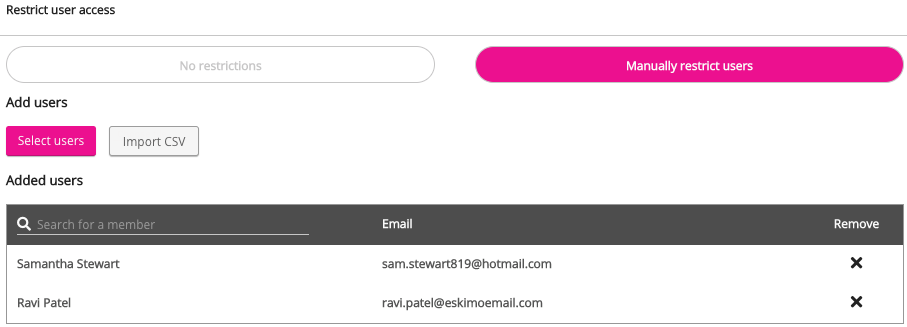
Restrict user access
The following options allow admins to restrict user access to the observation.
|
Option |
Description |
|---|---|
|
No restrictions |
All users assigned as managers on the company instance can access the observation. This option is enabled by default. |
|
Manually restrict users |
All users assigned as managers, except for those selected, can access the observation. To manually restrict users:
|
Click Save to save your configurations.

