
The New event screen allows admins to create a new event, providing information such as date, time, and location, as well as assigning an event host.
Accessing the New event screen
The New event screen can be accessed from any of the following locations:
-
If you are using the new version of the platform, on the Events screen, click Create an event:

-
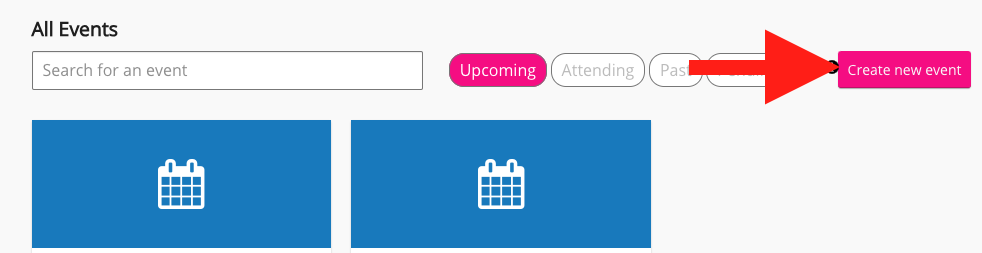
If you are using the legacy version of the platform, on the legacy Events homepage, click the Create new event button:
-
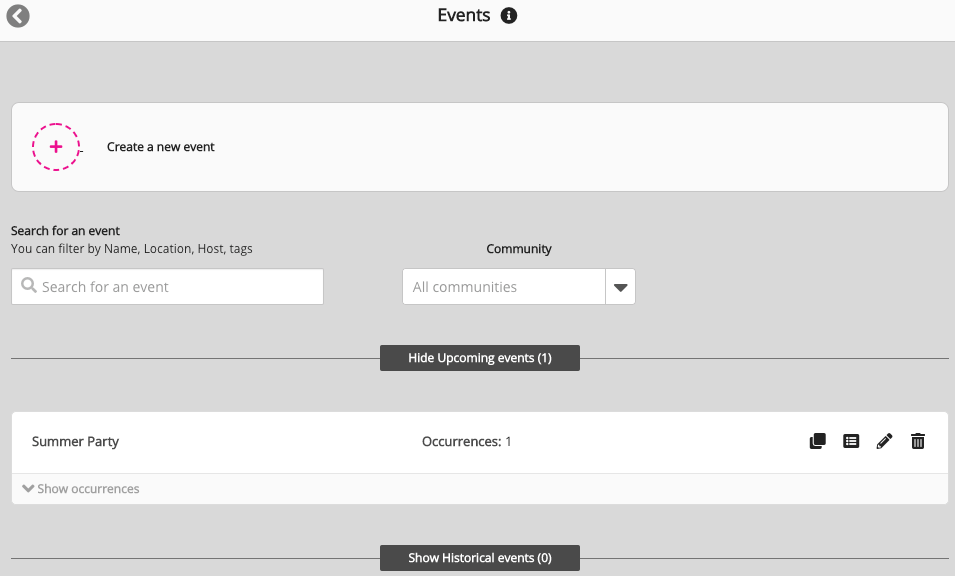
Click Create a new event on the Events admin screen:

-
Click the Events section on the Community admin screen, and then click Create a new event:

Events created from the sidebar or community homepage page are automatically shared with the selected community.
About the Event
This section allows you to provide basic information about the event, such as event title and cost.
|
Configuration |
Description |
|---|---|
|
Event title (Required) |
Enter a title for the event. 
|
|
About (Required) |
Enter a description about the event. 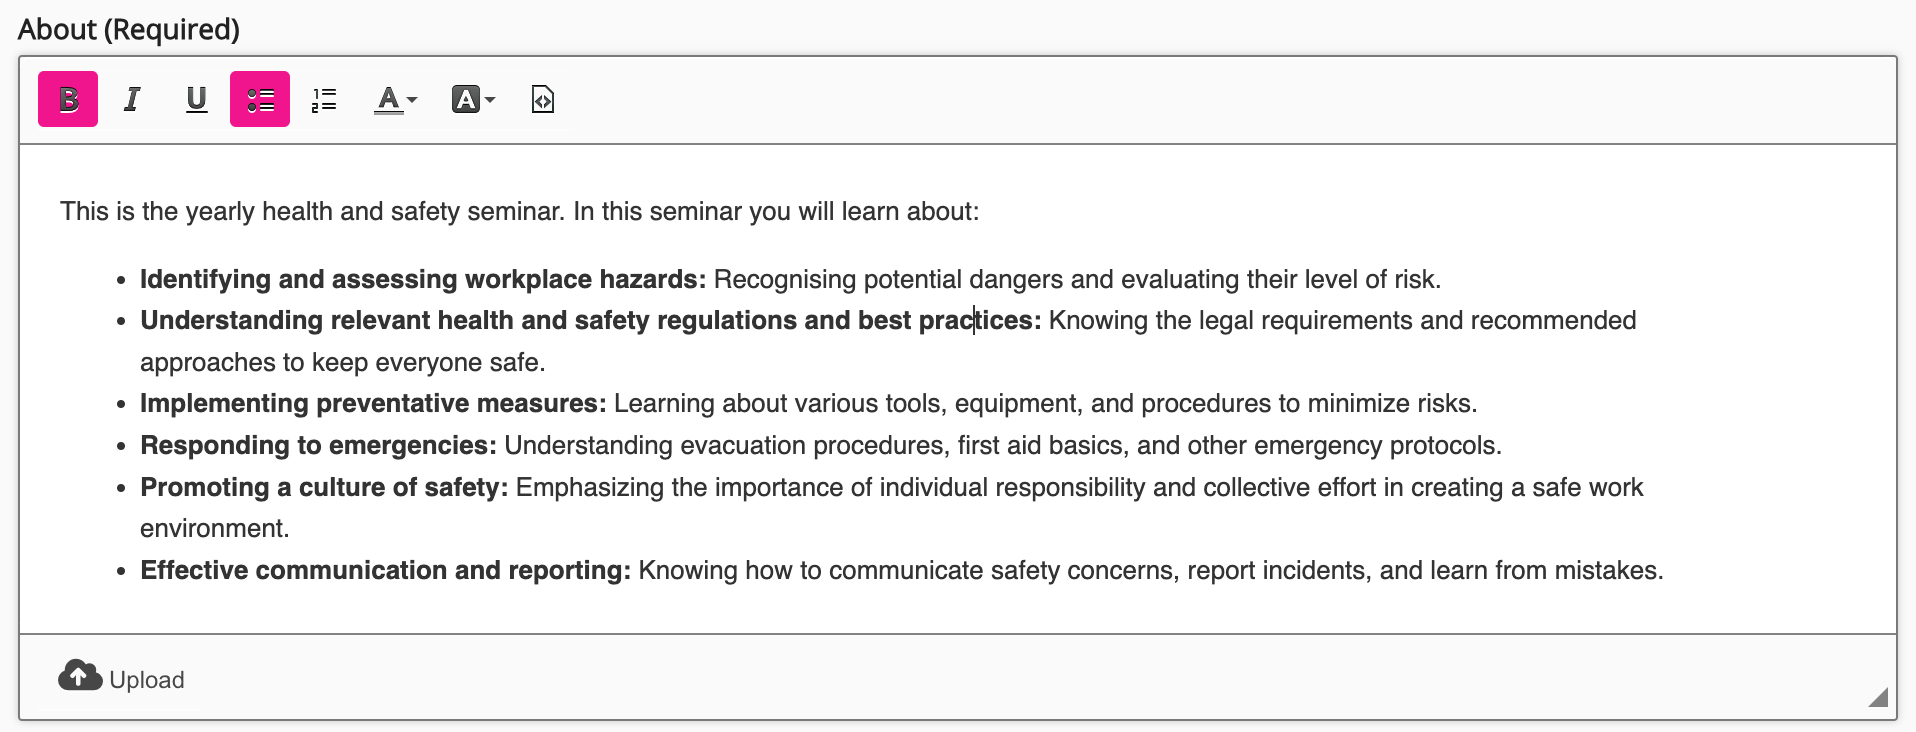
|
|
Thumbnail (min 143px x 107px) |
If necessary, click the box to upload a thumbnail. 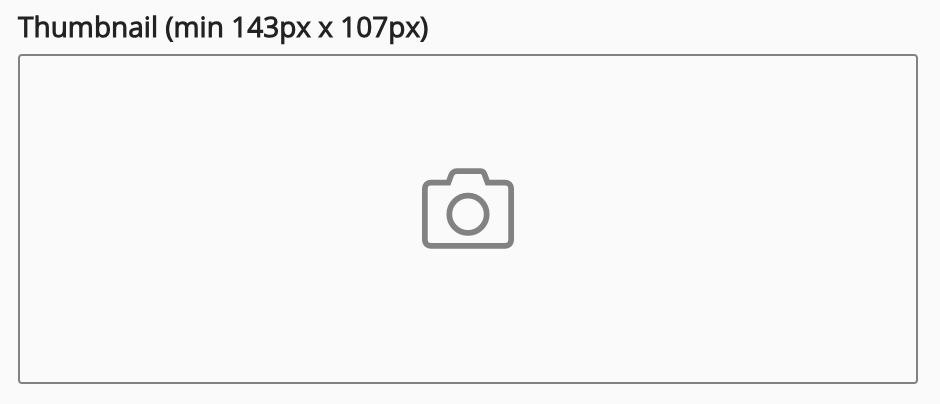
For information on supported image formats, see the Images section in Supported formats. |
|
Tags |
If necessary, enter tags for improved searchability, separating each tag with a comma.

|
|
Cost |
If necessary, enter the cost. For example, the event might be taking place at a venue and the attendees must pay for the ticket at the door. You might enter the cost of the ticket in this field so that attendees are aware ahead of time, and then include more information in the event and occurrence descriptions. 
This information is shared with all users registered to attend the event. |
|
Community |
Click the dropdown to enter the name of a community to share the event with. This configuration is not available if you accessed the New event screen from a community homepage. |
Occurrence(s)
This section allows you to provide details for each occurrence of the event.
|
Configuration |
Description |
|---|---|
|
Details (Occurrence) |
Enter a description for the occurrence of the event. If there are multiple occurrences, you can enter a unique description for each one. For example, you might have one event with multiple different versions, each taking place in a different time zone, with a local host. If you have an office in five different locations (London, Paris, San Fransisco, New York, Sydney) you might have five different versions of an event running, each tailored slightly differently to each location. 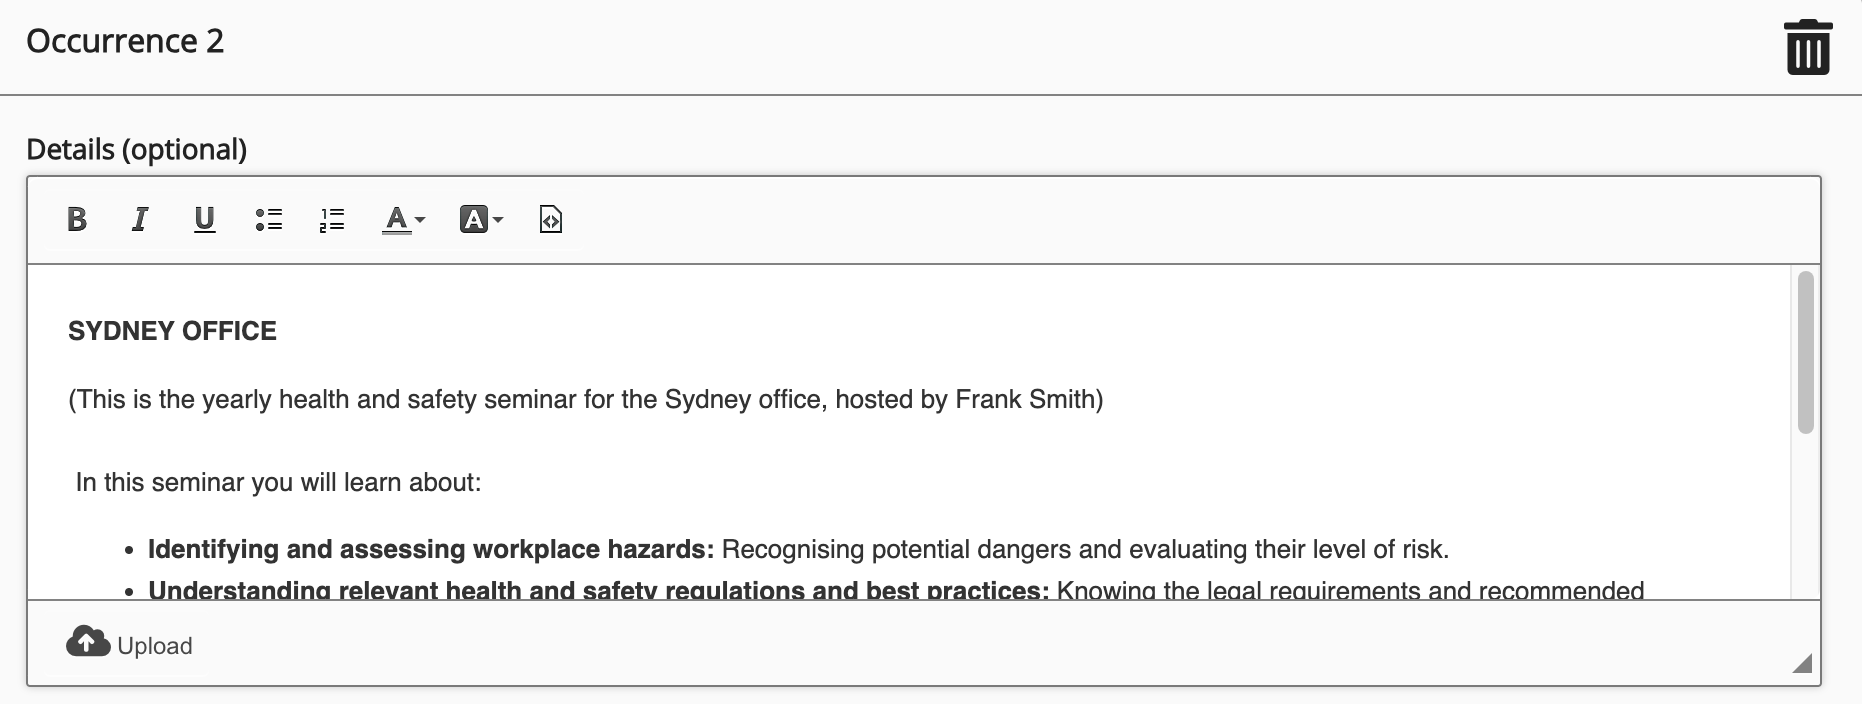
|
|
Host |
Select one of the following host types: Internal host: This is a user from your organisation who exists on the platform. To add an internal host, search for their name and select them from the Internal host dropdown. 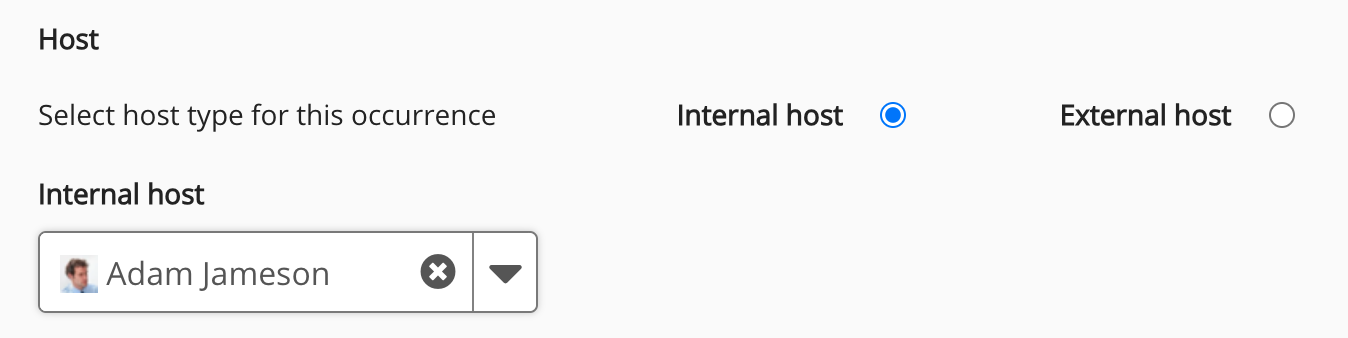
External host: This is someone who does not exist in your platform as a user. If you are adding an external host, you must enter their name, email address, and upload a photo of them. 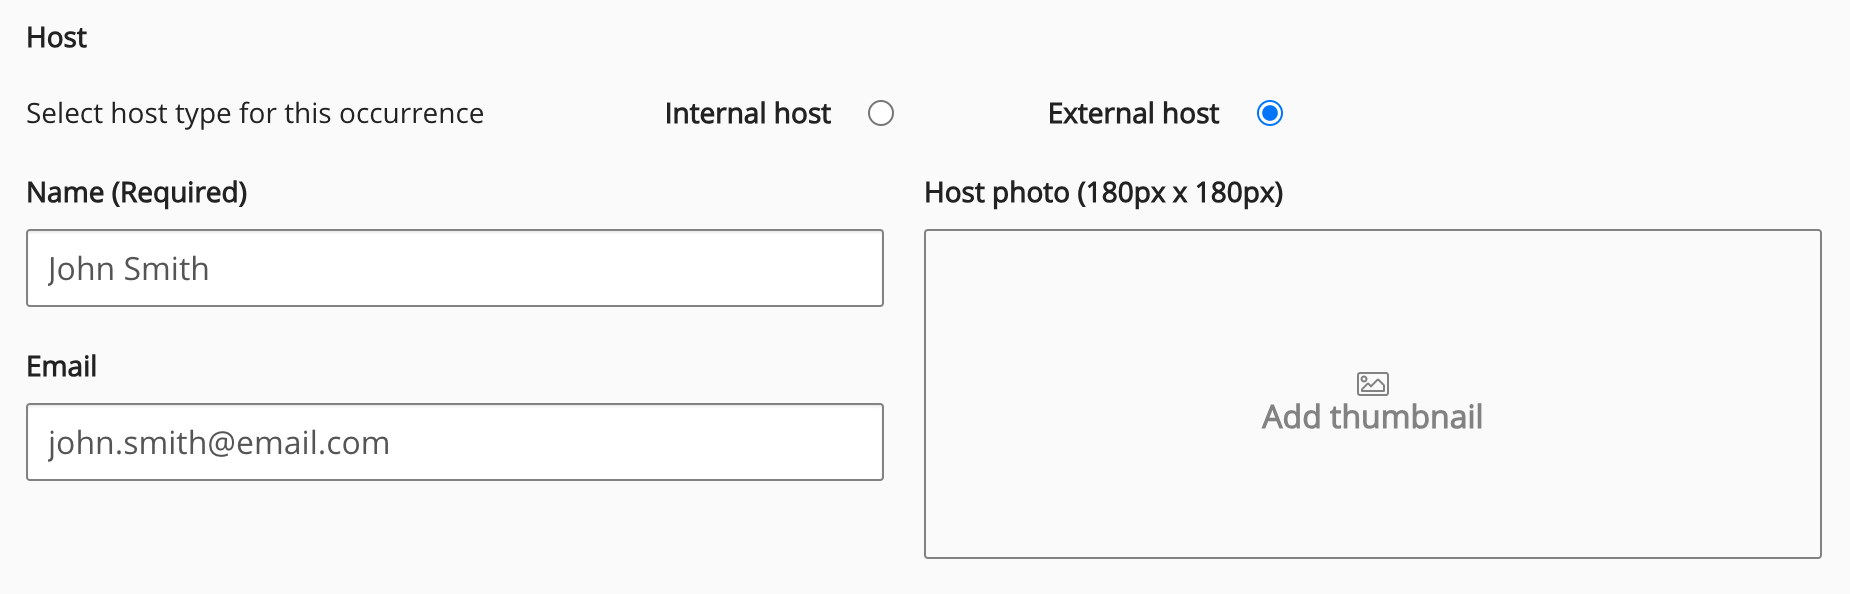
If you have created the event but you have set another user as the event host, you will still receive certain event-related notifications and emails. For example, if an attendee withdraws from the event, you will still receive a notification and email informing you of this. |
|
Location |
Enter the location of the event occurrence: If the event is a face-to-face class or workshop held in a physical location, you might enter the address or room where the event is taking place. 
If the event is an online class or workshop held in a virtual meeting room, such as Google Meet, Zoom, or Microsoft Teams, you might add a link to the online meeting. 
For more information on adding links to virtual meeting rooms in occurrences, see How can I use events for online training?. |
|
Spaces |
If necessary, enter the maximum number of attendees the event can hold. For example, if the event is happening at a physical location, there might be a limited number of seats available. Once the maximum number of spaces is taken, other users will be added to a waitlist. If an attendee withdraws from the event, a space will become available again, and a user from the waitlist can be added to the event as an attendee. 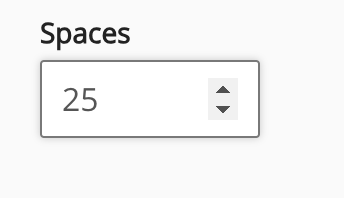
|
|
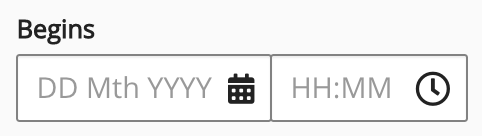
Begins |
Enter a start date and time:
|
|
Ends |
Enter an end date and time. Click inside the date field to select an end date, and click inside the time field and then select or type an end time. 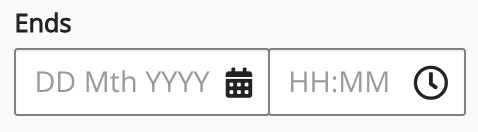
|
|
Time zone |
If necessary, click the dropdown to change the time zone of the event. 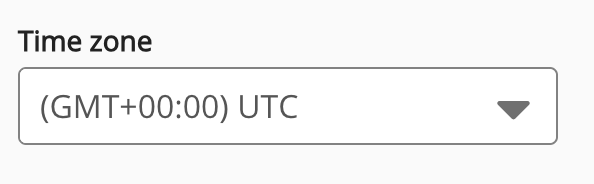
By default, the time zone of the event aligns with the time zone set on the user's profile. |
|
Training duration |
If part of the event counts towards staff training, use the Hours and Minutes dropdown lists to specify the amount of time allocated for training. 
Customers have requested that we include this field in other learnings across Fuse, such as videos, articles, and learning plans. There are currently no immediate plans to implement this. |
|
Code |
If necessary, enter an event code for reporting. 
|
|
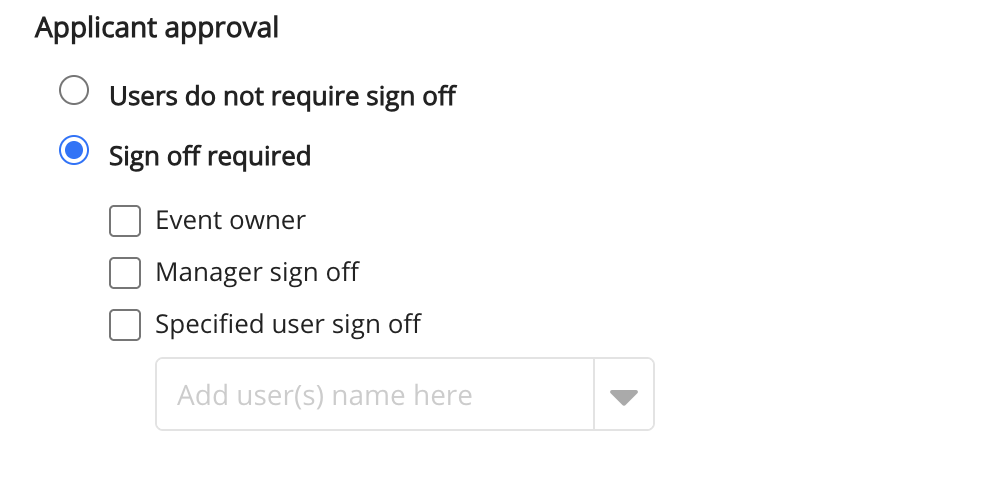
Applicant approval |
Select one of the following options:
|
|
Duplicate this occurrence |
Click Duplicate this occurrence to create a copy of the occurrence with identical configurations for all settings except Training duration. 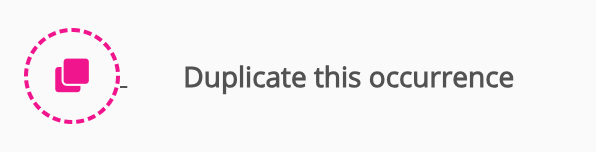
|
|
Create another occurrence |
Click Create another occurrence to create another occurrence from scratch. 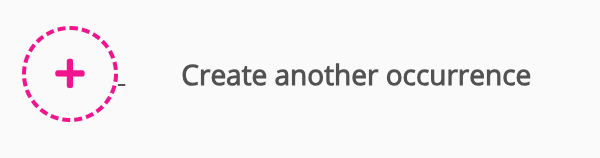
For example, you might have one event with multiple different versions, each taking place in a different time zone, with a local host. If you have an office in five different locations (London, Paris, San Fransisco, New York, Sydney) you might have five different versions of an event running, each tailored slightly differently to each location.
|
To continue to the next section, click Next on the top-right of the screen.
Registration deadline
This section allows you to provide a registration deadline up to 30 days before the start of the event. Users withdrawing from the event after the registration deadline must provide a reason for withdrawing late.
|
Setting |
Description |
|---|---|
|
Do you want to provide a registration deadline? After the deadline passes, users are unable to register attendance and must provide a reason if they withdraw. |
Select one of the following options:
No is selected by default. |
|
How many full days before the event do you want to set the registration deadline? |
If you enabled a registration deadline, click the dropdown to select how many days before the start of the event to set the registration deadline. The registration deadline comes into effect at 00:00. Example: If the event starts on 13th September at 17:30, and the registration deadline is set to 2 days before the start of the event, the registration deadline is 11th September at 00:00. Therefore, the latest a user can register to attend the event is 23:59 on 10th September. The registration deadline corresponds to the time zone of the event regardless of attendee location. |
Notifications
This section allows you to set event notifications.
|
Setting |
Description |
|---|---|
|
Would you like to notify users about the upcoming event? |
Select one of the following options:
|
|
Who do you want to notify? |
If you would like to notify users about the upcoming event, select one or more of the following user types:
Notifications are not sent to external hosts. |
|
When should users be notified before the event? |
Select how long before the event starts users should be reminded about the event through the notifications icon. You can select one or more options.
|
|
Do you want to send an additional SMS notification? |
Select one of the following options:
The Reminder for attendee of upcoming occurrence notification is sent in an SMS. 
If required, admins can customise the text and add/remove variables from the notification in the Notifications screen. If a custom version of the notification has been configured in the Language text column, this version will be sent. 
|
Attachments
This section allows you to attach Fuse content associated with the event.
|
Content |
Details |
|---|---|
|
Attach resources |
Helpful content for users about the event that does not need to be reported on by a manager, such as extra reading material. |
|
Attach content |
Allows you to attach prerequisite learning that users must view before attending the event, which may be reported on by a manager. This can be a video, article, link, question or uploaded file or SCORM course. Learning plans cannot be added as prerequisite learning. |
|
Attach survey |
Allows you to create and attach a survey to an event. Once attached, the survey is automatically sent to attendees after the event has ended. Attaching a survey to an event allows users to provide feedback which can help improve future events. For information on how to attach a survey to an event, see Attaching a survey to an event. If you want to remove a survey that is currently attached to an event, see How do I remove a survey from an event?. If you share a survey that is attached to an event, the users with whom it is shared is dependant on the access settings selected in the Access section of survey creation screen, when you first create the survey. For example, selecting the All users with access option, means every user in Fuse can automatically access the survey. 
If you then choose to share the survey with users who have not replied to it, by selecting the All users who have not replied option on the Surveys screen, it will be shared with all users who have access, with the exception of the users who have already responded. 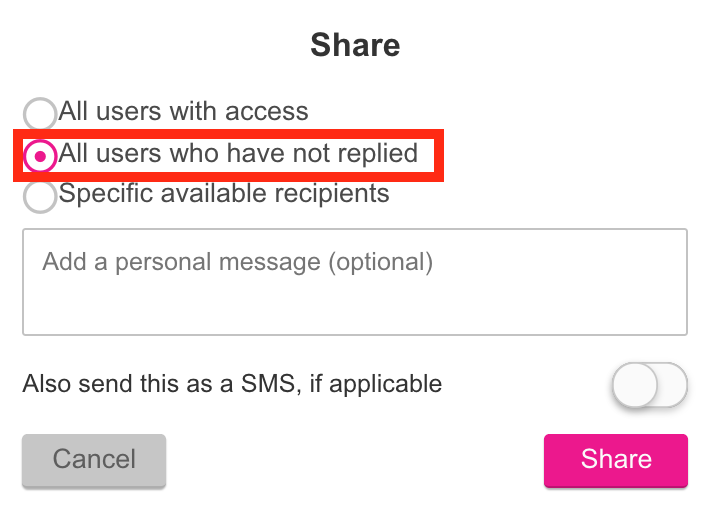
Survey shares are not limited to event attendees or the community in which an event was created. If you only wish to share the survey with a specific set of users, you can manually select them using the Manually add users option in the Access section when creating the survey. 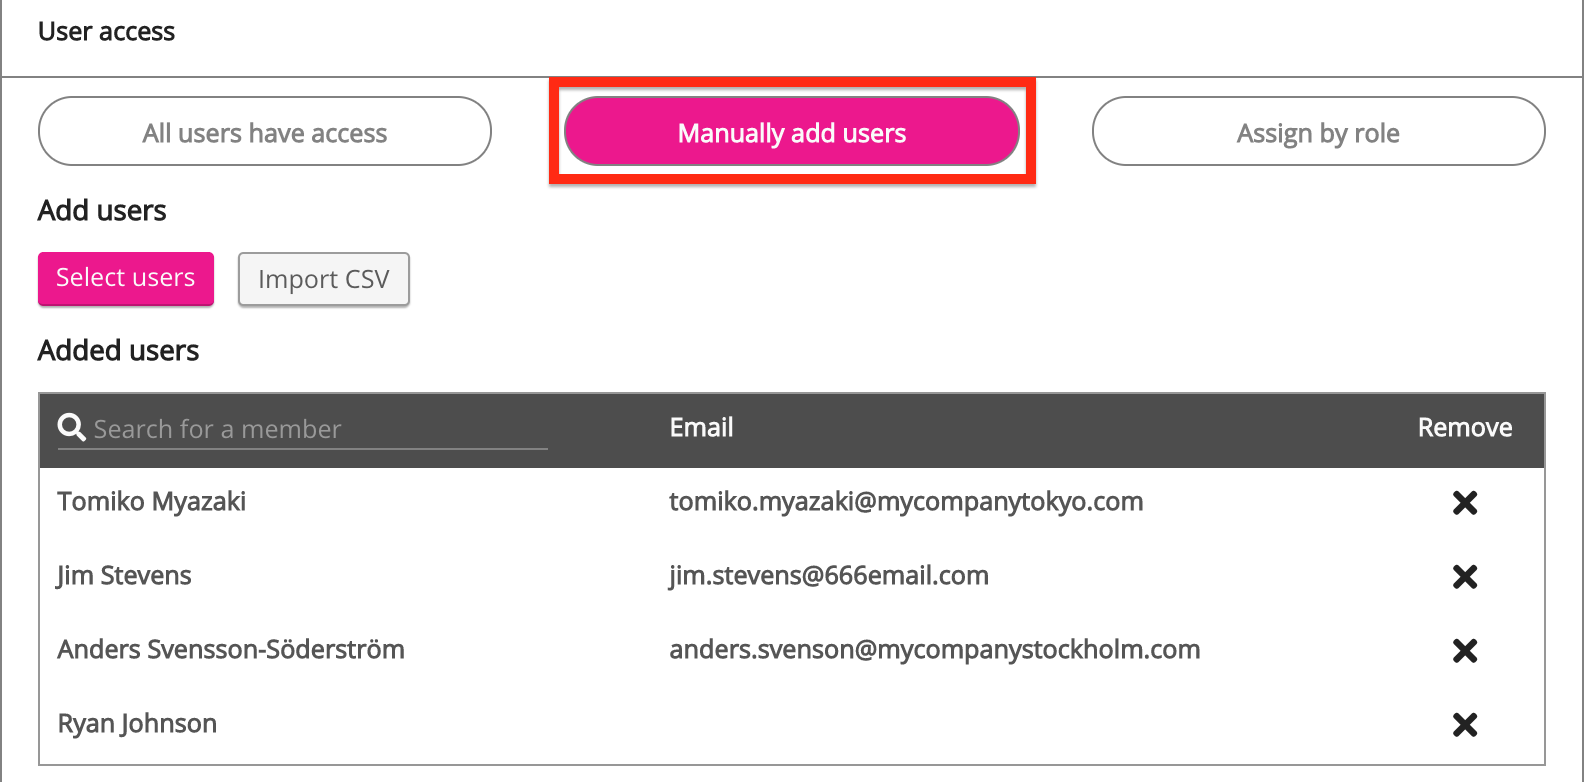
|
Advanced options
This section allows you to configure advanced options, such as enabling a waitlist.
|
Option |
Description |
|---|---|
|
Hide attendees list |
Click the toggle to make the attendees list invisible to users. |
|
Enable pass & fail for this course |
If you want users to be able to pass and fail the event, click the toggle to enable pass and fail. This feature is useful for training events. |
|
Waitlist |
If there are no more spaces remaining on the occurrence, users can join a waitlist until spaces become available. Spaces become available when other users withdraw or if the event owner or a manager adds more spaces. The following options are available:
|
To save the event, click Save on the top-right of the screen.
The new event is saved and appears on the Events screen. The most recently created event appears at the top of the list.