
You can:
-
Attach a survey that you have previously created, to an existing event
-
Attach a survey to a past event that has already taken place
To remove a survey that is currently attached to an event, see How do I remove a survey from an event?
Attaching a survey to a new event
It is possible to create a survey and attach it to a new event. The survey can be taken by users who attended the event, once it has come to an end. This is a great way of gathering feedback from attendees and to gauge how successful an event has been.
To create and attach a survey to an event:
-
In the Admin Panel, click Events.
The Events admin screen appears. -
On the Events admin screen, click Create a new event.
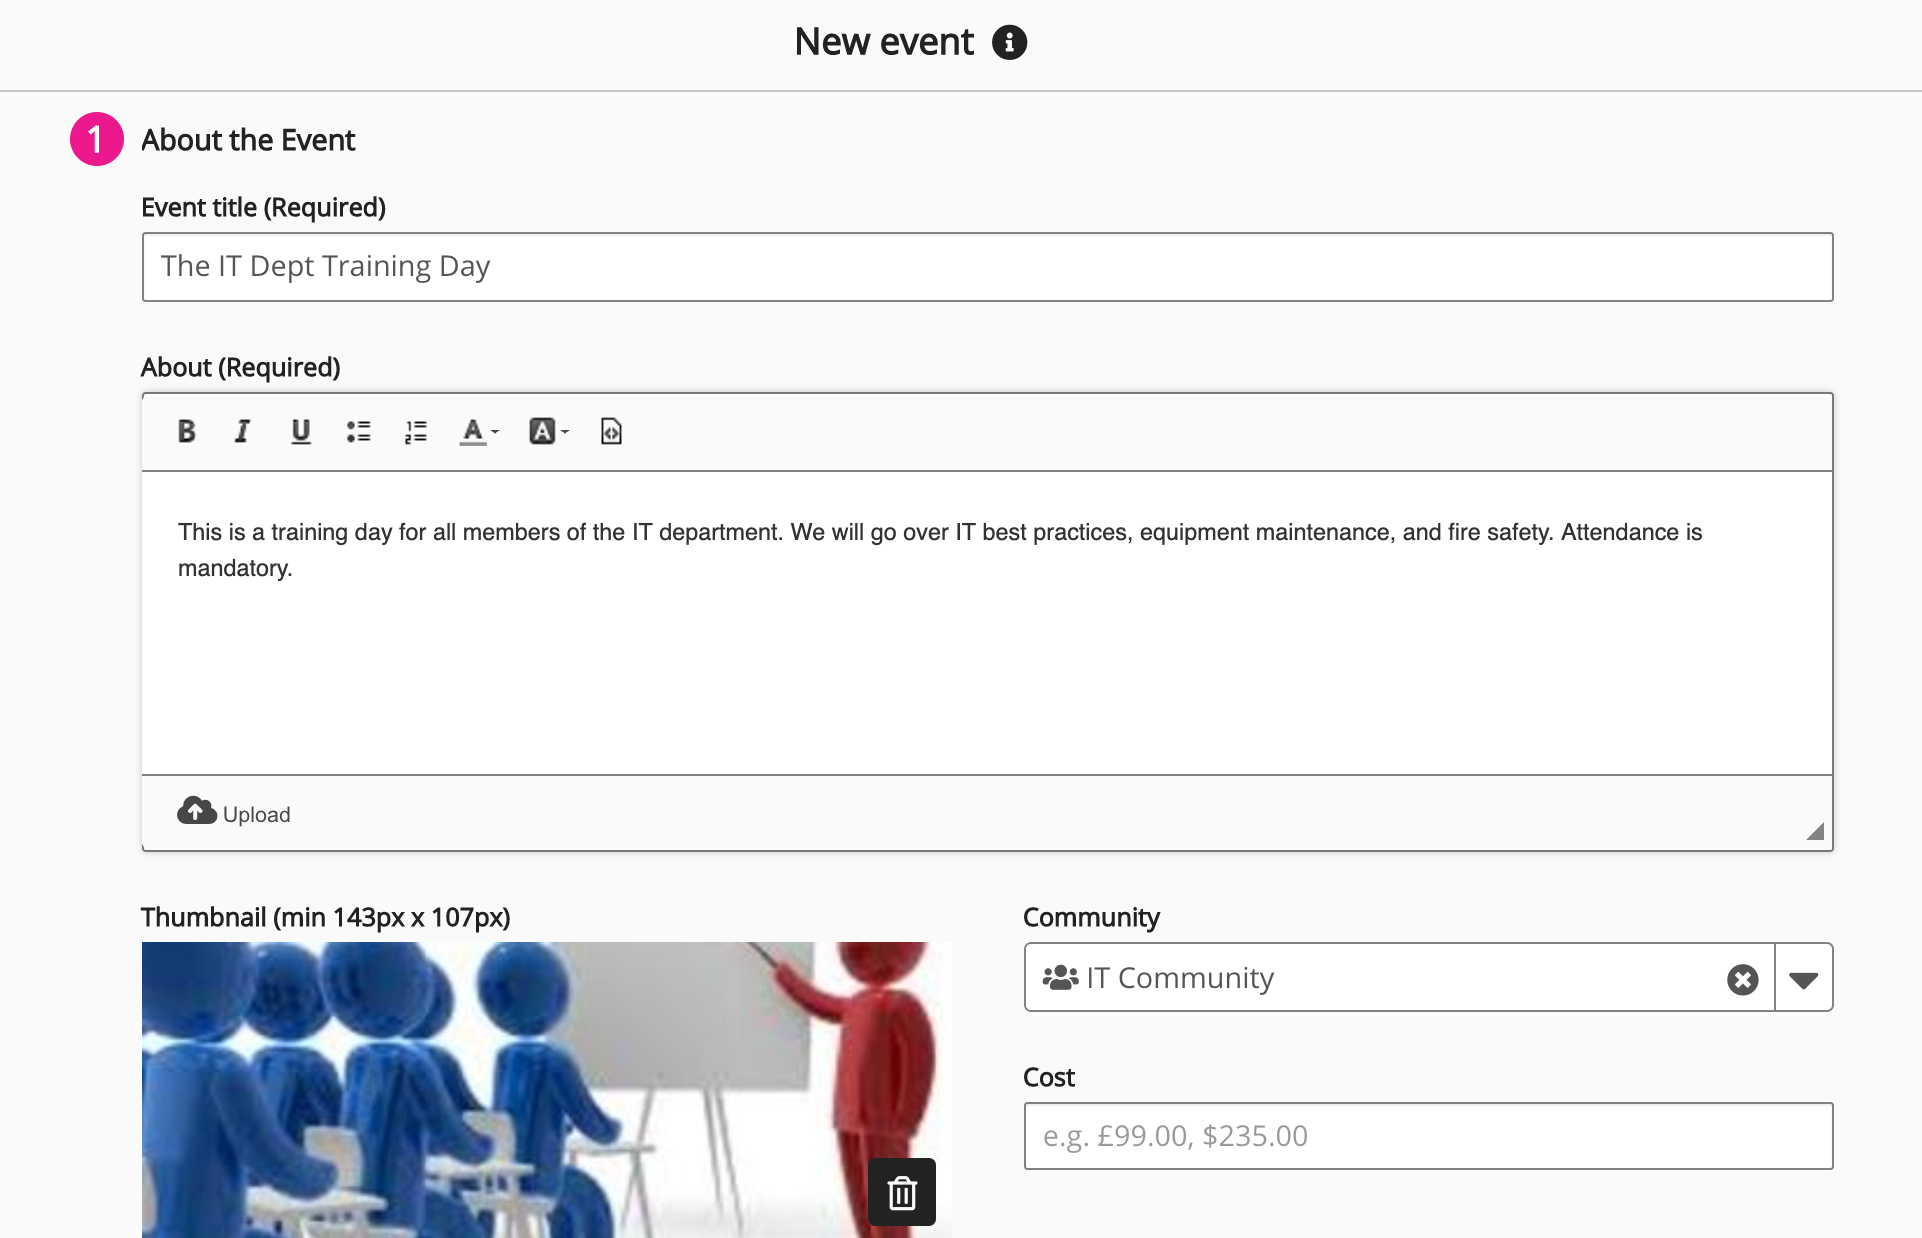
The New event screen appears. -
Enter the details for the event, including the event title and description, adding a thumbnail, and selecting a community.
-
Specify the details for each event occurrence, such as the number of available spaces, when each occurrence begins and ends, and the approval settings.
-
Click Next.
-
Scroll down to the Survey section and click Attach Survey.

The Unnamed survey screen appears. -
Enter the survey title and create the questions the event attendees must answer.
-
Click Next.
-
Configure the settings for the survey, such as visibility, privacy, attempt, and access settings.
-
Click Save.
-
Scroll down to the Survey section and click Publish. The survey must be published, otherwise attendees won't be notified about the survey.

-
Click Save.
The event is created and the survey is attached to the event. -
The event admin must confirm which users attended the event, in the Attended? column of the Take Attendance section.

Users who are marked as "Attended" for the event, will receive a notification informing them of the survey. Clicking on the link in the notification, opens the survey and allows the attendees to take it. Users can also view and take the survey on the Surveys screen.
Attaching an existing survey to an event
You can attach a survey that you have previously created, to an existing event. This is done using the Surveys admin screen. At the end of the event, event attendees are presented with a call to action, prompting them to complete the survey.
You can only attach one survey to one object (such as to an event or learning plan) at a time. If an existing survey is currently attached to an object, you cannot attach it to another one. However, you can copy the survey by clicking the make copy icon, publish it, and then attach the copy to the object instead.
When copying a survey, please ensure that you give it an appropriate name, as this will appear in notifications.

To attach an existing survey to an event:
-
Make sure you have created the event in the Events admin screen.
-
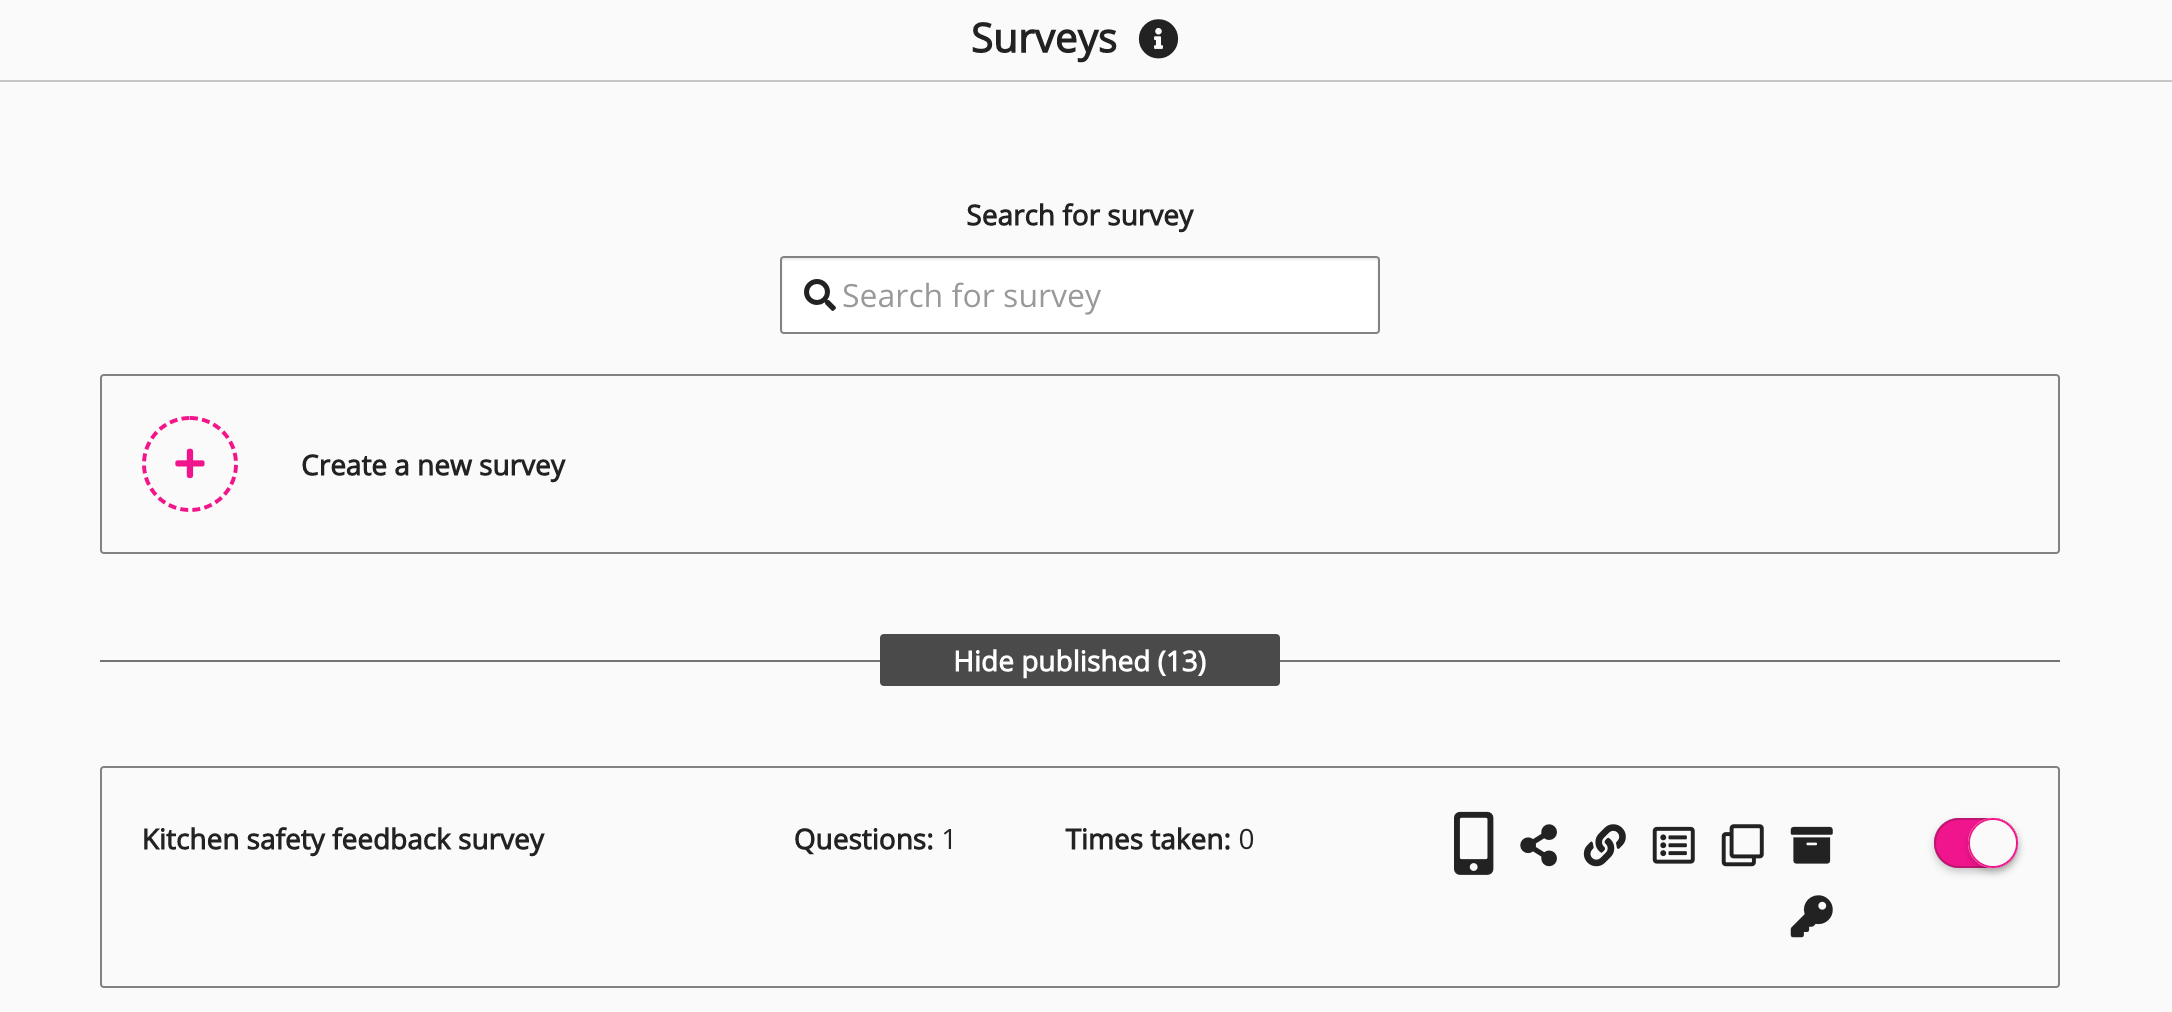
Go to the Surveys (Admin) admin screen.
-
In the list of published surveys, locate the survey and click the Access option next to it. It is important to note, the survey must be published before you can attach it to the event.

-
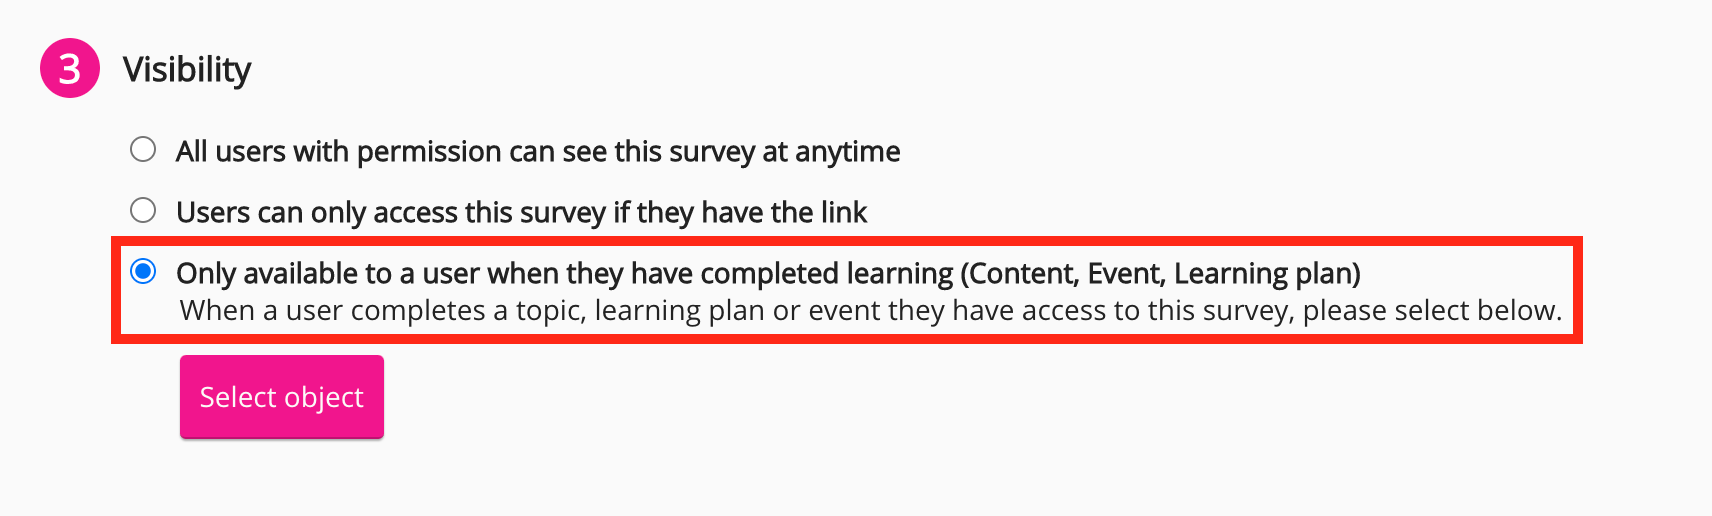
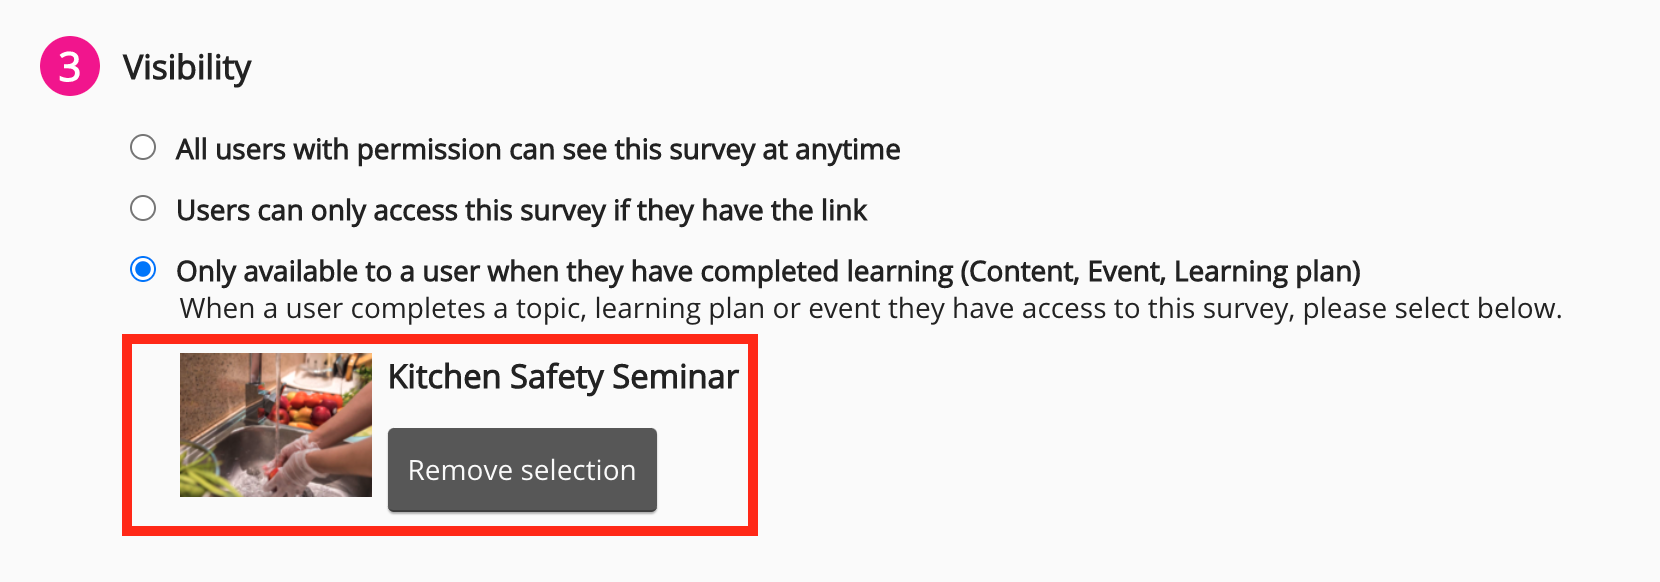
In the Visibility section, select Only available to a user when they have completed learning (Content, Event, Learning plan).
-
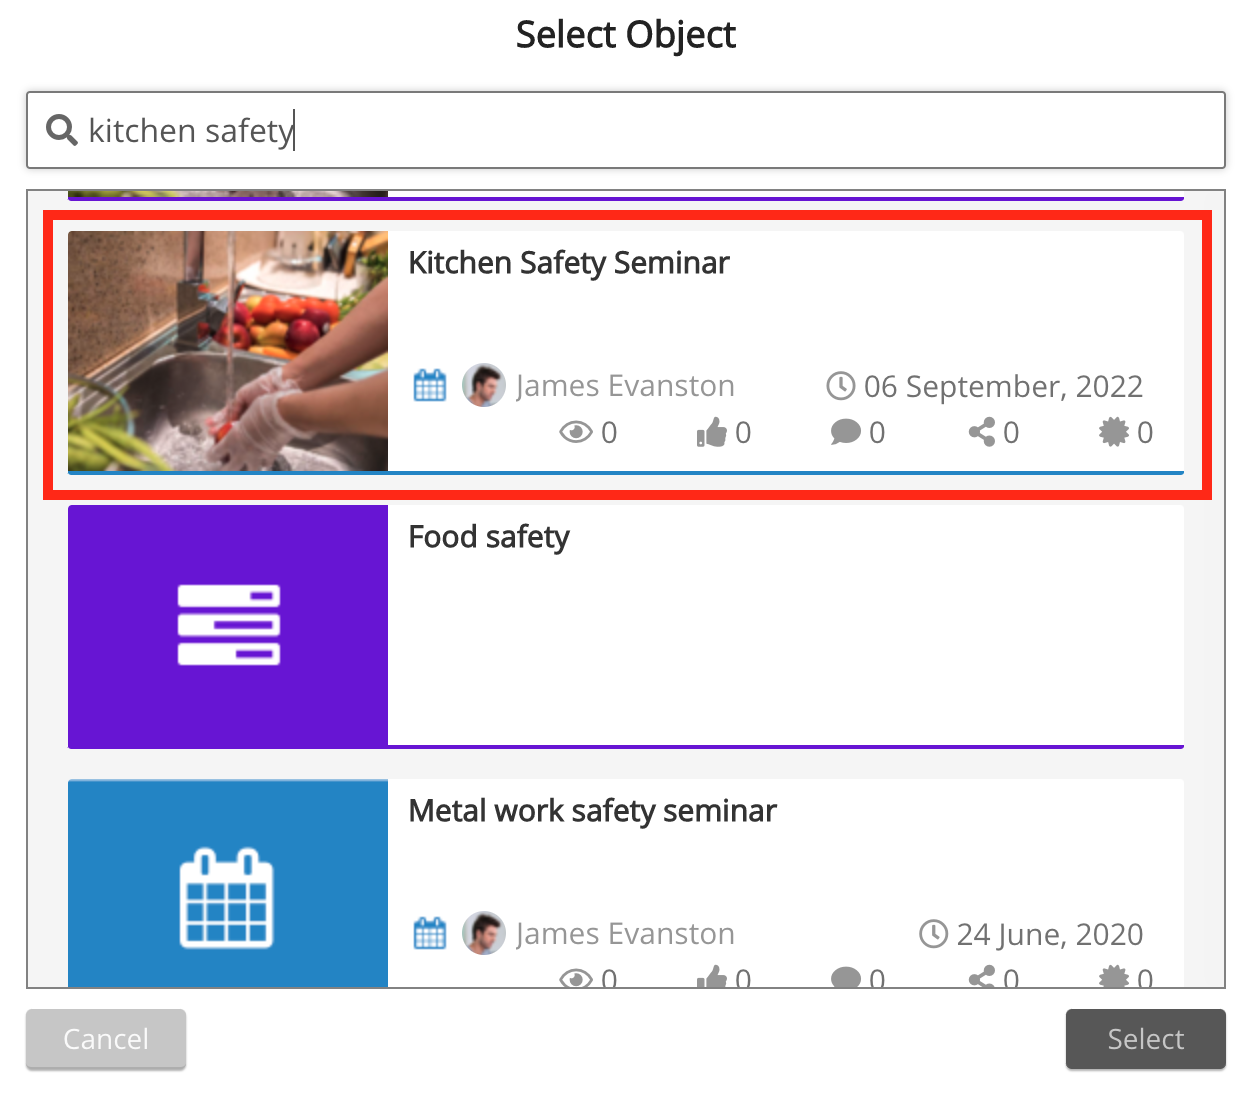
Click Select object.

The Select Object popup appears.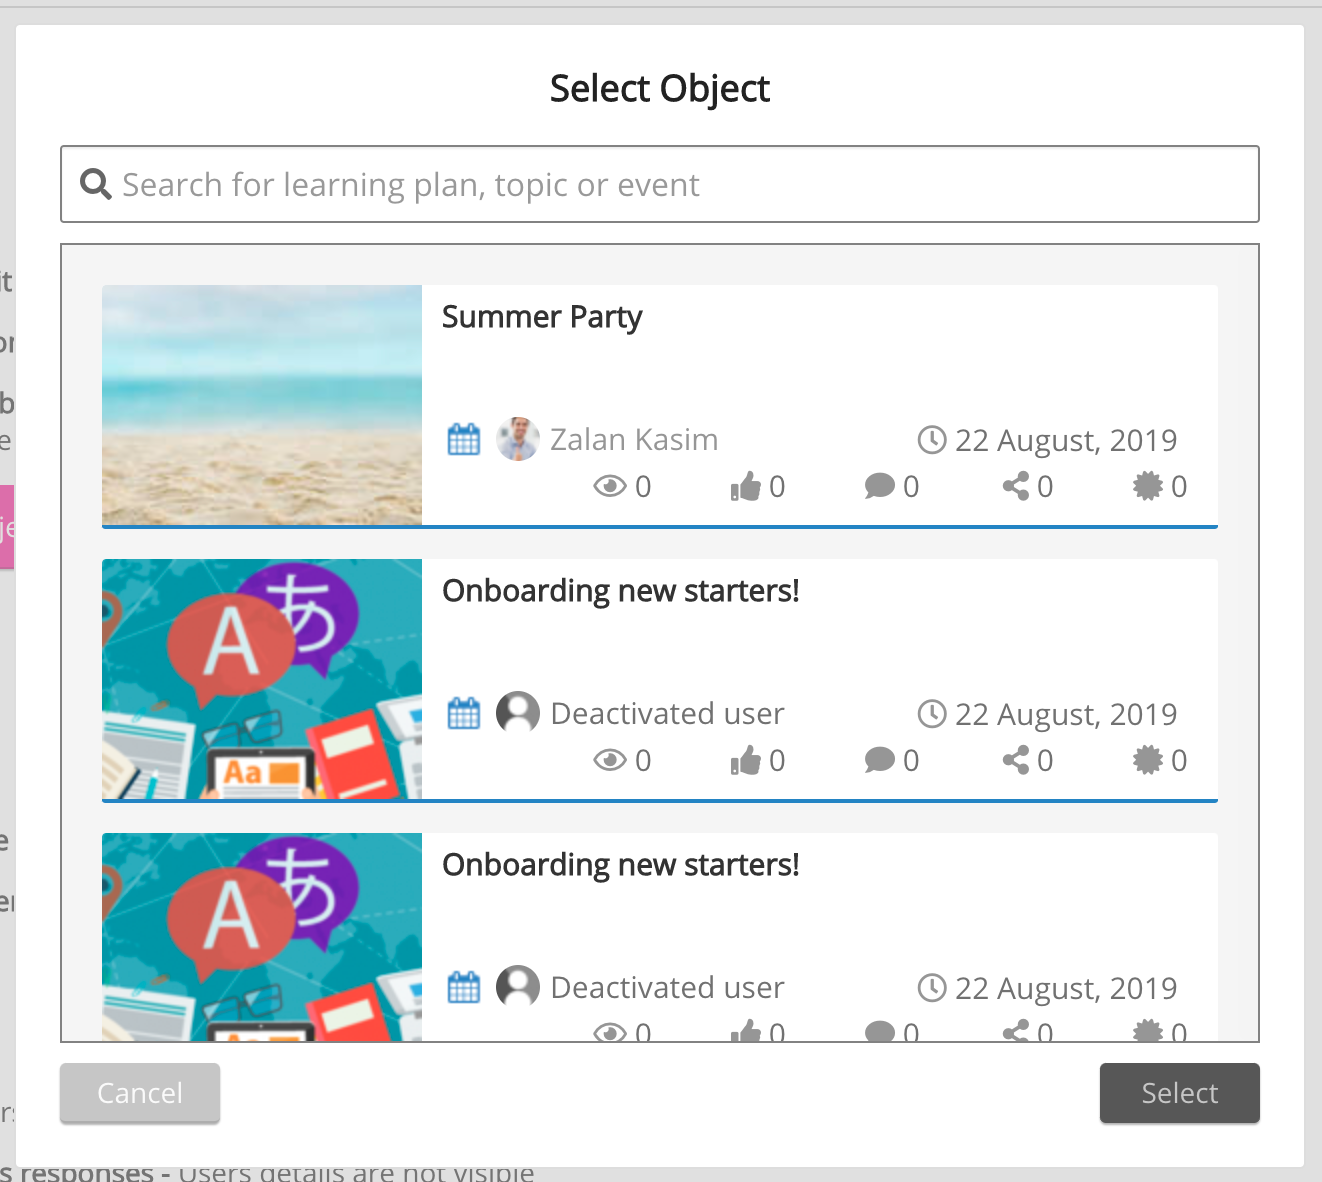
-
In the search bar, enter the name of the event to which you are attaching the survey, and select it from the list.
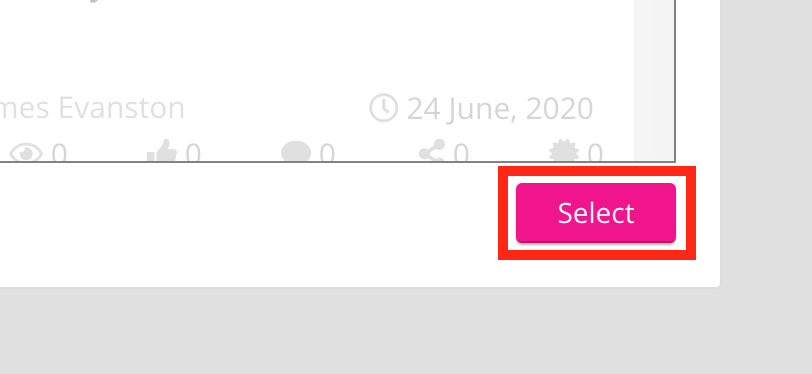
-
Click Select.
-
The event is attached to the survey.
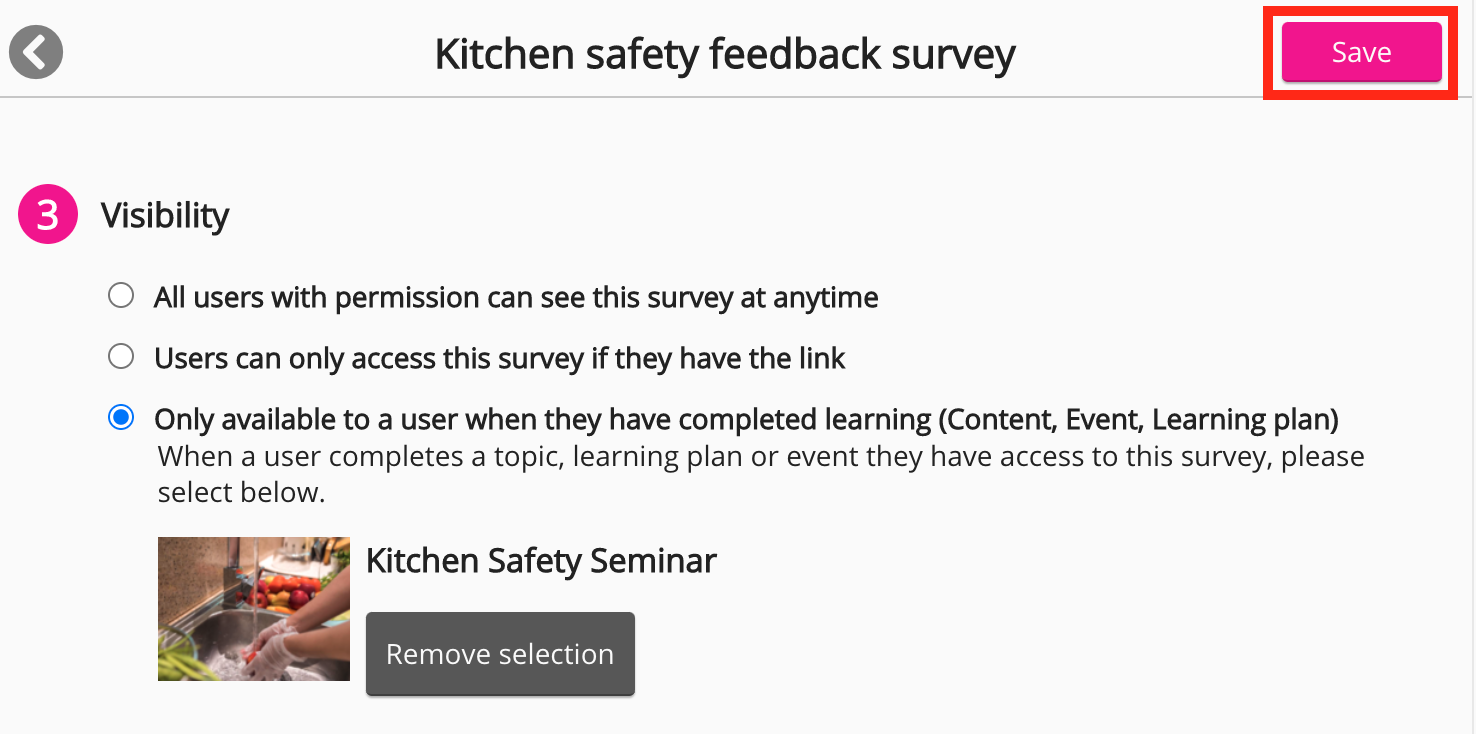
-
In the top-right corner, click Save.
-
[Optional] You can enter custom call to action text, that prompts event attendees to take the survey. If custom text is not entered, the standard text is used.
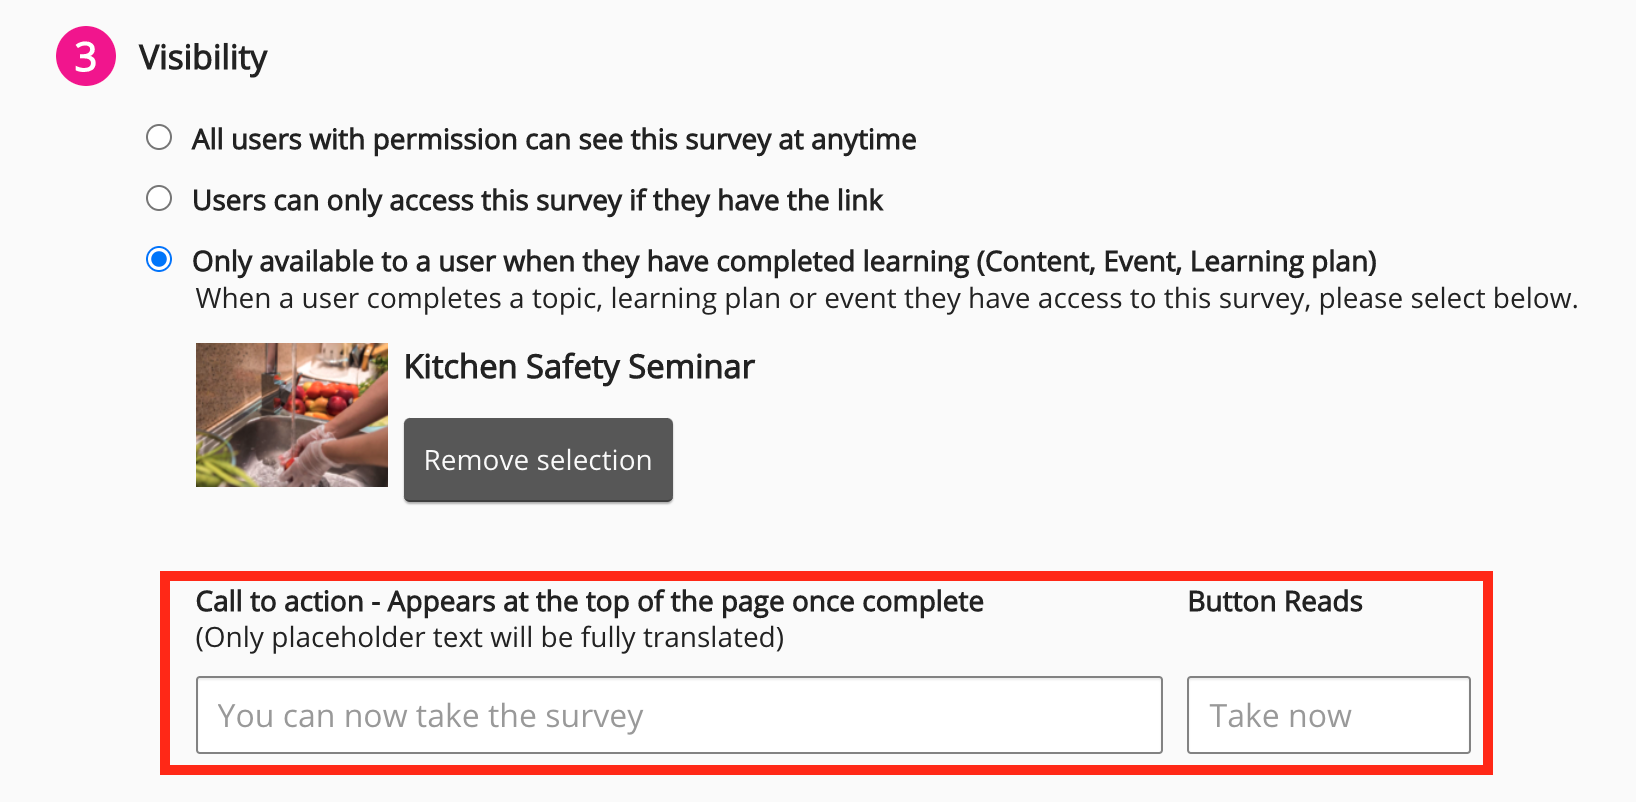
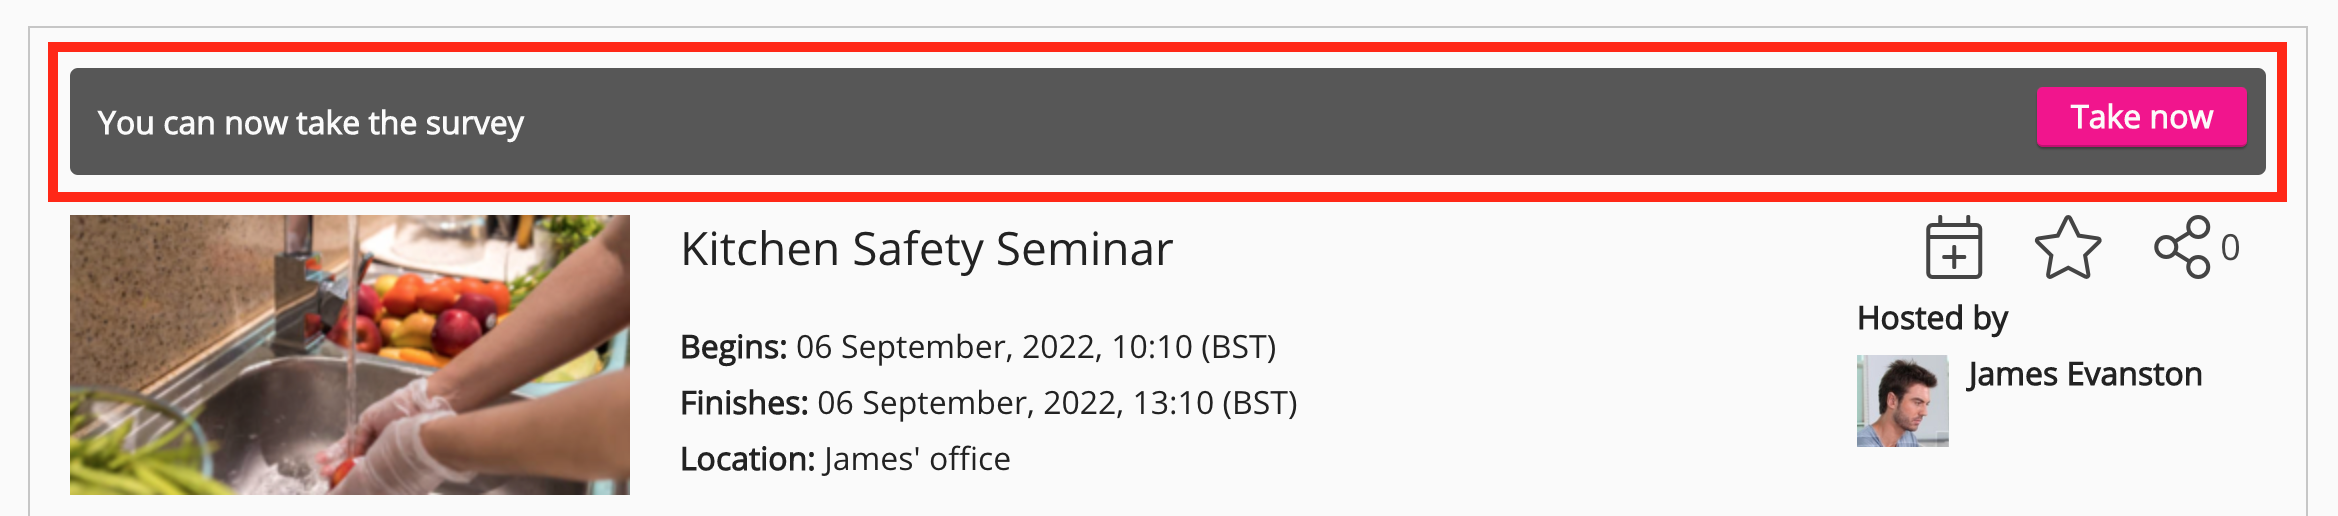
Below is an example of the standard call to action and button text:
Attaching a survey to a past event
It is possible to create and attach a survey to a past event. You might want to do this if you have forgotten to add a survey to an event that has already taken place, or if you want to get feedback on an event that took place a long time ago.
To attach a survey to a past event:
-
In the Admin Panel, click Events.
The Events admin screen appears. -
Expand the Show Historical events(#) section.
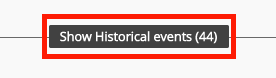
A list of past events appears. -
On the right-hand side of your chosen event, click the Edit icon.

The event details screen appears. -
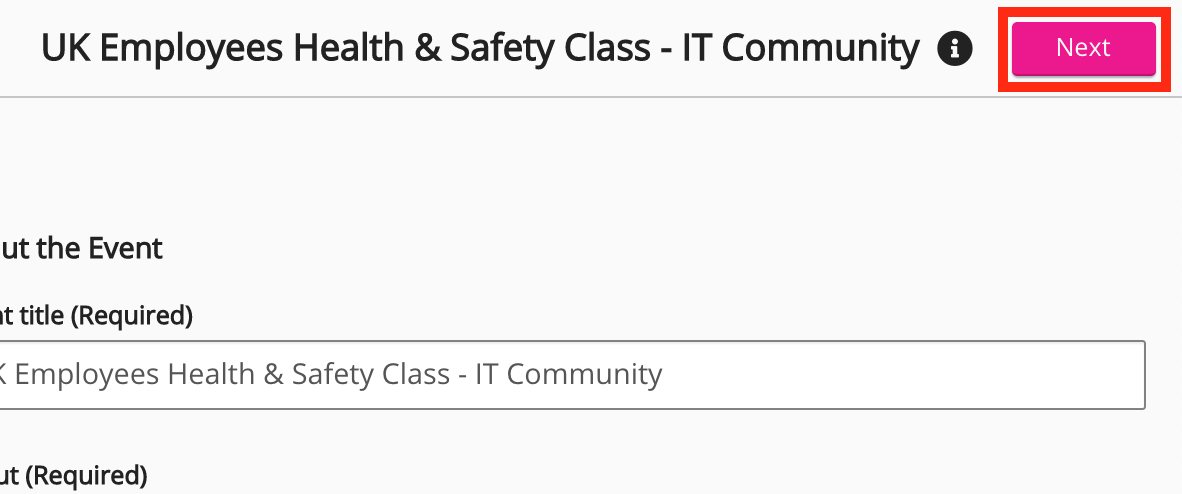
In the top-right corner of the screen, click Next.
-
Scroll down to the Survey section and click Attach Survey.
The Unnamed survey screen appears. -
Enter the survey title and create the questions the event attendees must answer.
-
Click Next.
-
Configure the settings for the survey, such as visibility, privacy, attempt, and access settings.
-
Click Save.
-
Scroll down to the Survey section and click Publish. The survey must be published, otherwise attendees won't be notified about the survey.
-
Click Save.
The event is created and the survey is attached to the past event. All users who were marked as "Attended" for this past event, will receive a notification informing them of the survey. Clicking on the link in the notification, opens the survey and allows the past attendees to take it.