
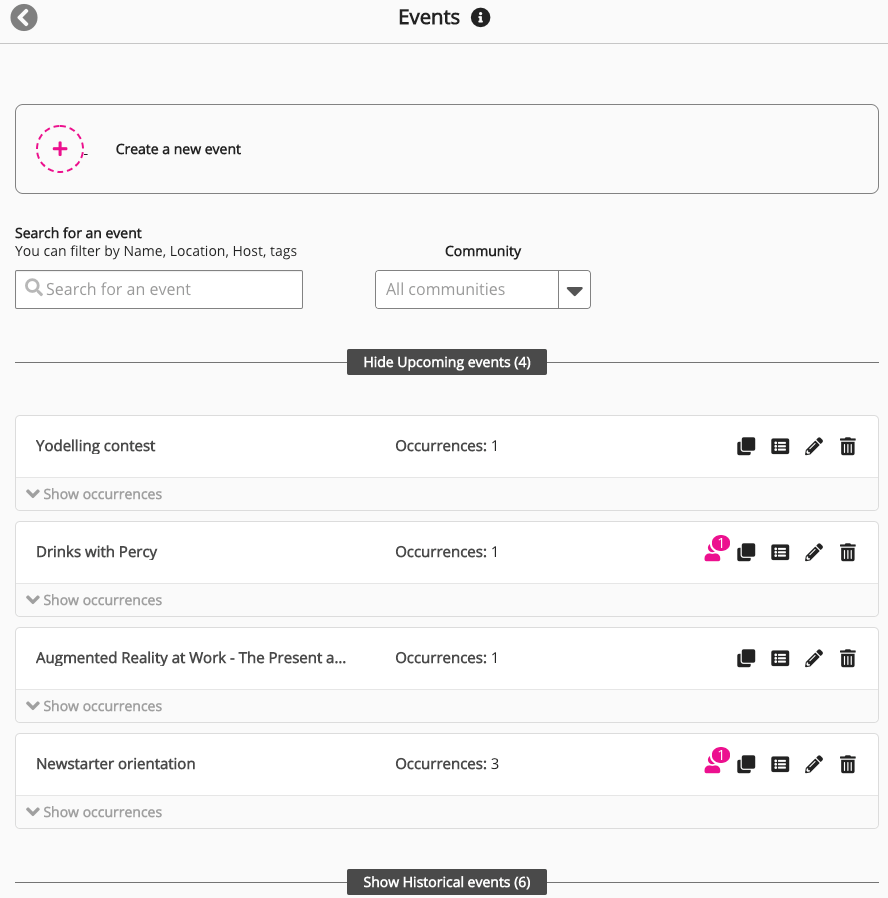
The Events screen in the Admin Panel allows admins to create a new event, edit existing events, and delete existing events. Admins can access this screen from the following locations:
-
Admin Panel: Create a new event or edit an existing event in any community
-
Community admin screen: Create a new event or edit an existing event in a selected community
Settings on the Events admin screen
The following settings are available on the Events admin screen:
|
Setting |
Description |
|---|---|
|
Create a new event |
Click to create a new event. 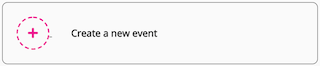
For more information, see Creating a new event.
|
|
Search for an event |
Type any of the following details to filter upcoming and historical events:
|
|
Community |
Type a community name to only display upcoming and historical events from that community. 
This setting is not available if you accessed the Events admin screen from a community.
|
|
Hide Upcoming events (#) / Show Upcoming events (#) |
Click Show Upcoming events (#) to display all upcoming events on the company instance or selected community. Click Hide Upcoming events (#) to hide all upcoming events on the company instance or selected community. 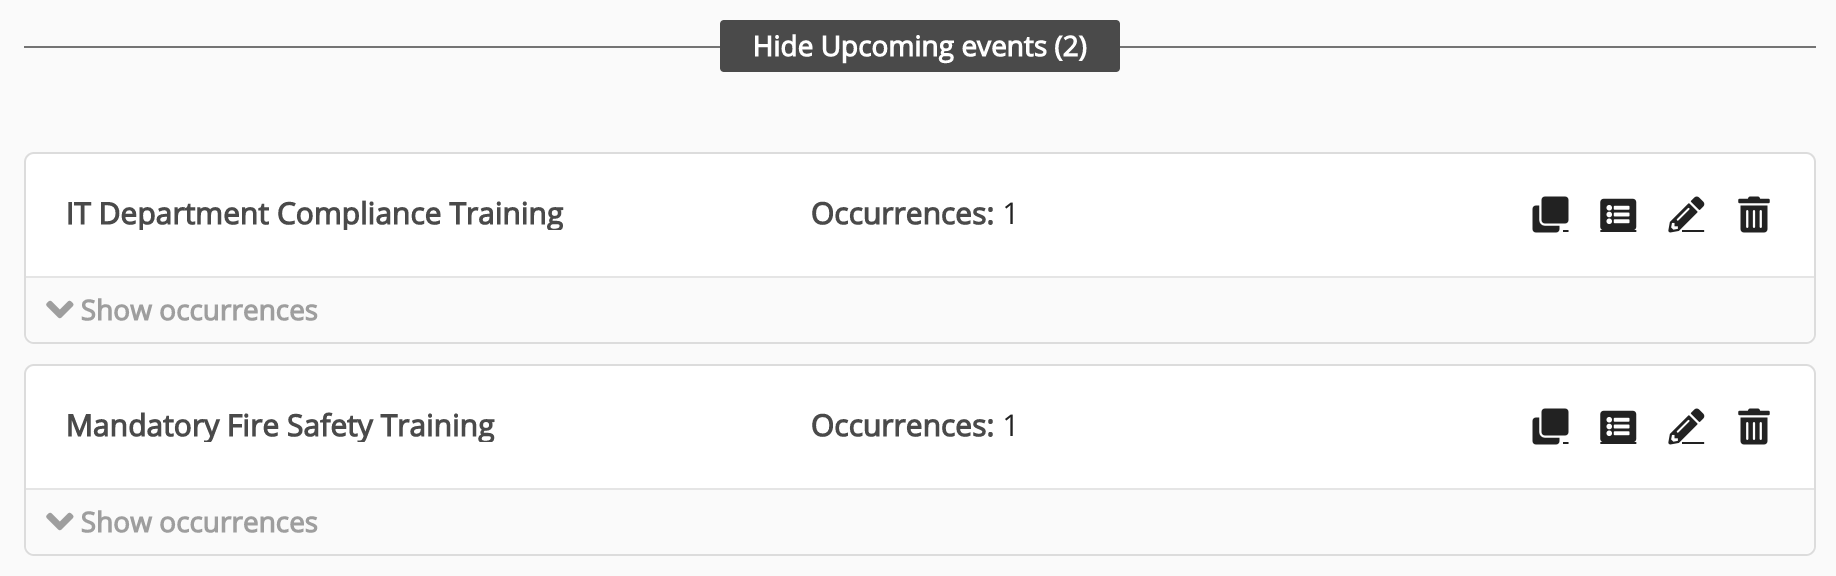
|
|
Show Historical events (#) / Hide Historical events (#) |
Click Show Historical events (#) to display all historical events on the company instance or selected community. Click Hide Historical events (#) to hide all historical events on the company instance or selected community. 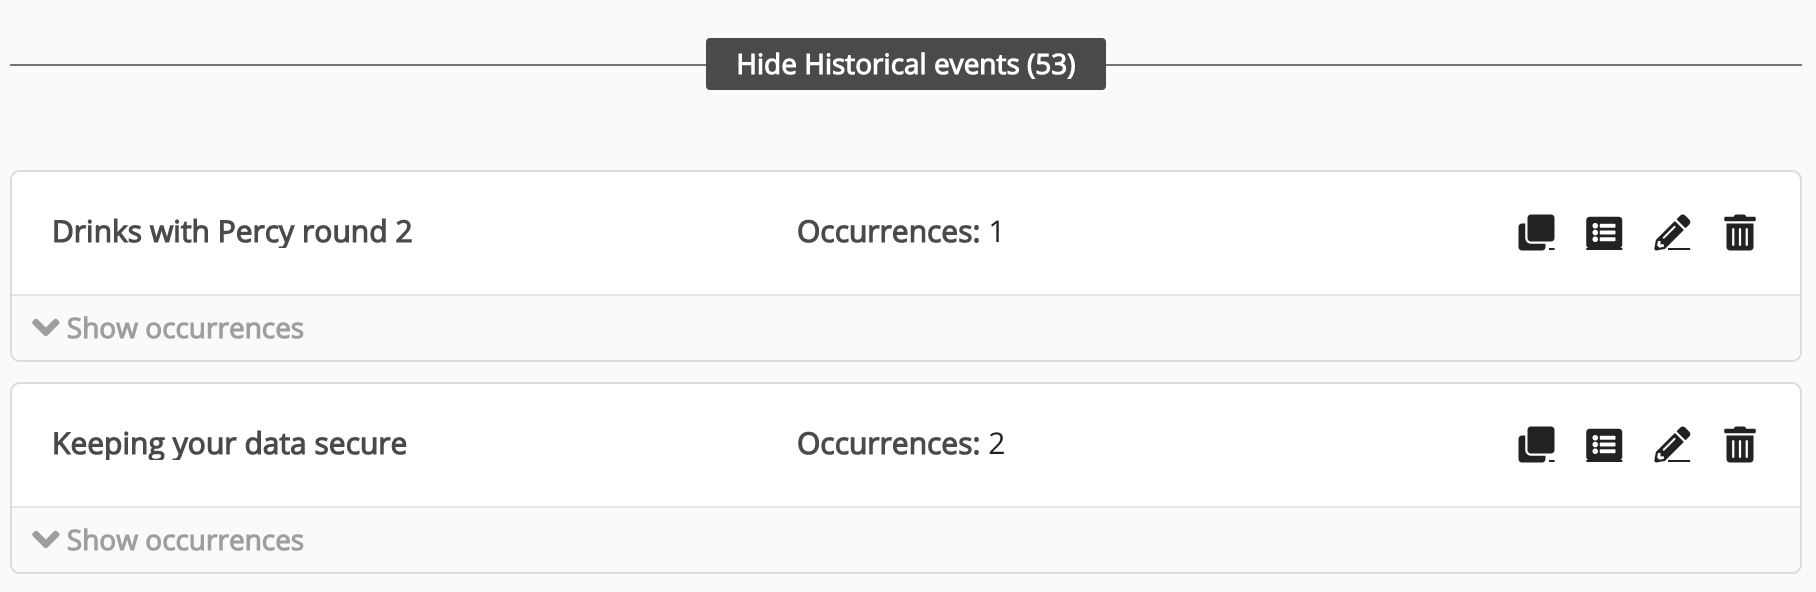
|
Settings for each upcoming and historical event
The following settings are available for each upcoming and historical event:
|
Setting |
Description |
|---|---|
|
Duplicate |
To create a duplicate of the event:
|
|
View report |
Click to go to the Events report creation screen. For more information, see Reporting.
|
|
Edit |
Click to edit event details. For information on the available settings, see Creating a new event.
|
|
Delete |
To delete an event and associated occurrences from the events list: Users are not automatically notified if an event is deleted and must be notified manually.
|
|
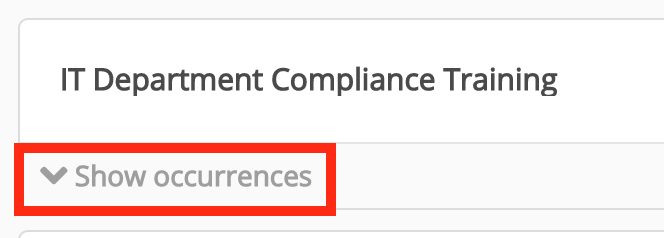
Show occurrences / Hide occurrences |
|
Settings for each occurrence within an event
The following settings are available for each event occurrence:
|
Setting |
Description |
|---|---|
|
Applicants |
Click to go to the Applicants (#) tab on the occurrence management screen. |
|
Share
|
To share the occurrence with all members of the community the event was created in or specific users across the company instance:
|
|
Duplicate |
To create a duplicate of the event:
Applicants associated with the original occurrence are not associated with the duplicated occurrence.
|
|
View report |
Click to go to the Events report creation screen. For more information, see Reporting.
|
|
Edit |
This opens the occurrence management screen, where you can manage and edit the details of your chosen occurrence. 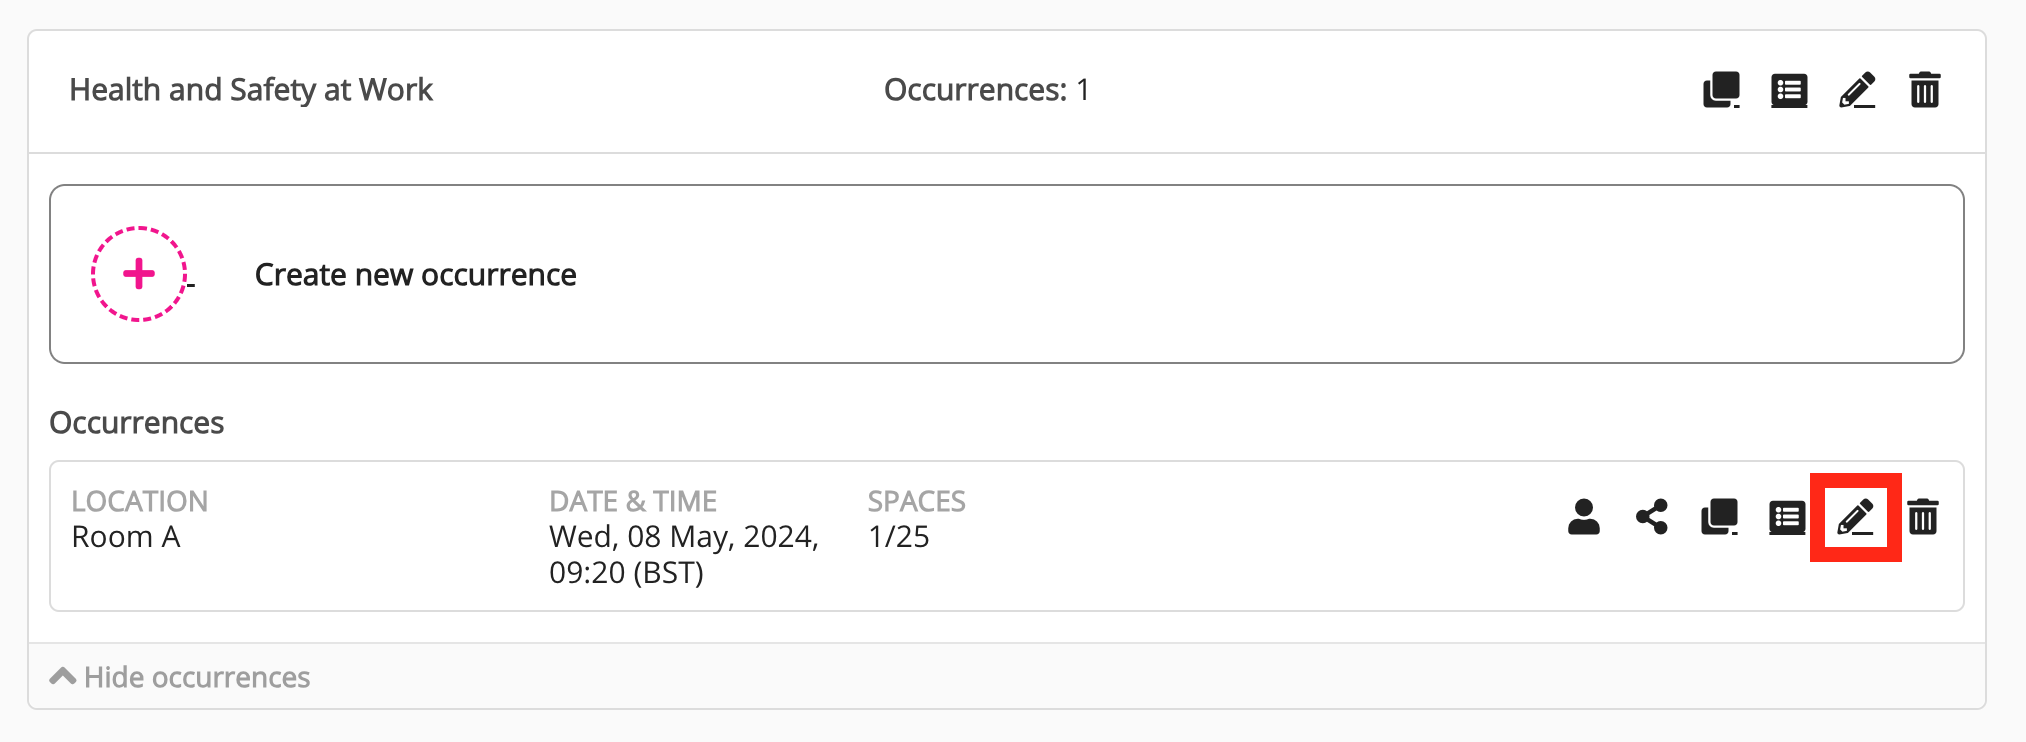
For more information on the occurrence management screen, as well as the settings and tabs available, see, Managing event occurrences. 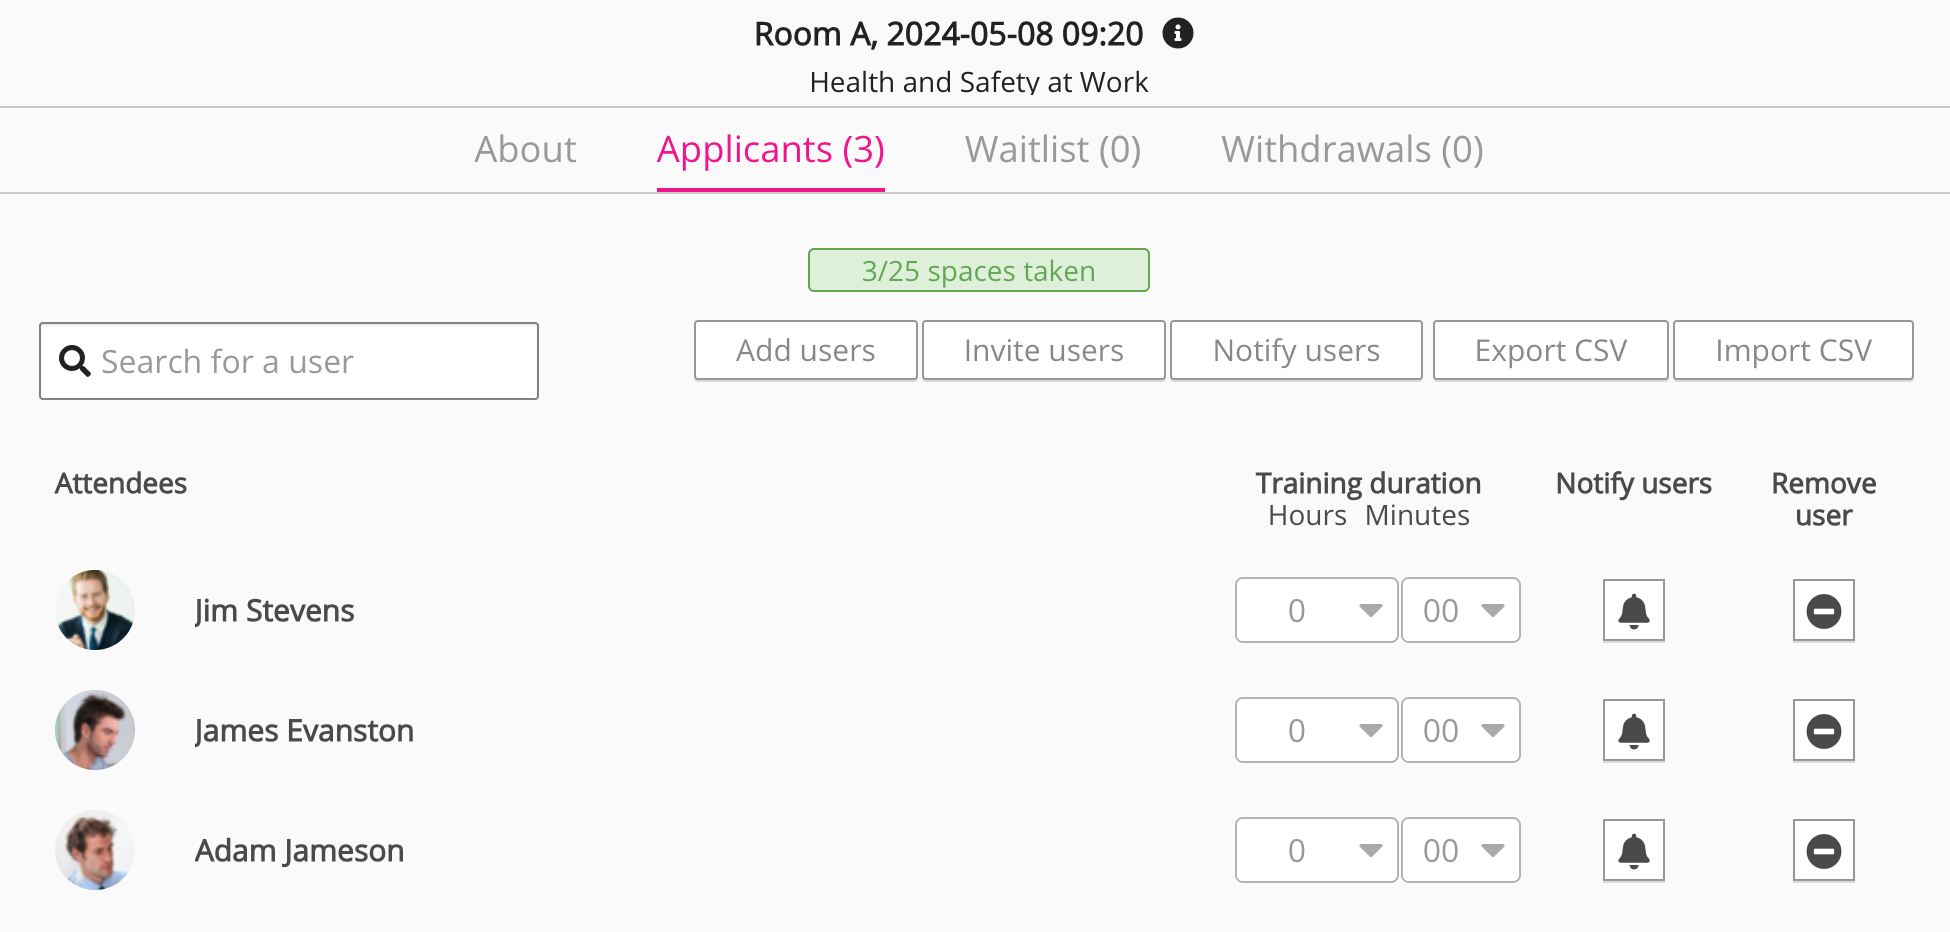
|
|
Delete |
To delete an occurrence from the events list: If an event only has one occurrence, deleting the occurrence deletes the entire event.
|