
Site admins can create surveys in the Admin Panel in order to gather information and feedback from users.
This section contains the following:
Creating a Survey
To create a new survey:
-
On the Surveys screen, click Create a new survey.
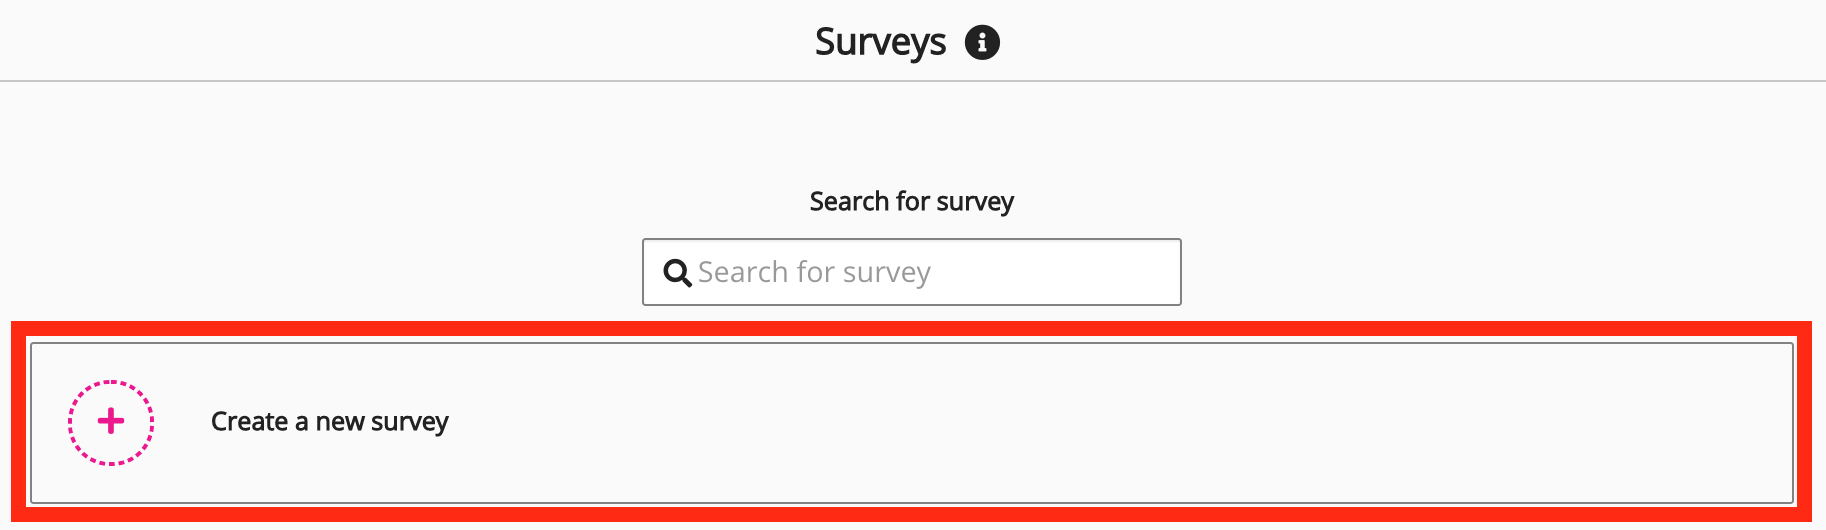
The Unnamed survey screen appears.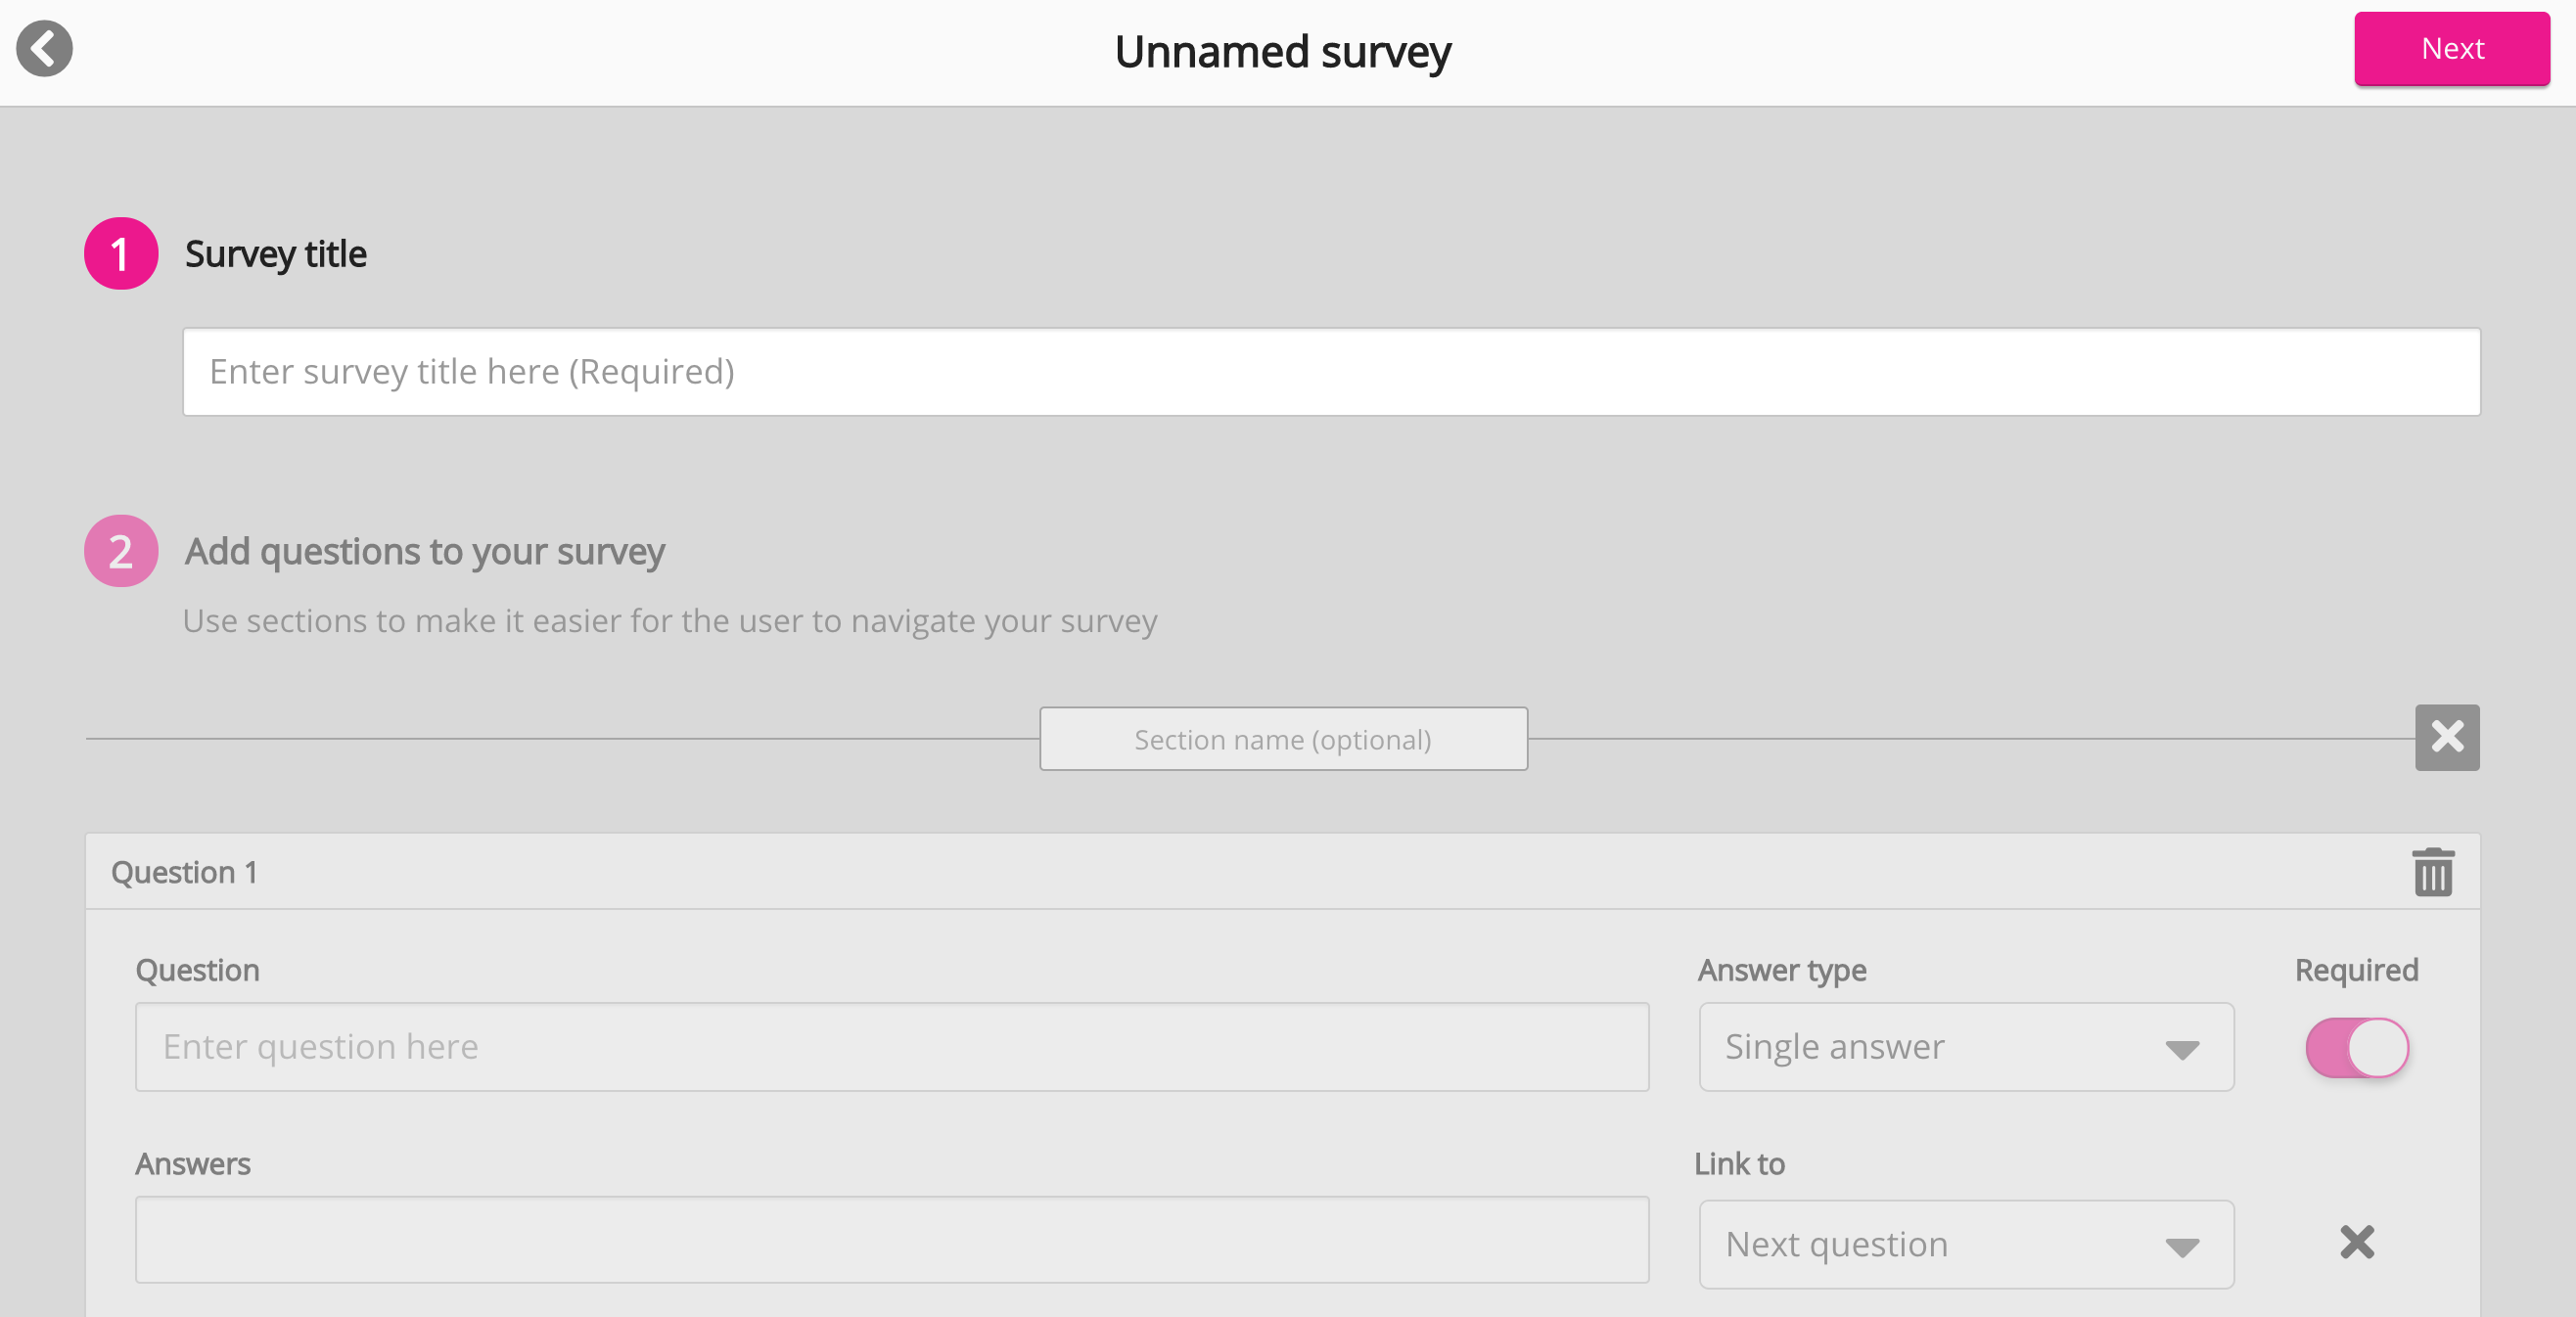
-
On the Unnamed survey screen, in the Enter survey title here (Required) field, enter a survey title and press Enter or click outside the field.
The Add questions to your survey area is available. -
[Optional] If you want to divide the survey into sections, you can enter a section name for this section of the survey. To enter a section name, click Section name (optional) and type a name.
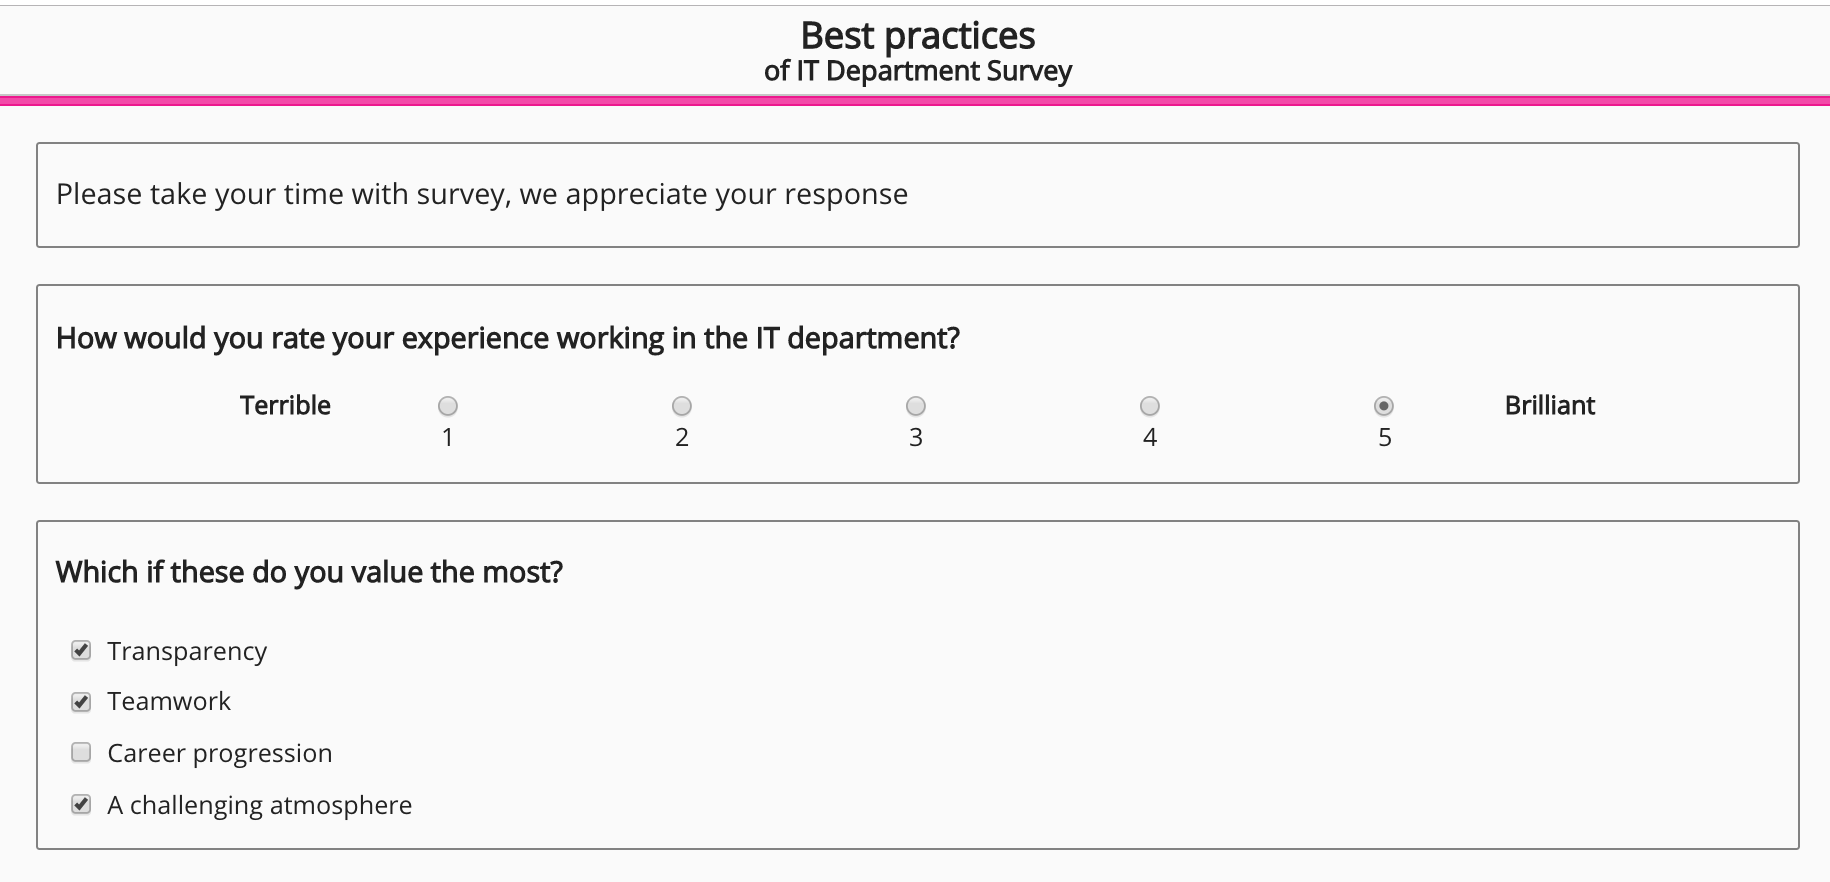
You can divide surveys into sections by category or theme for organisational purposes. For example, in the survey below, the first section is called "Rate this learning plan".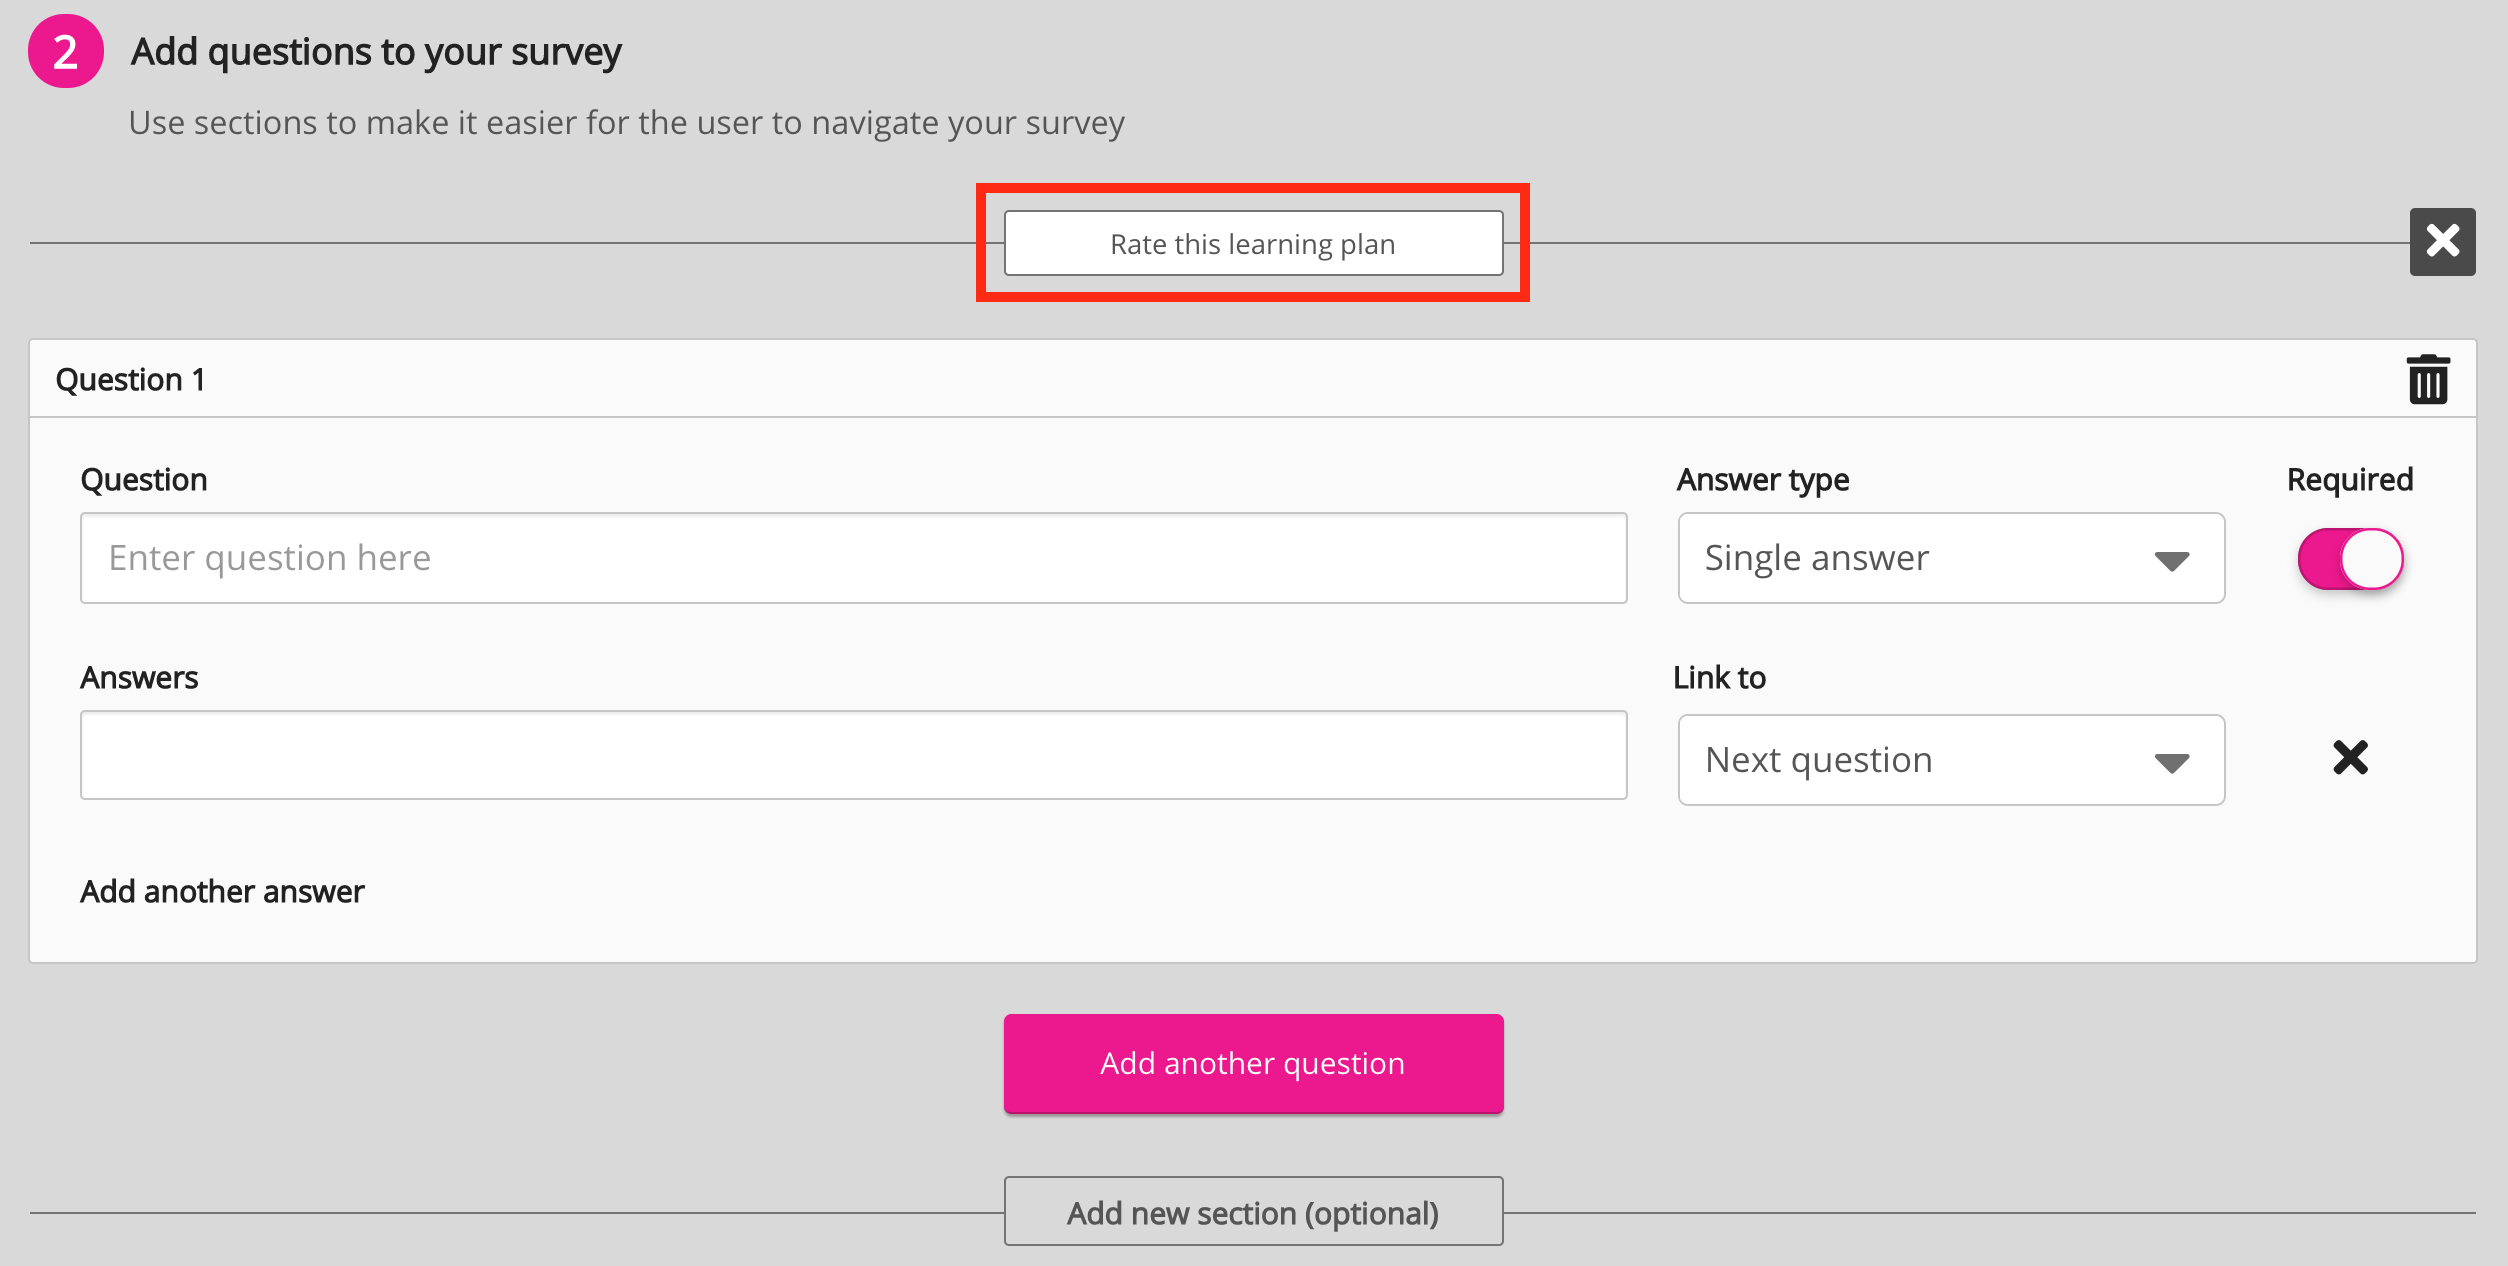
-
In the Enter question here field, enter a survey question.

-
In the Answer type dropdown, select one of the following answer types:
-
Single answer: User selects one answer from a selection of available answers.
-
Multiple answers: User selects one or more answers from a selection of available answers.
-
Scale: User selects a number from a scale.
-
Free text: User enters their own text.
-
File upload: User is asked to upload a file as an answer. For example, when filling out a survey following an event, an attendee could upload feedback in the form of videos or photos of the event to help the organisers understand what they found useful and what they didn't, or after returning from an external course, a user might be asked to fill out a survey to reflect on what they've learnt, and could upload a digital version of a qualification they've achieved, such as a PDF or photo of a certificate they've gained or the course itinerary.
-
-
If you want the question to be optional, click the toggle to turn off Required.
By default, Required is turned on for all questions. -
Depending on the Answer type selected, configure your answers as follows:
This step is not required for the Free text answer type.-
For Single answer and Multiple answers answer types:
-
In the Answers field, enter an answer.
-
To add another answer, click Add another answer.
An empty answer field appears. -
In the empty answer field, enter another answer.
-
If necessary, add one or more other answers.
-
-
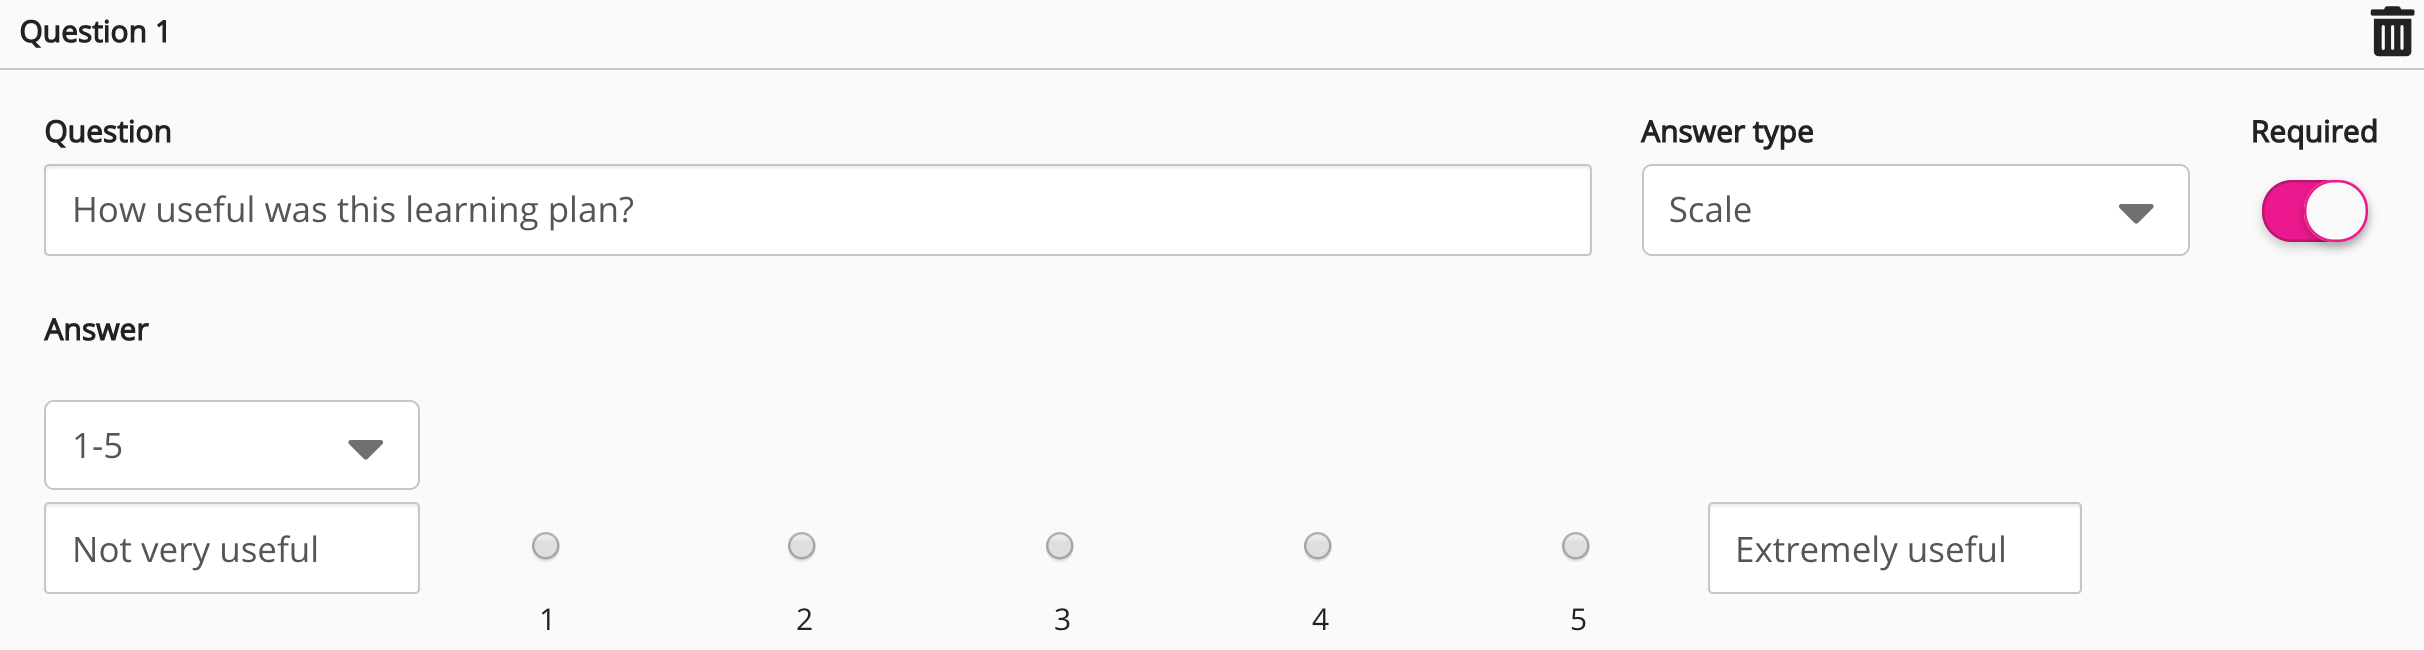
For Scale answer type:
-
In the Answer dropdown, select a scale length of 1-5 or 1-10.
-
If necessary, in the left Label (optional) field, enter a label for the first number on the scale. For example, in a 1-5 scale, the label for 1 could be "Not very useful".
-
If necessary, in the right Label (optional) field, enter a label for the last number on the scale. For example, in a 1-5 scale, the label for 5 could be "Extremely useful".
-
-
-
To add another question to this section:
-
Click Add another question.
New question configurations appear. -
Configure the new question as necessary and click Add another question to add more questions.
-
If necessary, you can reorganise the questions using the following settings:
-
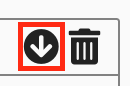
Move question down: Click to move the question down one level below the next question.
-
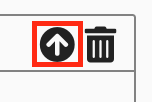
Move question up: Click to move the question up one level above the previous question.
-
Remove: Click to delete the question.
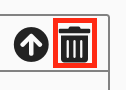
Deleting questions also removes any associated links. For more information, see the step below.
-
-
-
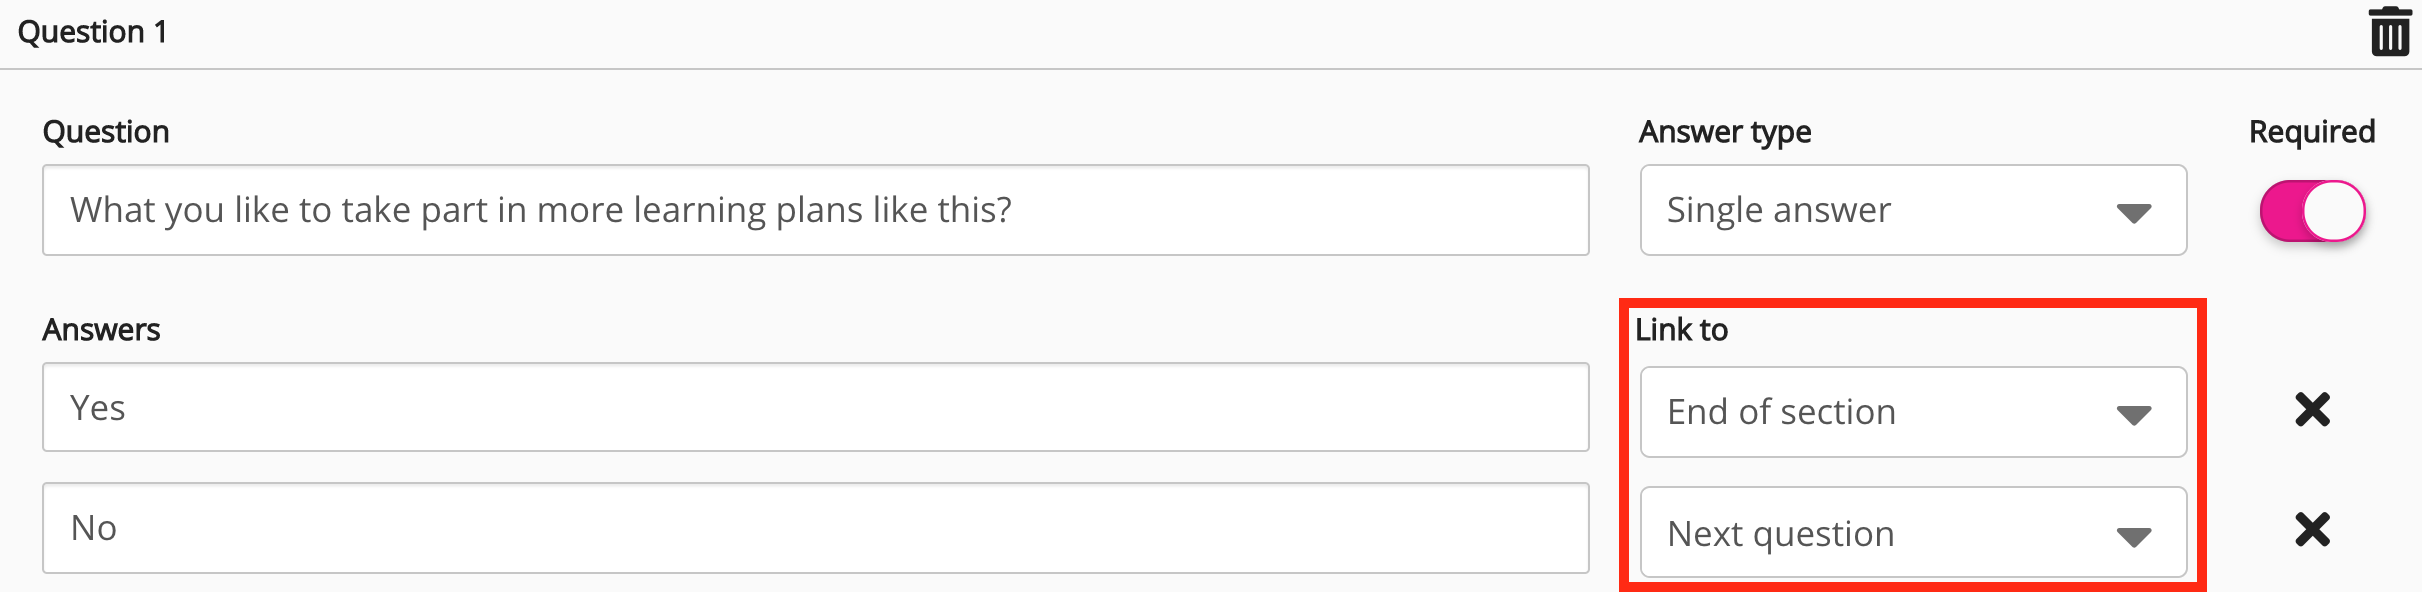
For Single answer and Scale answer types, you can configure what happens when users select specific answers or numbers of a scale. For example, you can configure one answer to point to the next question, another answer to skip a question, and another answer to point to the end of the section.
This configuration is not available for Multiple answers and Free text answer types.-
To link an answer from a Single answer answer type, click the Link to dropdown to the right of the answer and select one of the following options:
-
Next question: Directs the user to the next available question. If another question is not available, the assessment ends.
-
Question [#]: Directs the user to the designated question number.
-
End of section: Directs the user to the end of the section. If another section is not available, the assessment ends.
-
-
To link an answer from a Scale answer type:
-
Click Show links to answers.
The Answers and Link to columns appear.
The numbers in the Answers column correspond to the numbers of the scale. The image below displays a 1-5 scale.

-
Click the Link to dropdown to the right of the answer and select one of the following options:
-
Next question: Directs the user to the next available question. If another question is not available, the assessment ends.
-
Question [#]: Directs the user to the designated question number.
-
End of section: Directs the user to the end of the section. If another section is not available, the assessment ends.
You cannot link free text answers to the end of a section or a question.
-
-
-
-
If you want to divide the survey questions into sections by category or theme:
-
At the bottom of the page, click Add new section (optional).
A new section appears. -
If you want to give the section a name, click Section name (optional) and type a name.
-
Click Add question.
New question configurations appear. -
Configure the new question as necessary and click Add another question to add one or more questions.
-
-
On the top-right of the screen, click Next.
A user permissions page appears.
Configuring permission options for the survey
You can configure permissions options relating to visibility, attempts, privacy, and access.
Visibility
The following options allow you to determine who can access the survey, via the Surveys screen on the sidebar.
|
Option |
Description |
|---|---|
|
All users with permission can see this survey at anytime |
All users with permission to view and take the survey. If this option is selected, any user that has been given the correct access permissions via the Access section below, will be able to see and take the survey on the Surveys screen on the sidebar. |
|
Users can only access this survey if they have the link |
The Survey is not automatically visible to users in the Fuse instance. The creator of the survey must provide specific users with the URL to the survey. |
|
Only available to a user when they have completed learning (Content, Event, Learning plan) |
Users receive a notification asking them to take the survey, after viewing a specific item of content, attending an event, or completing a learning plan.
|
Attempts
The following options allow you to specify how many times a user can take the survey.
|
Configuration |
Description |
|---|---|
|
Can only be taken once |
The user can only take the survey once. |
|
Can be taken multiple times |
The user can take this survey multiple times. |
Privacy
The following options allow you to determine whether or not a user is anonymous.
|
Configuration |
Description |
|---|---|
|
None |
The user's name and details are linked with their responses to the survey. |
|
Anonymous responses |
The users's details are not linked with their responses to the survey. If you have selected None so that answers are linked to a user's account and then publish the survey but then change it to Anonymous responses, any users who have submitted answers prior to the switchover will still be linked to their user account, and any users who submit answers after this will have their answers anonymised. 
|
Access
The following options allow you to grant access to the survey.
|
Option |
Description |
|---|---|
|
All users have access |
All users in Fuse can access the survey. This option is enabled by default. |
|
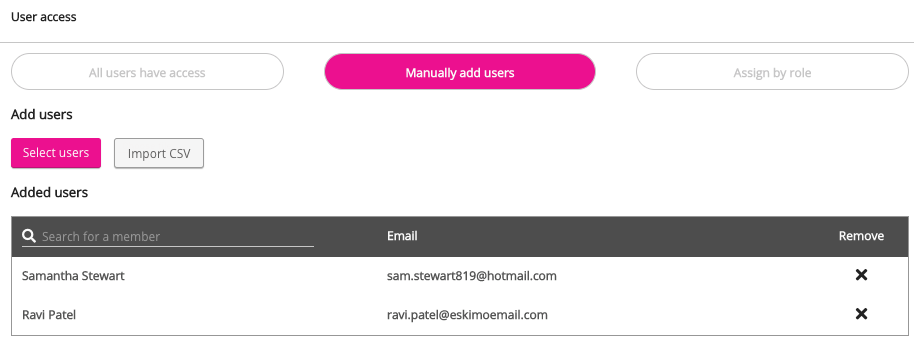
Manually add users |
Only selected users can access the survey. You can add users to the survey in the following ways:
Manually adding users to a survey
To manually select user(s):
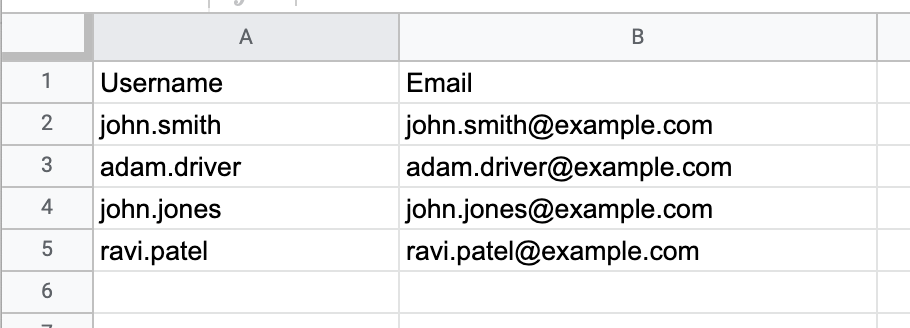
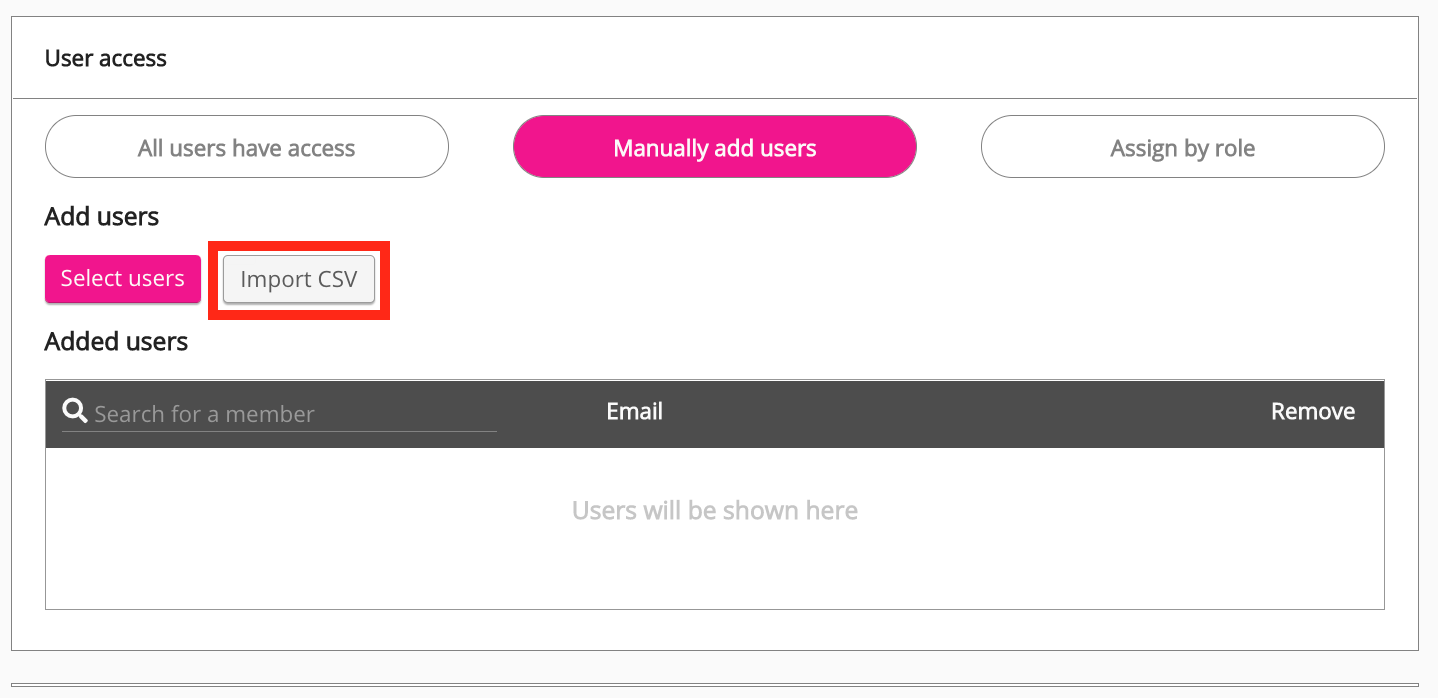
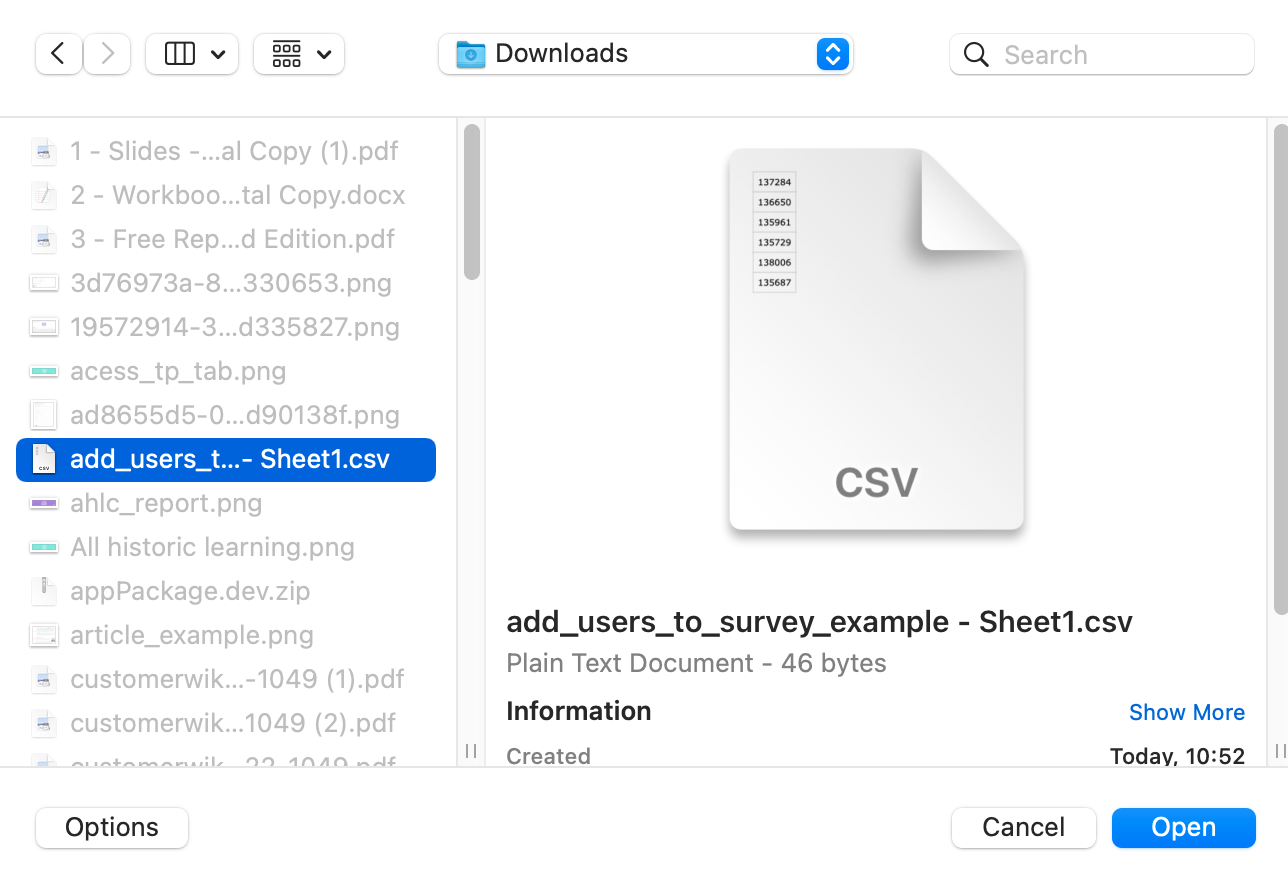
Adding users to a survey by uploading a CSV
You can bulk add users to a survey by uploading a CSV. The CSV file must include each user's username and email address, as shown below:
An example CSV file can be found here: add_users_to_survey_csv_example.csv To bulk add users to a survey by CSV:
|
|
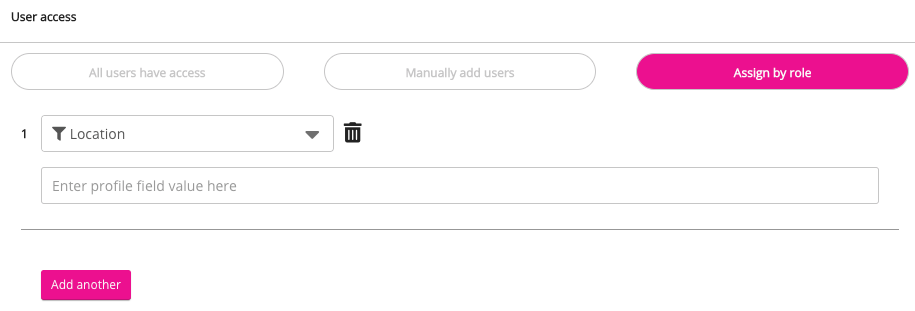
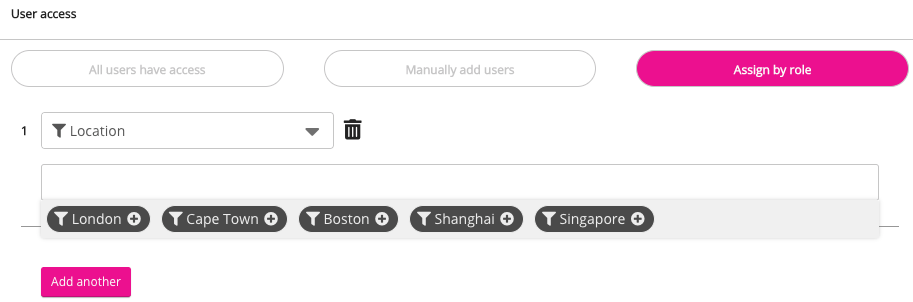
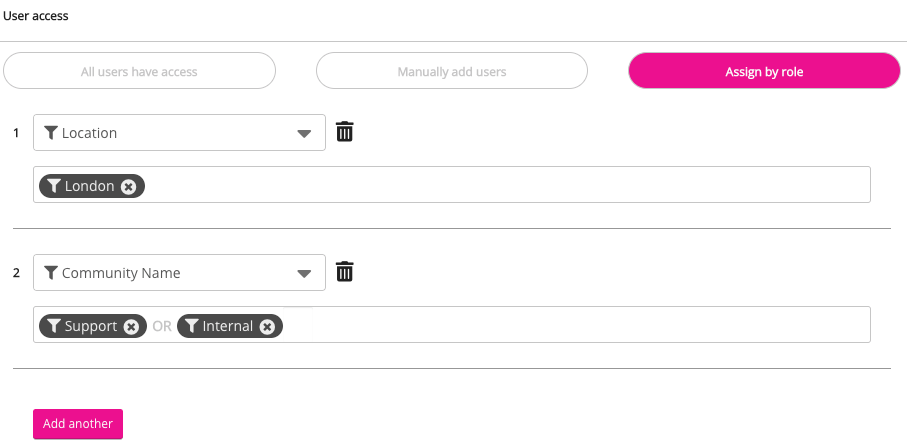
Assign by role |
Only specific user types can access the survey. To specify the user types able to access the survey:
|

Restrict Access
The following options allow you to restrict user access to the survey.
|
Option |
Description |
|---|---|
|
No restrictions |
All users on the company instance can access the survey. This option is enabled by default. |
|
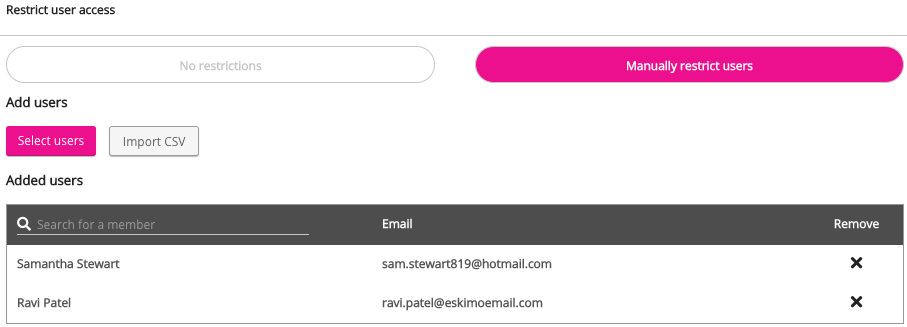
Manually restrict users |
All users except for those selected, can access the survey. To manually restrict users:
|
Introduction message to the user
You can customise the introductory message that is displayed to users before taking the survey.
In the Introduction message to the user field, enter the message displayed to the user before starting the survey.

Upon completion message
You can customise the completion message that is displayed when users complete the survey.
To enter the Upon completion message:
-
In the Upon completion message field, enter the message that is displayed users when they complete the survey.

-
On the top-right of the screen, click Save to save all of the above survey configurations.
The Surveys screen appears.
Publishing a survey
To make a survey available to selected users and communities, you must publish it.
To publish a survey:
-
On the Surveys screen, click Show draft.
A list of existing surveys appears.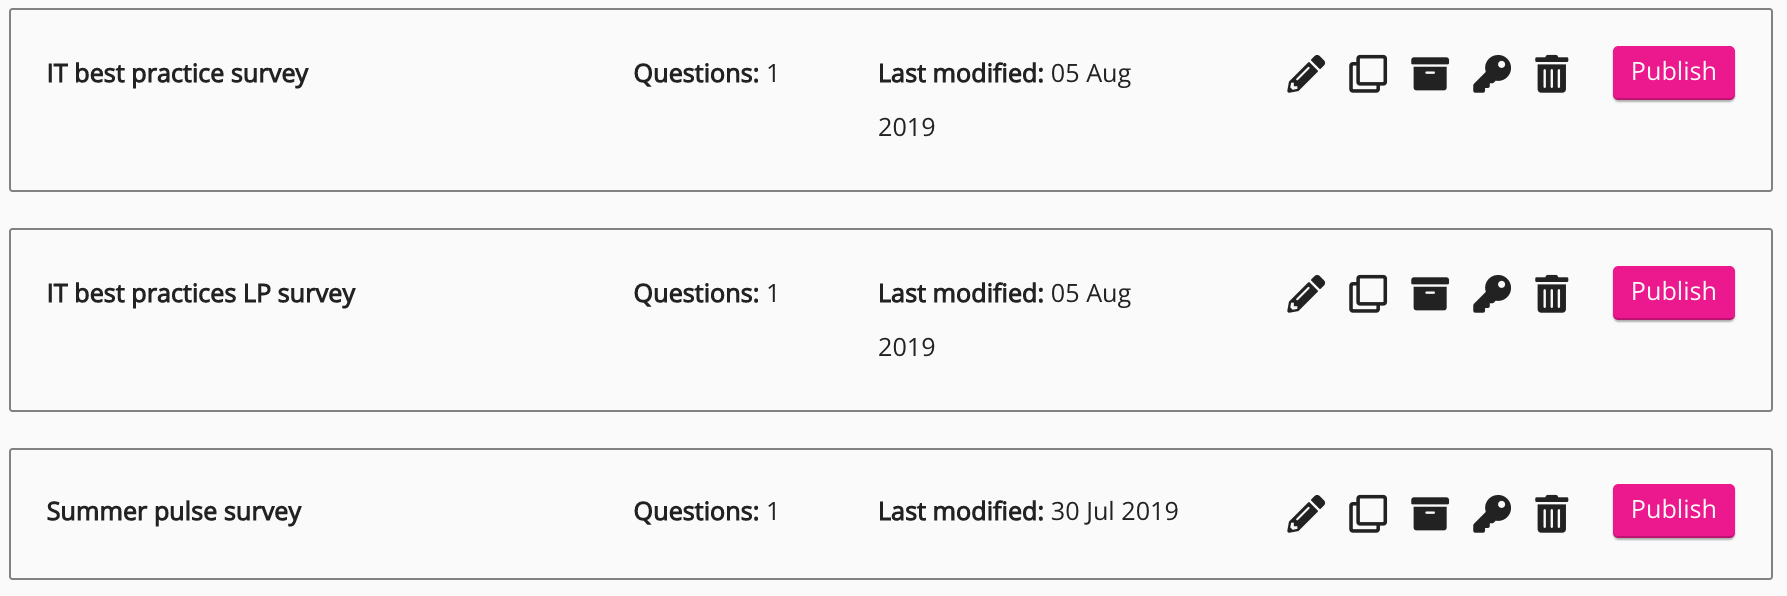
-
Locate the survey and click Publish.

The survey appears in the published list. -
To make the survey active, select the toggle on the right of the survey.
