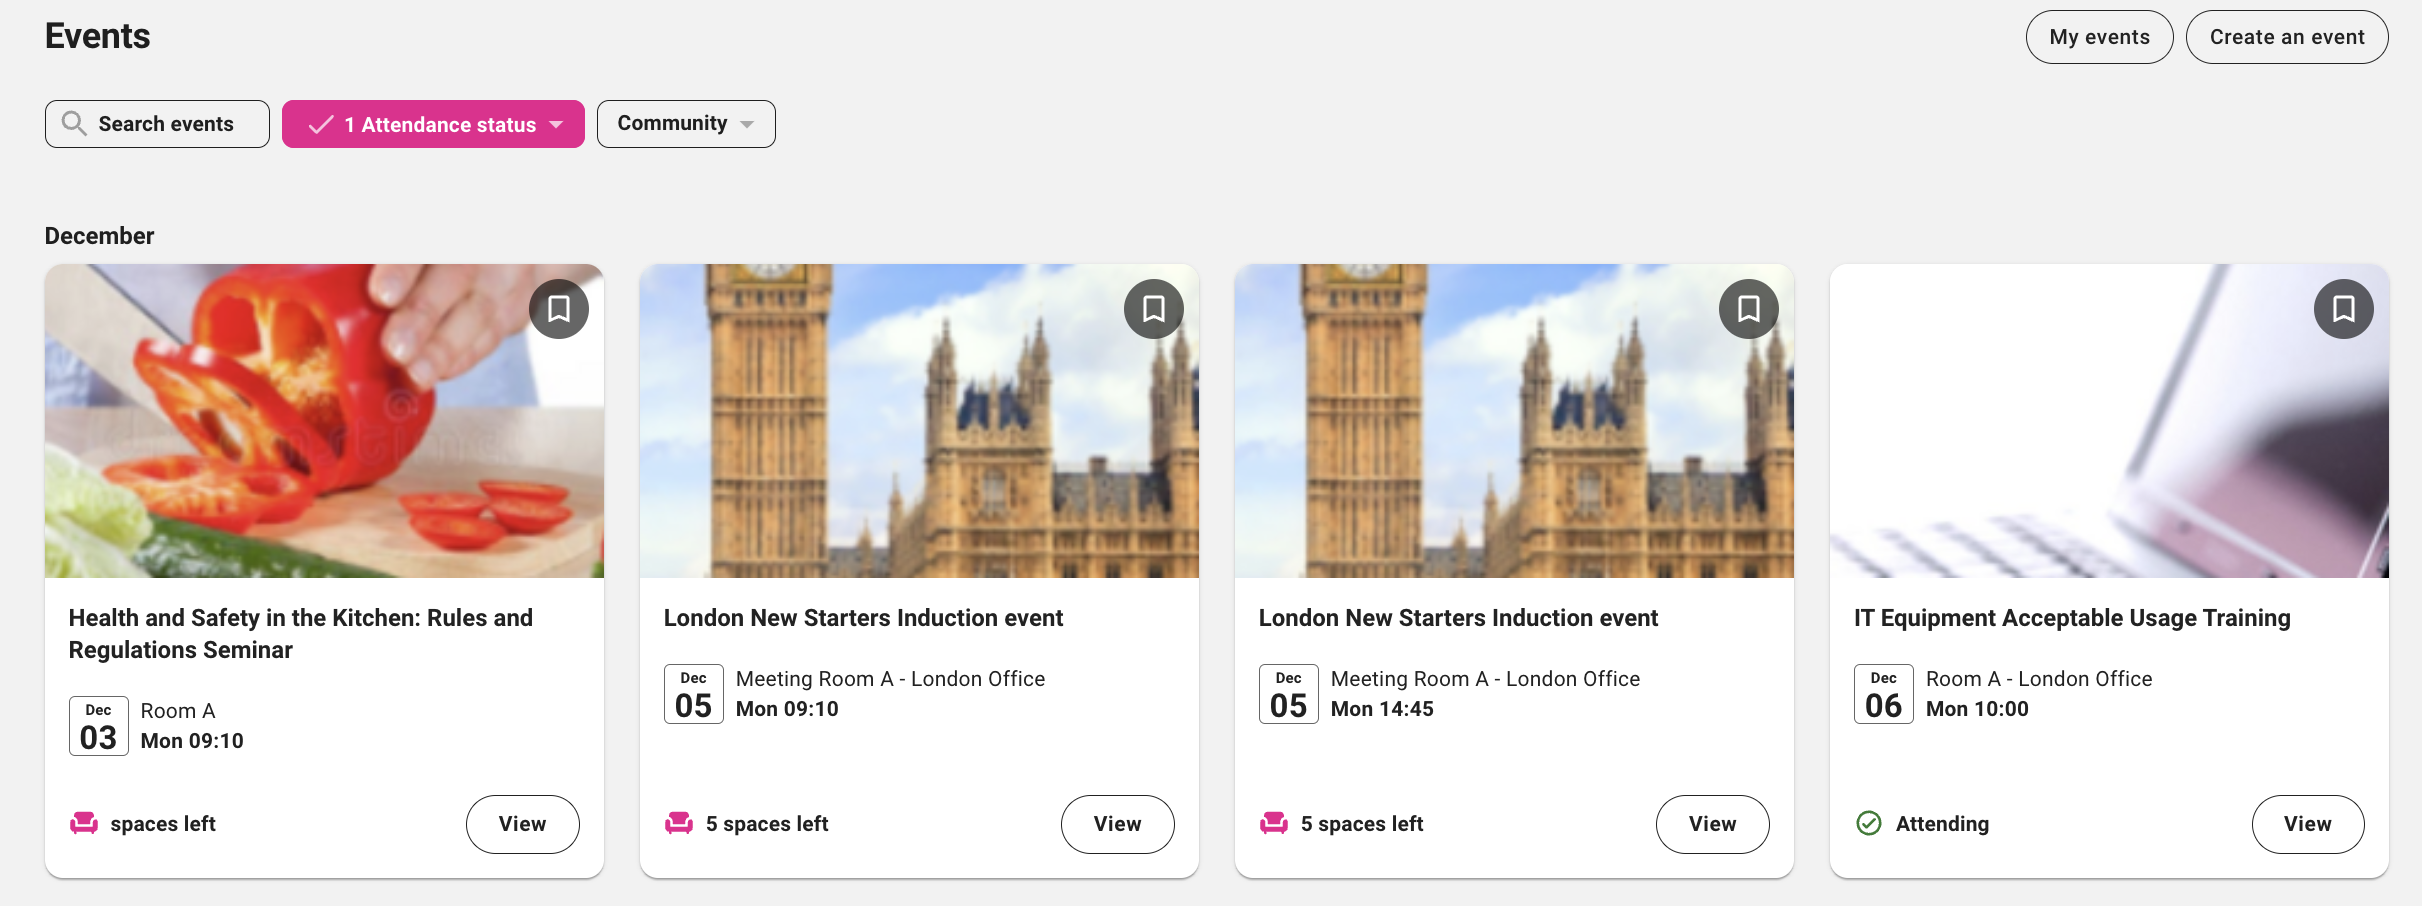
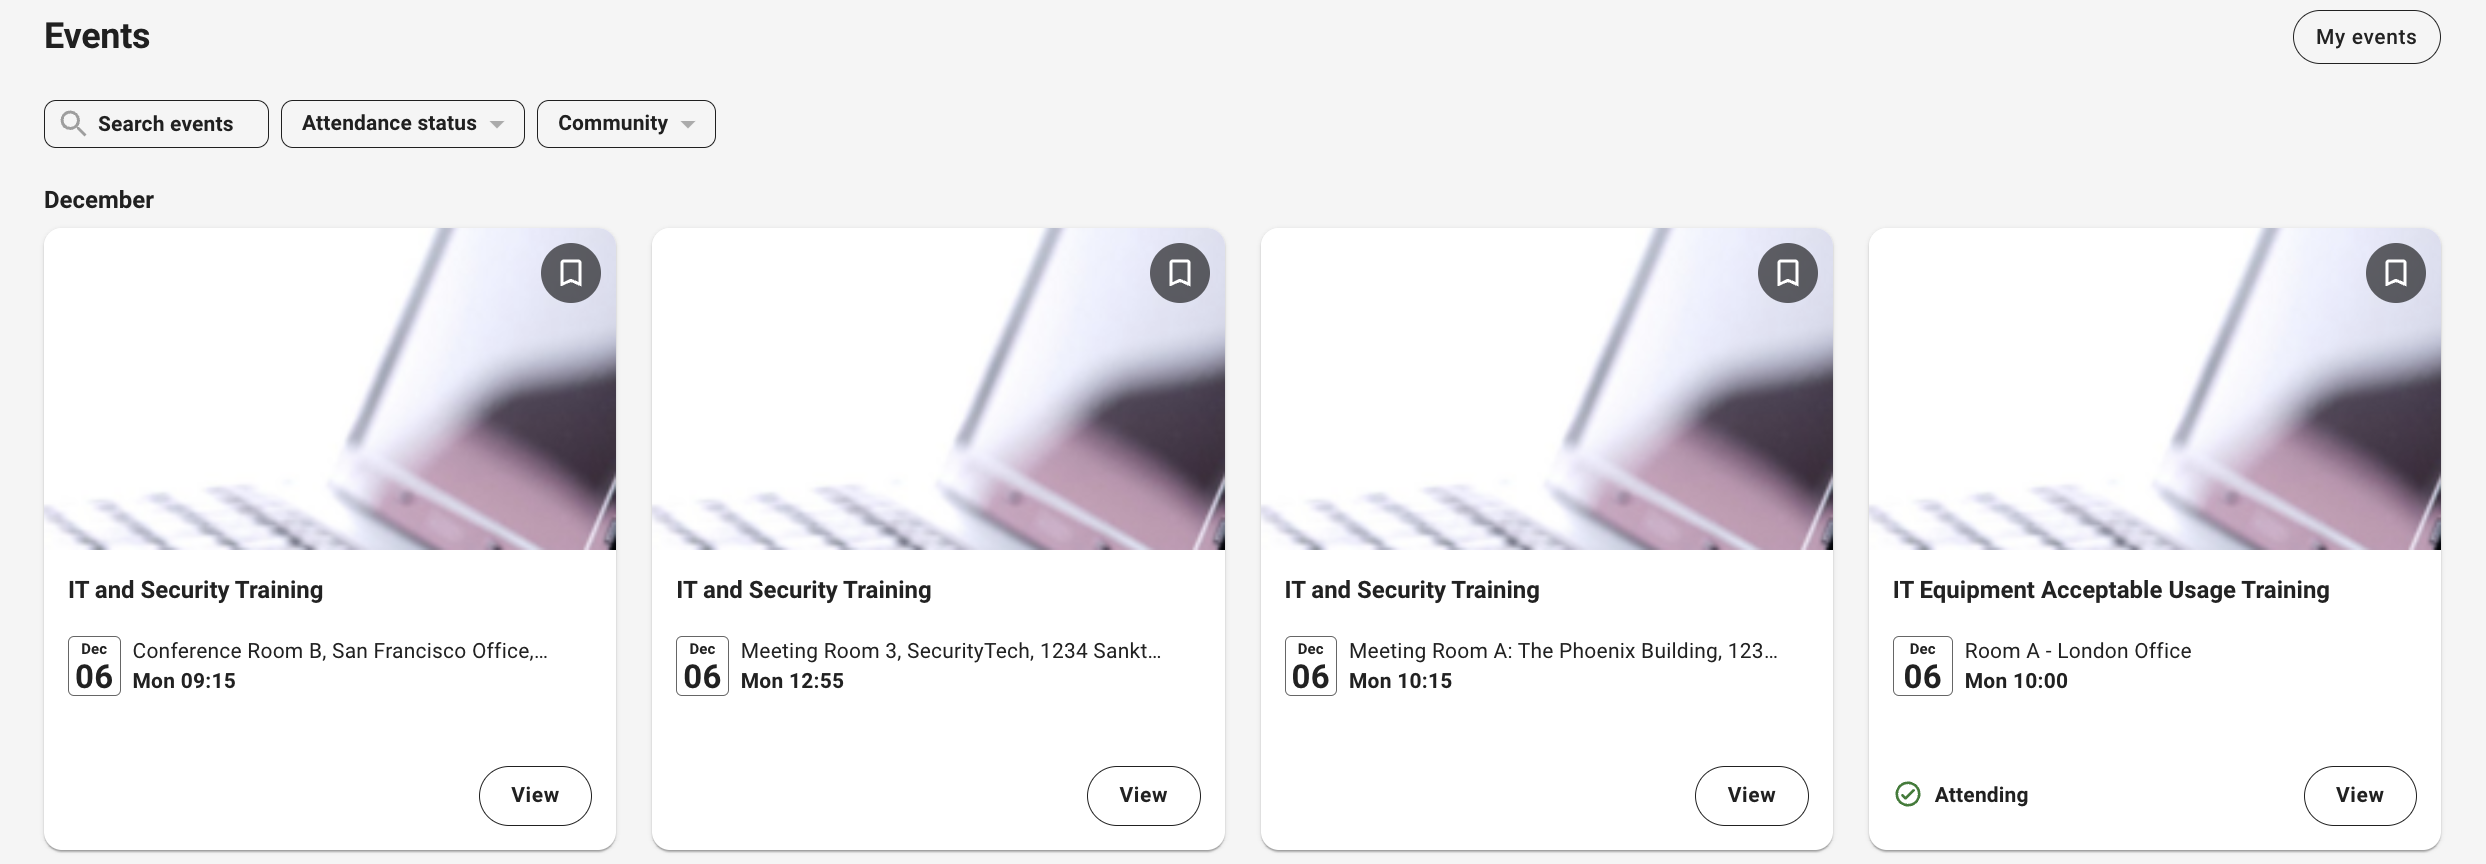
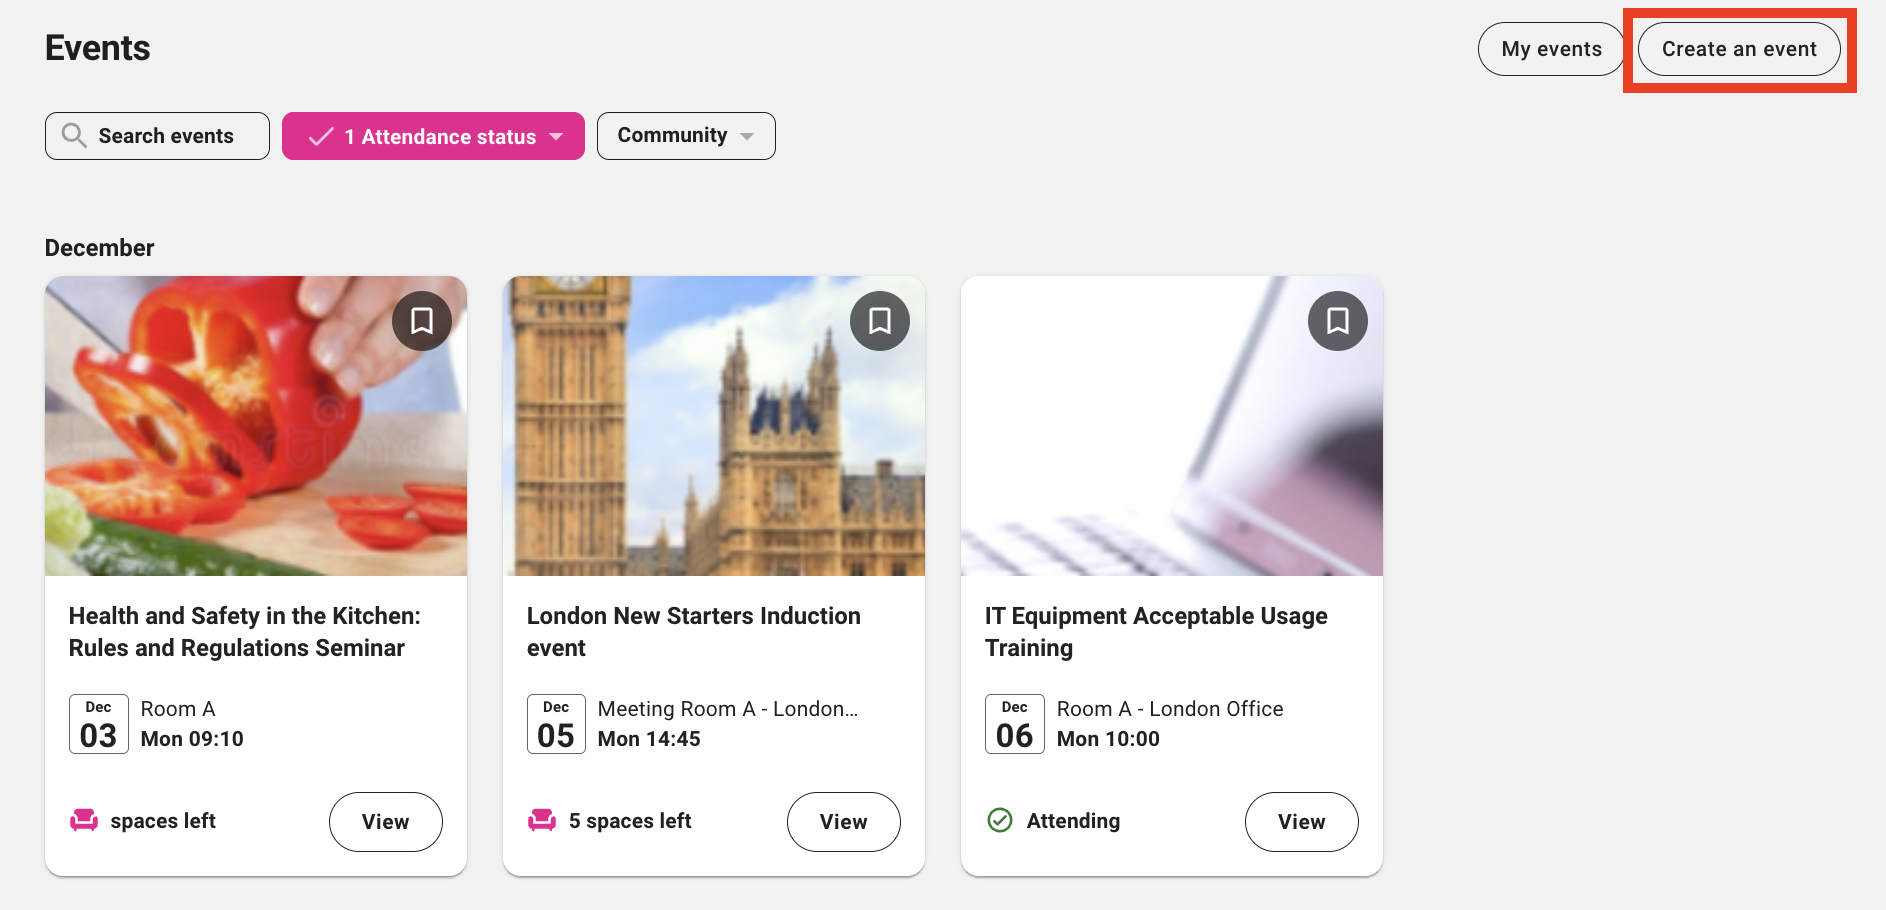
The Events screen on the side navigation shows you all the events you have access to, including the ones you’re attending, the ones you’ve attended in the past, and the ones that you have not signed up to as an attendee but have the option of doing so. If you are a site admin or user with permission to create and manage events, you can also create them from this screen.
An event can be a face-to-face class or workshop held in a physical location, or an online class or workshop held in a virtual meeting room, such as Google Meet, Zoom, or Microsoft Teams. An event might be as simple as a department away day or as complex as a company-wide training seminar, with occurrences in different offices across multiple timezones. For example, an event called "Company update" might have a unique occurrence for each regional office ( e.g. London, San Francisco, Tokyo), with agendas specifically tailored to each one.
If you are using the legacy Fuse UI, please see Events homepage (Legacy).
Viewing an event
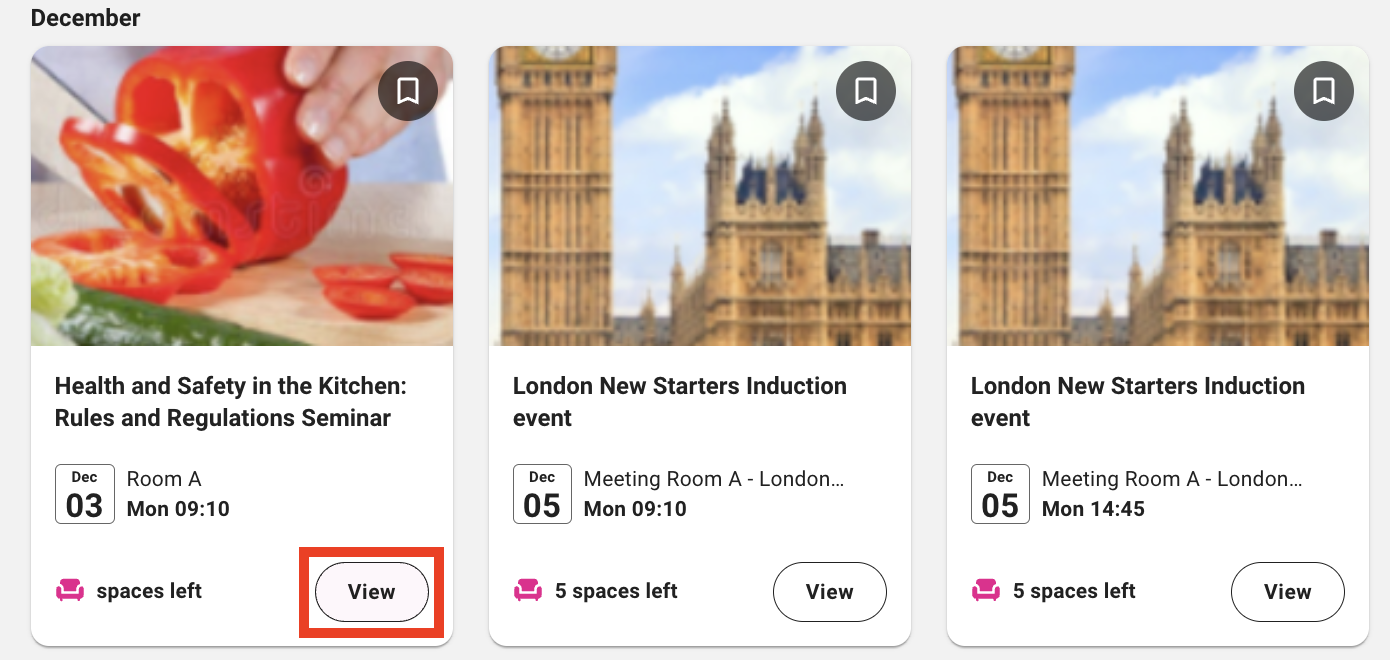
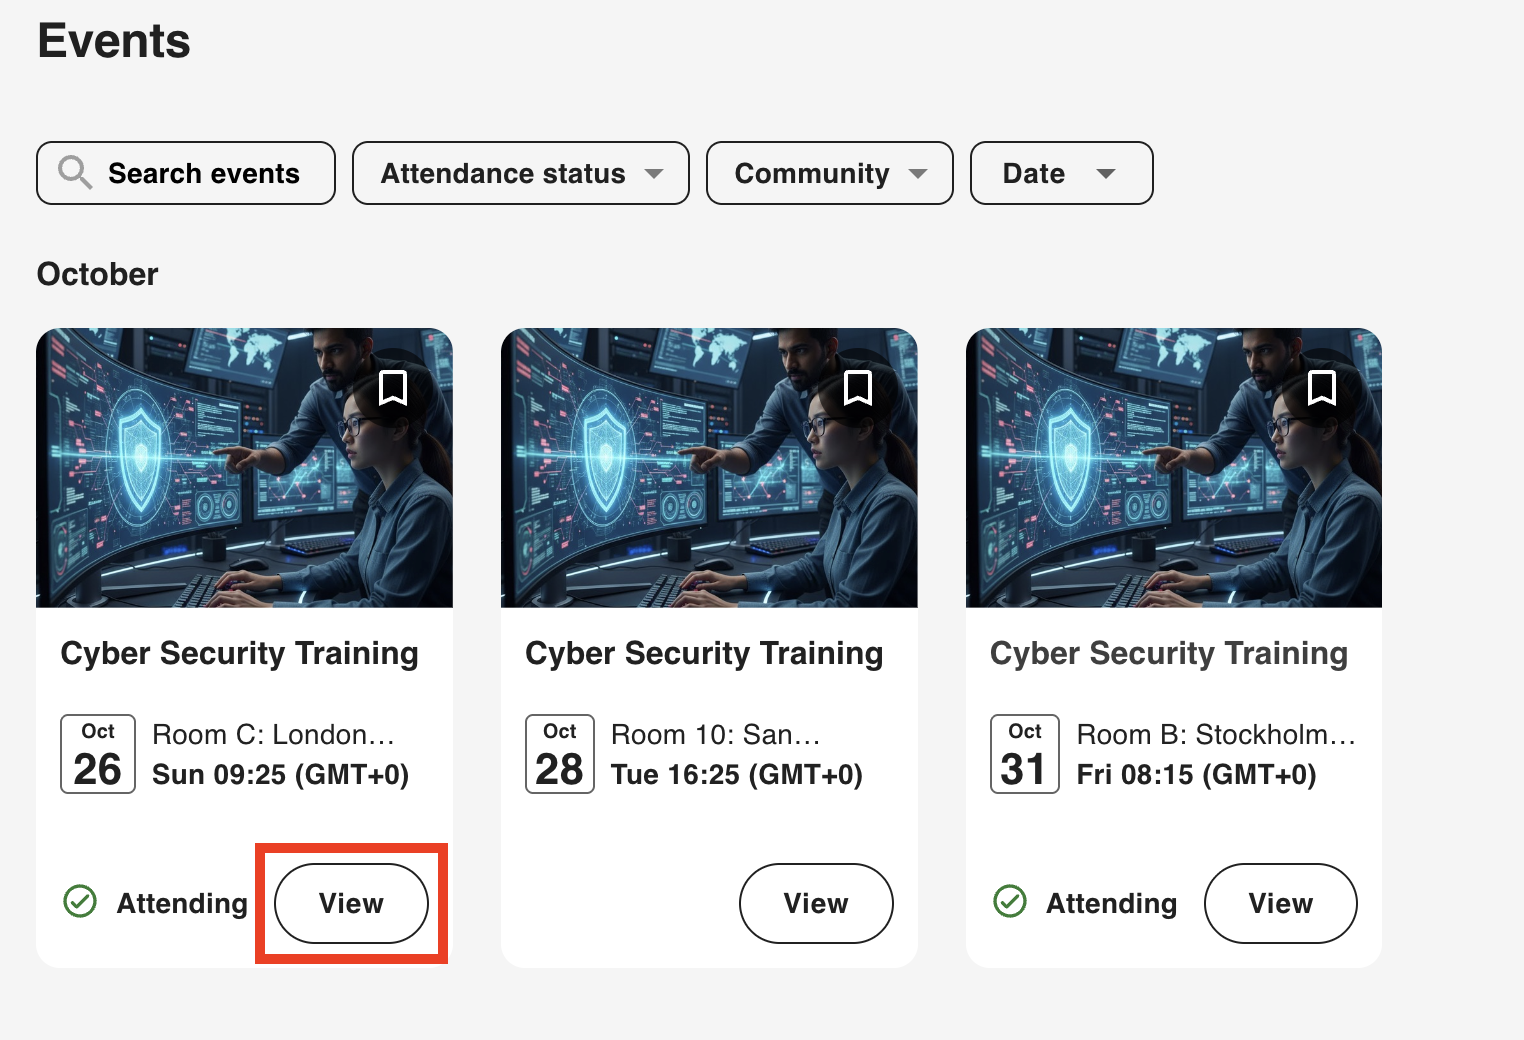
To view an event in full, including accessing the screen where you can apply to join the event, or if you are the event admin, also access the features to manage it, click the View button on the card for the event:
Event occurrences
When an event has multiple occurrences, meaning you have the same event but with different versions of it happening at different times, each occurrence will be shown as a separate event with a separate event card.
Example: The event creator might have created one overarching event but with multiple different occurrences, such as one occurrence for people who are attending in the morning and one in the afternoon, or localised versions of the same event, such as one taking place in London, San Francisco, Stockholm and so on, each taking place at a different time, in a different timezone, with slightly different agendas or hosts.
Searching and filtering
If you have a very large list of events, you can search through them using the internal search bar at the top of the screen and the list narrows down to only show events that match your search criteria.
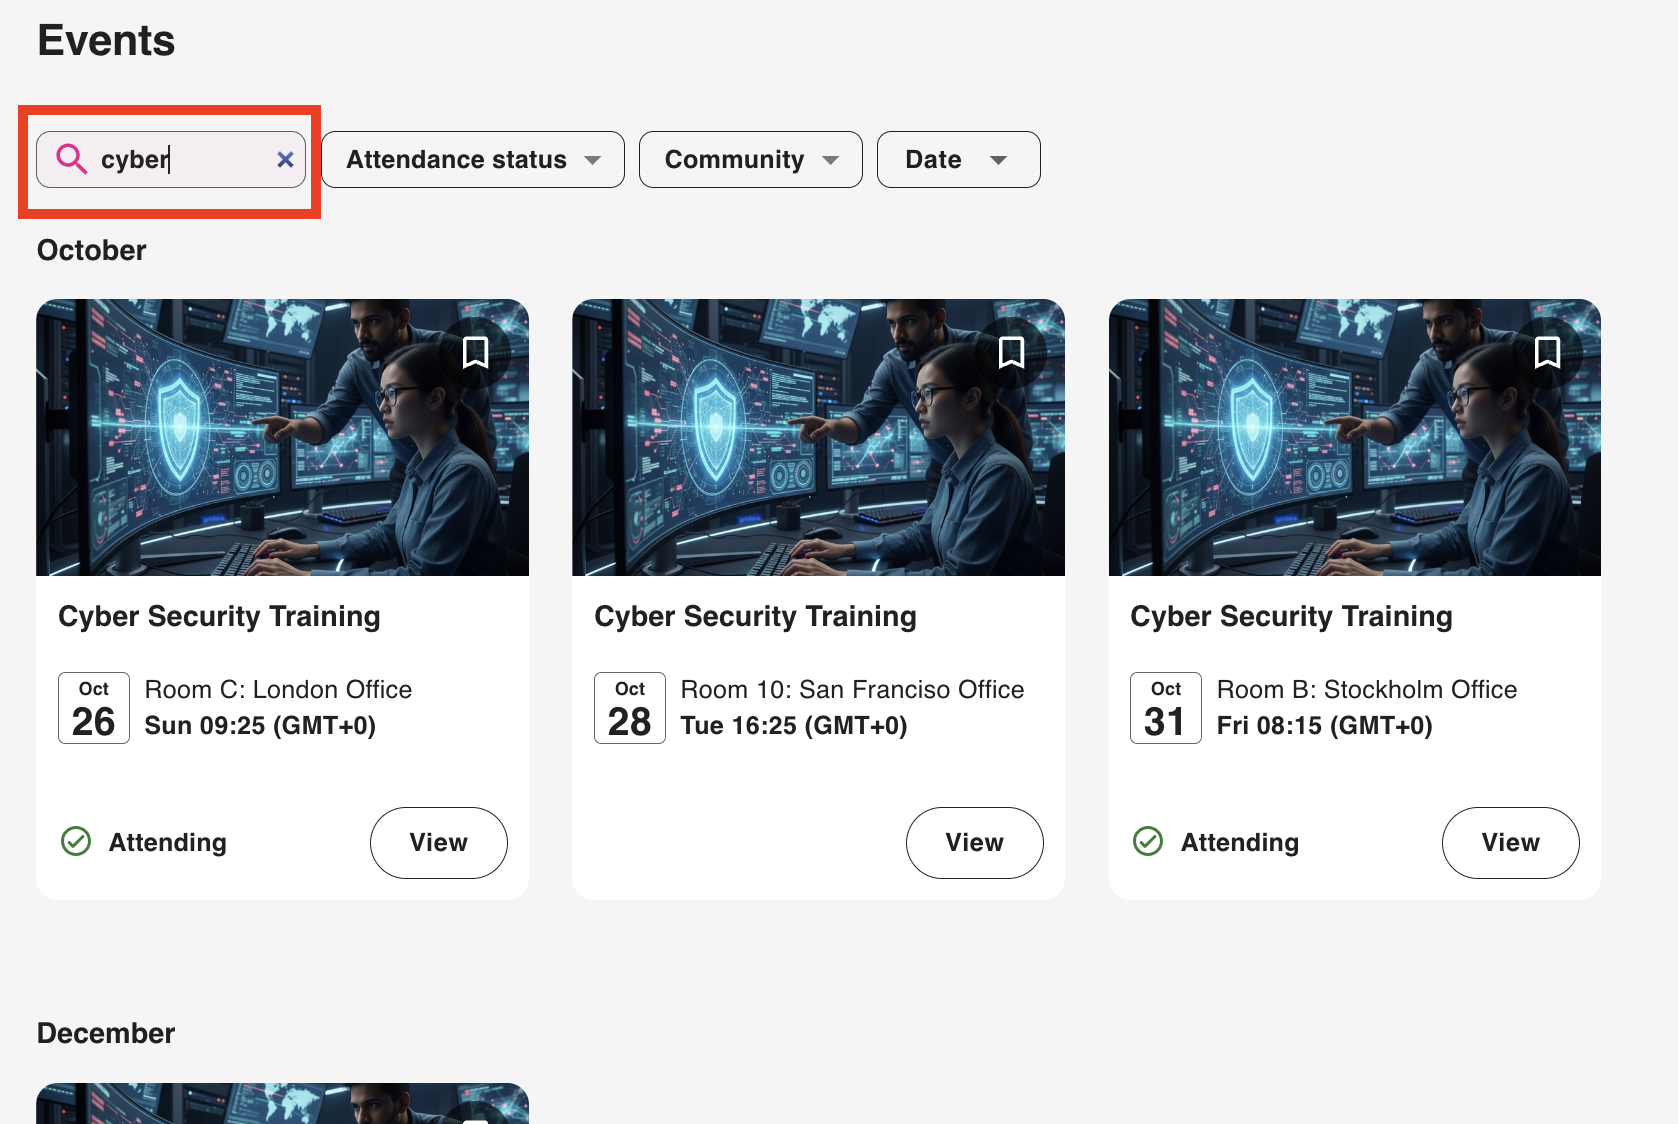
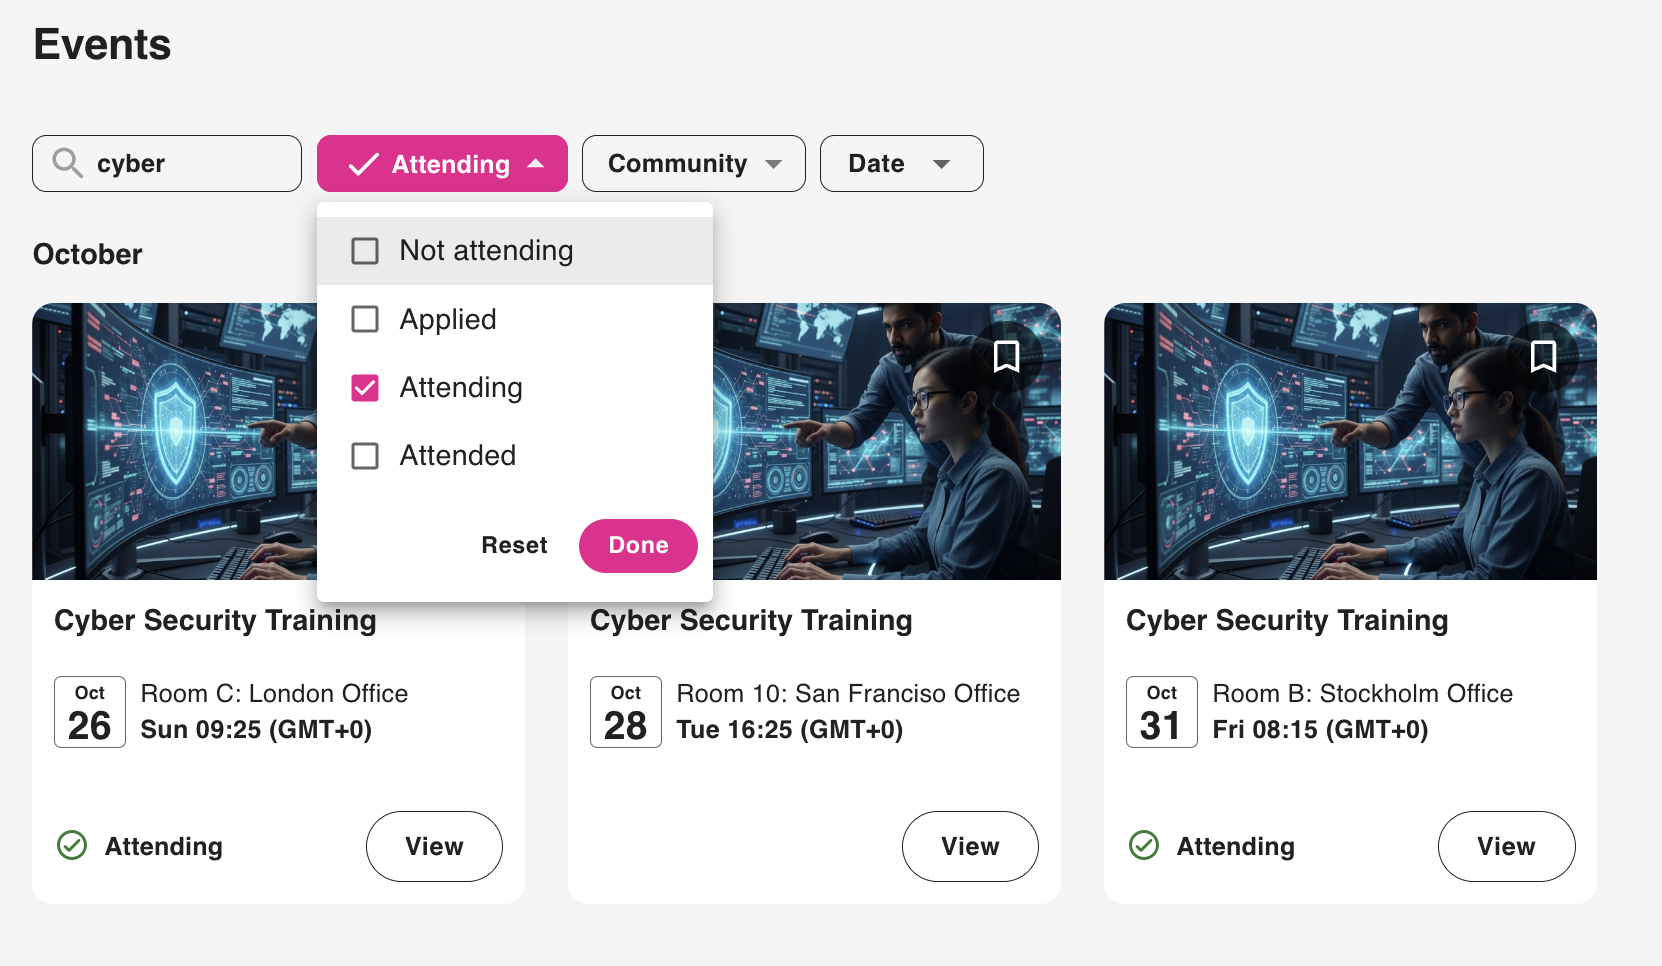
You can also filter the list to only show events with certain statuses, including:
-
Not attending: These are events that you have permission to see and attend but have not currently applied to attend, including those in you are a member of and those in open communities you are not a member of.
-
Applied: These are events you have applied to attend but are waiting for approval from the specified approver, your manager, or the event creator.
-
Attending: These are events that are due to take place that you have successfully applied to and are due to attend.
-
Attended: These are events that have taken place in the past that you have already attended.
You can filter by community so that you only see events from communities you have selected: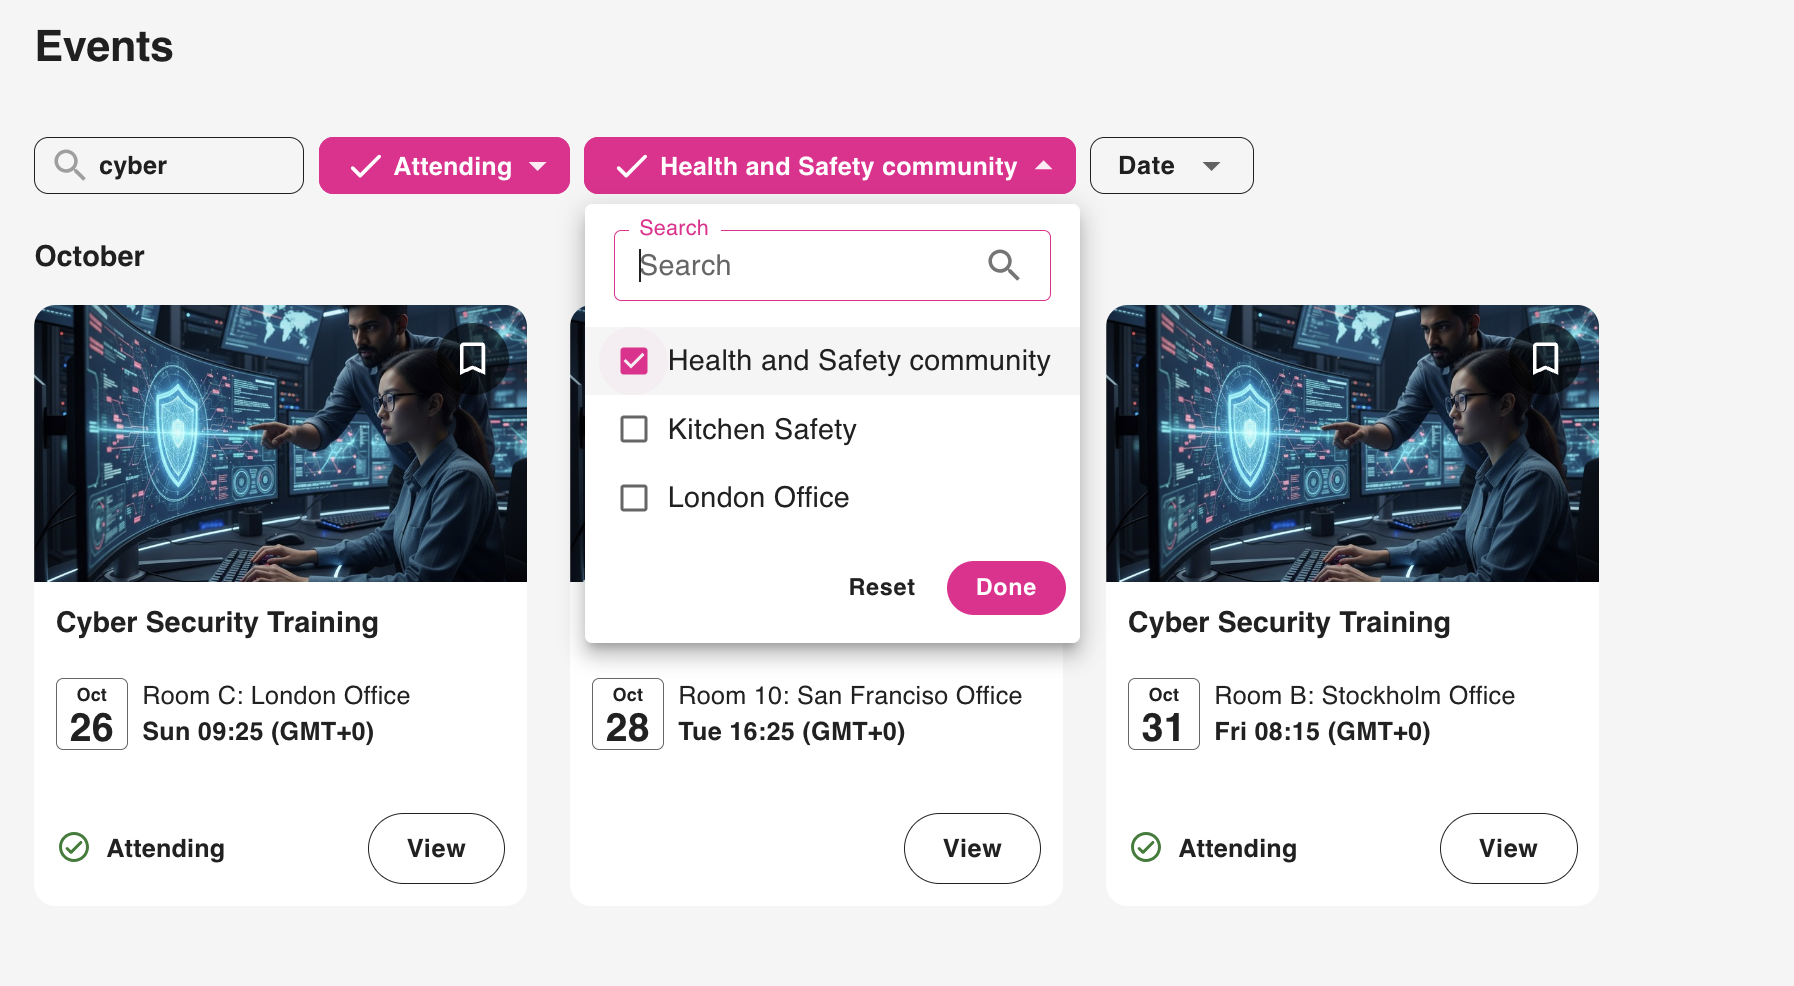
You can filter the list of events by those taking place within a specific period, making it easier for you to find a specific event you are attending or have access to. For example, you might want to filter the list to only show events taking place between October and November 2025:

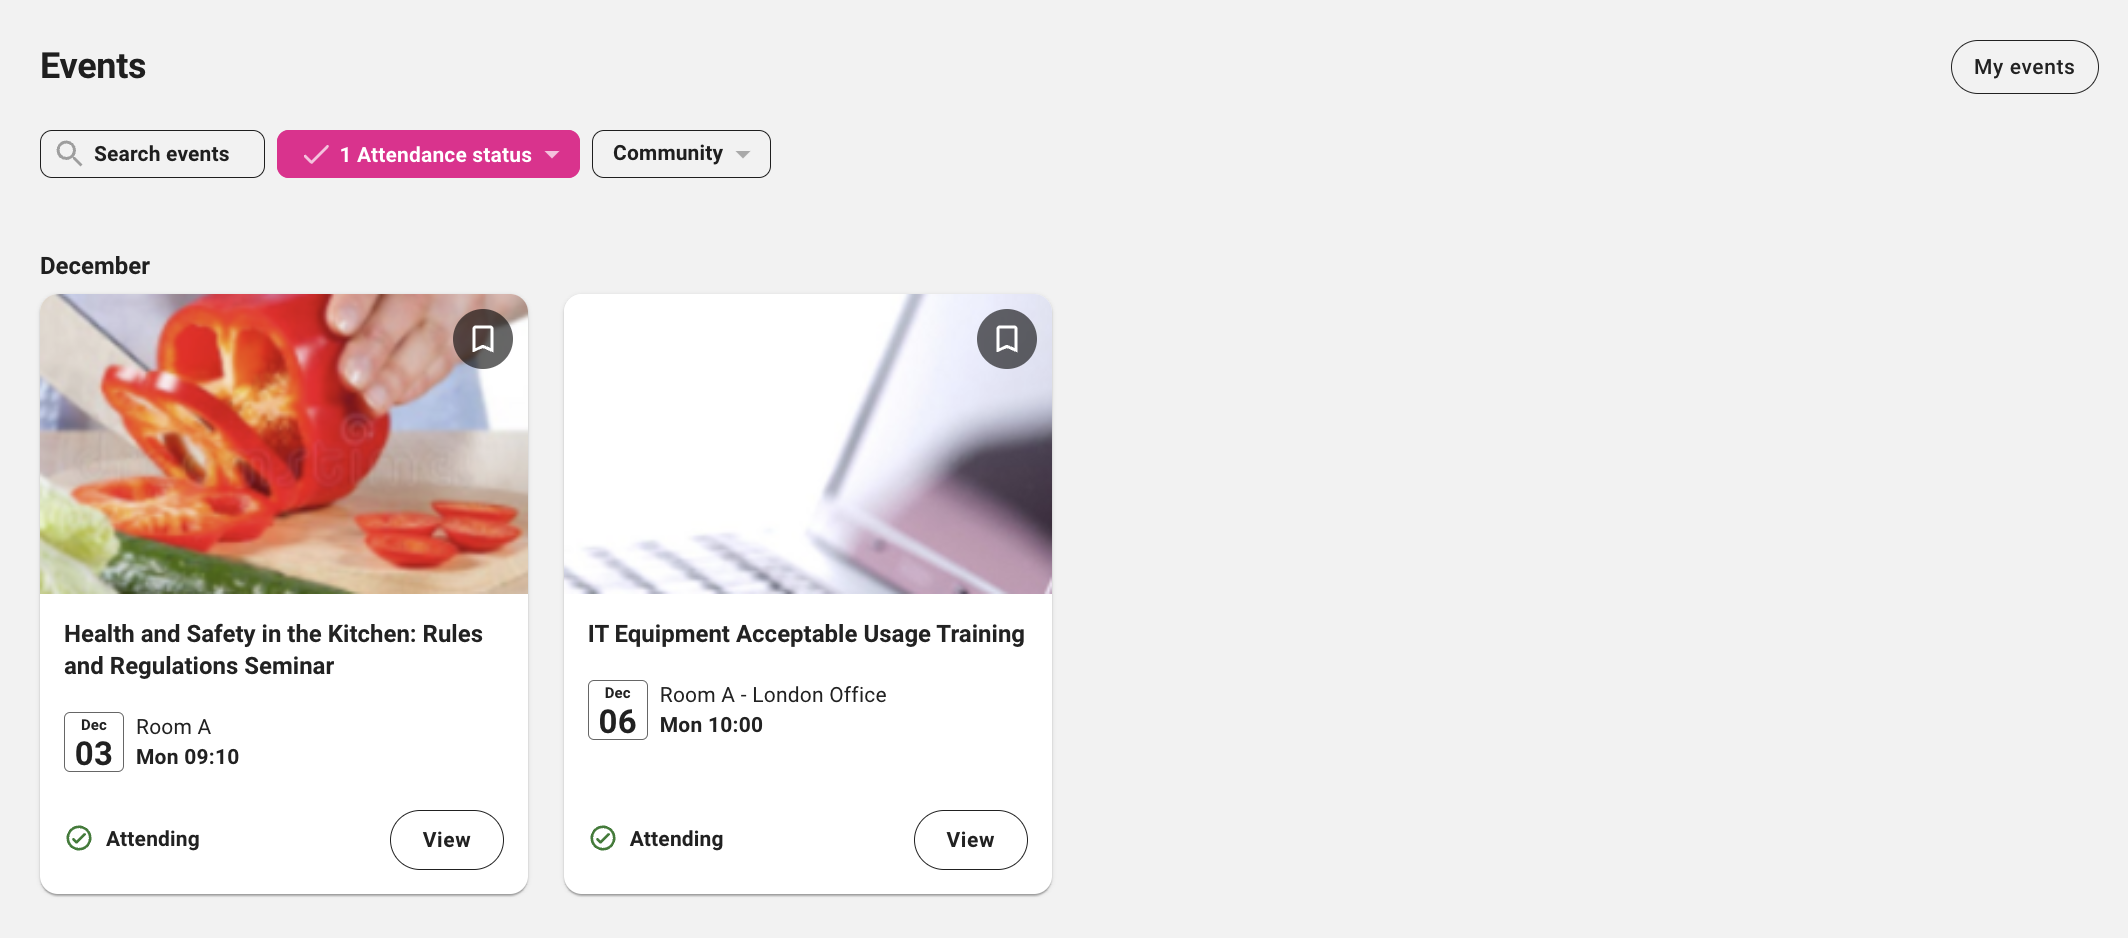
Accessing your events
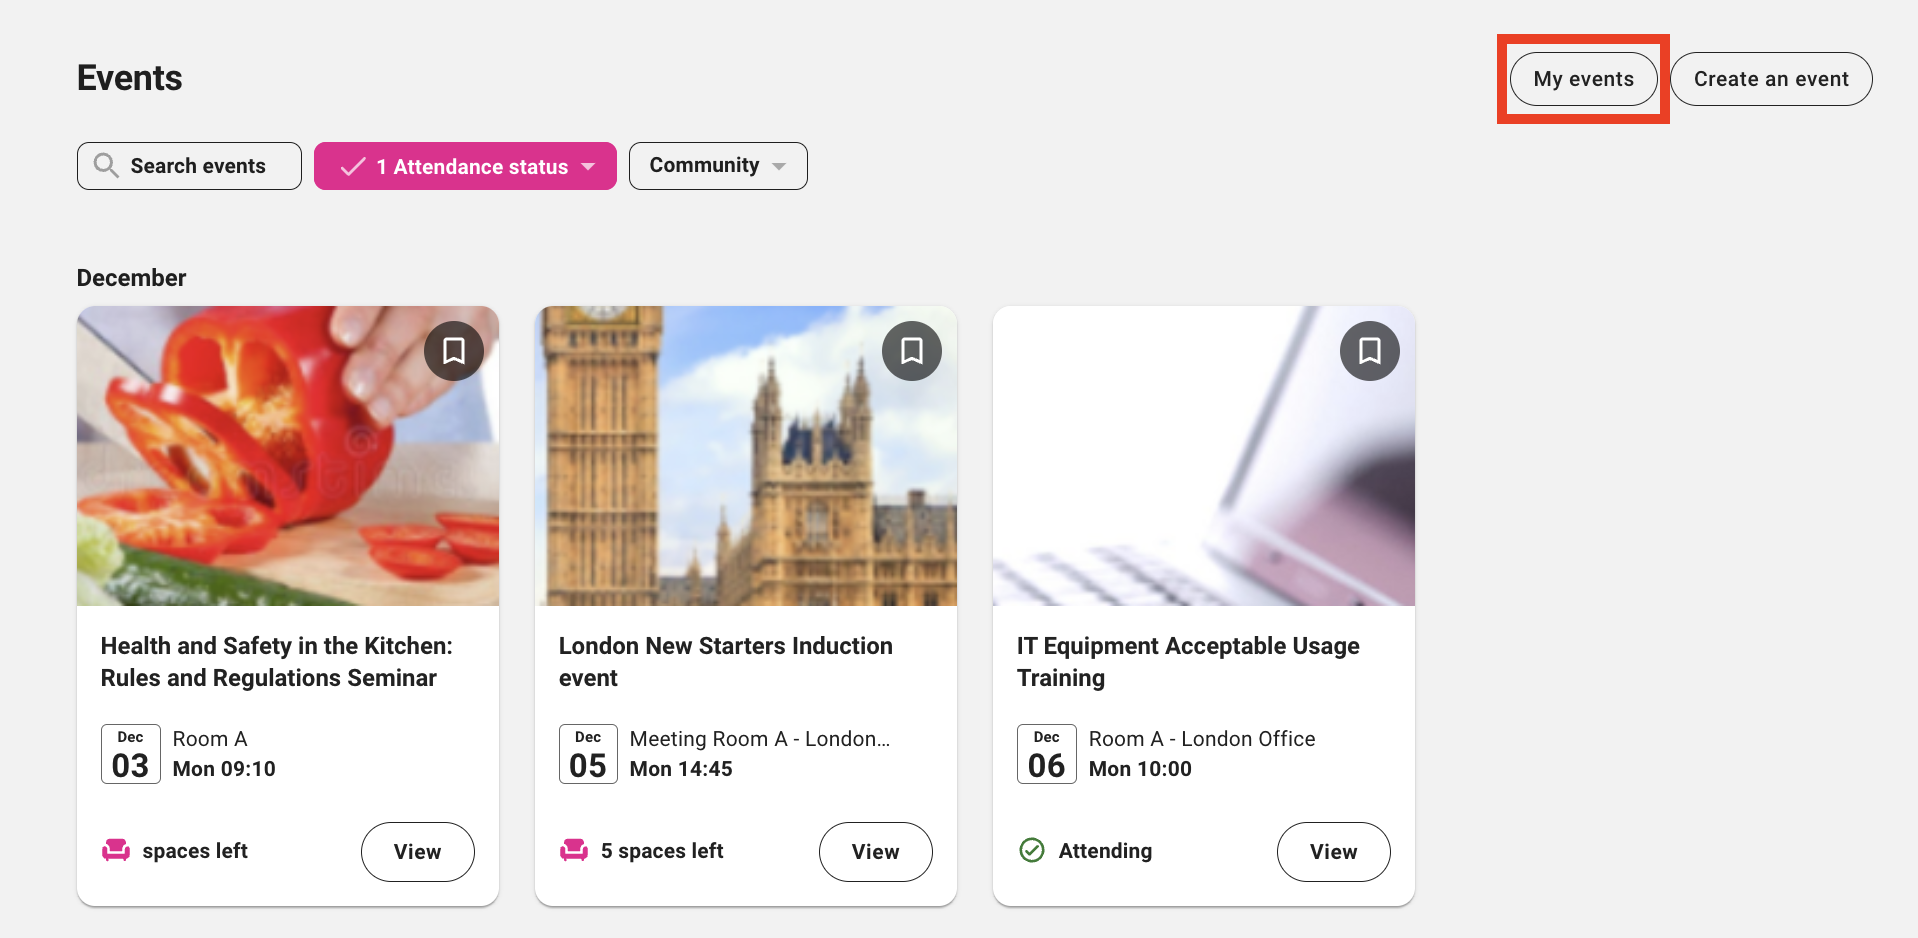
You can quickly access any events you are attending by clicking the My events button in the top-right corner of the screen. You will be taken to the Events tab of the You screen where these events are listed.
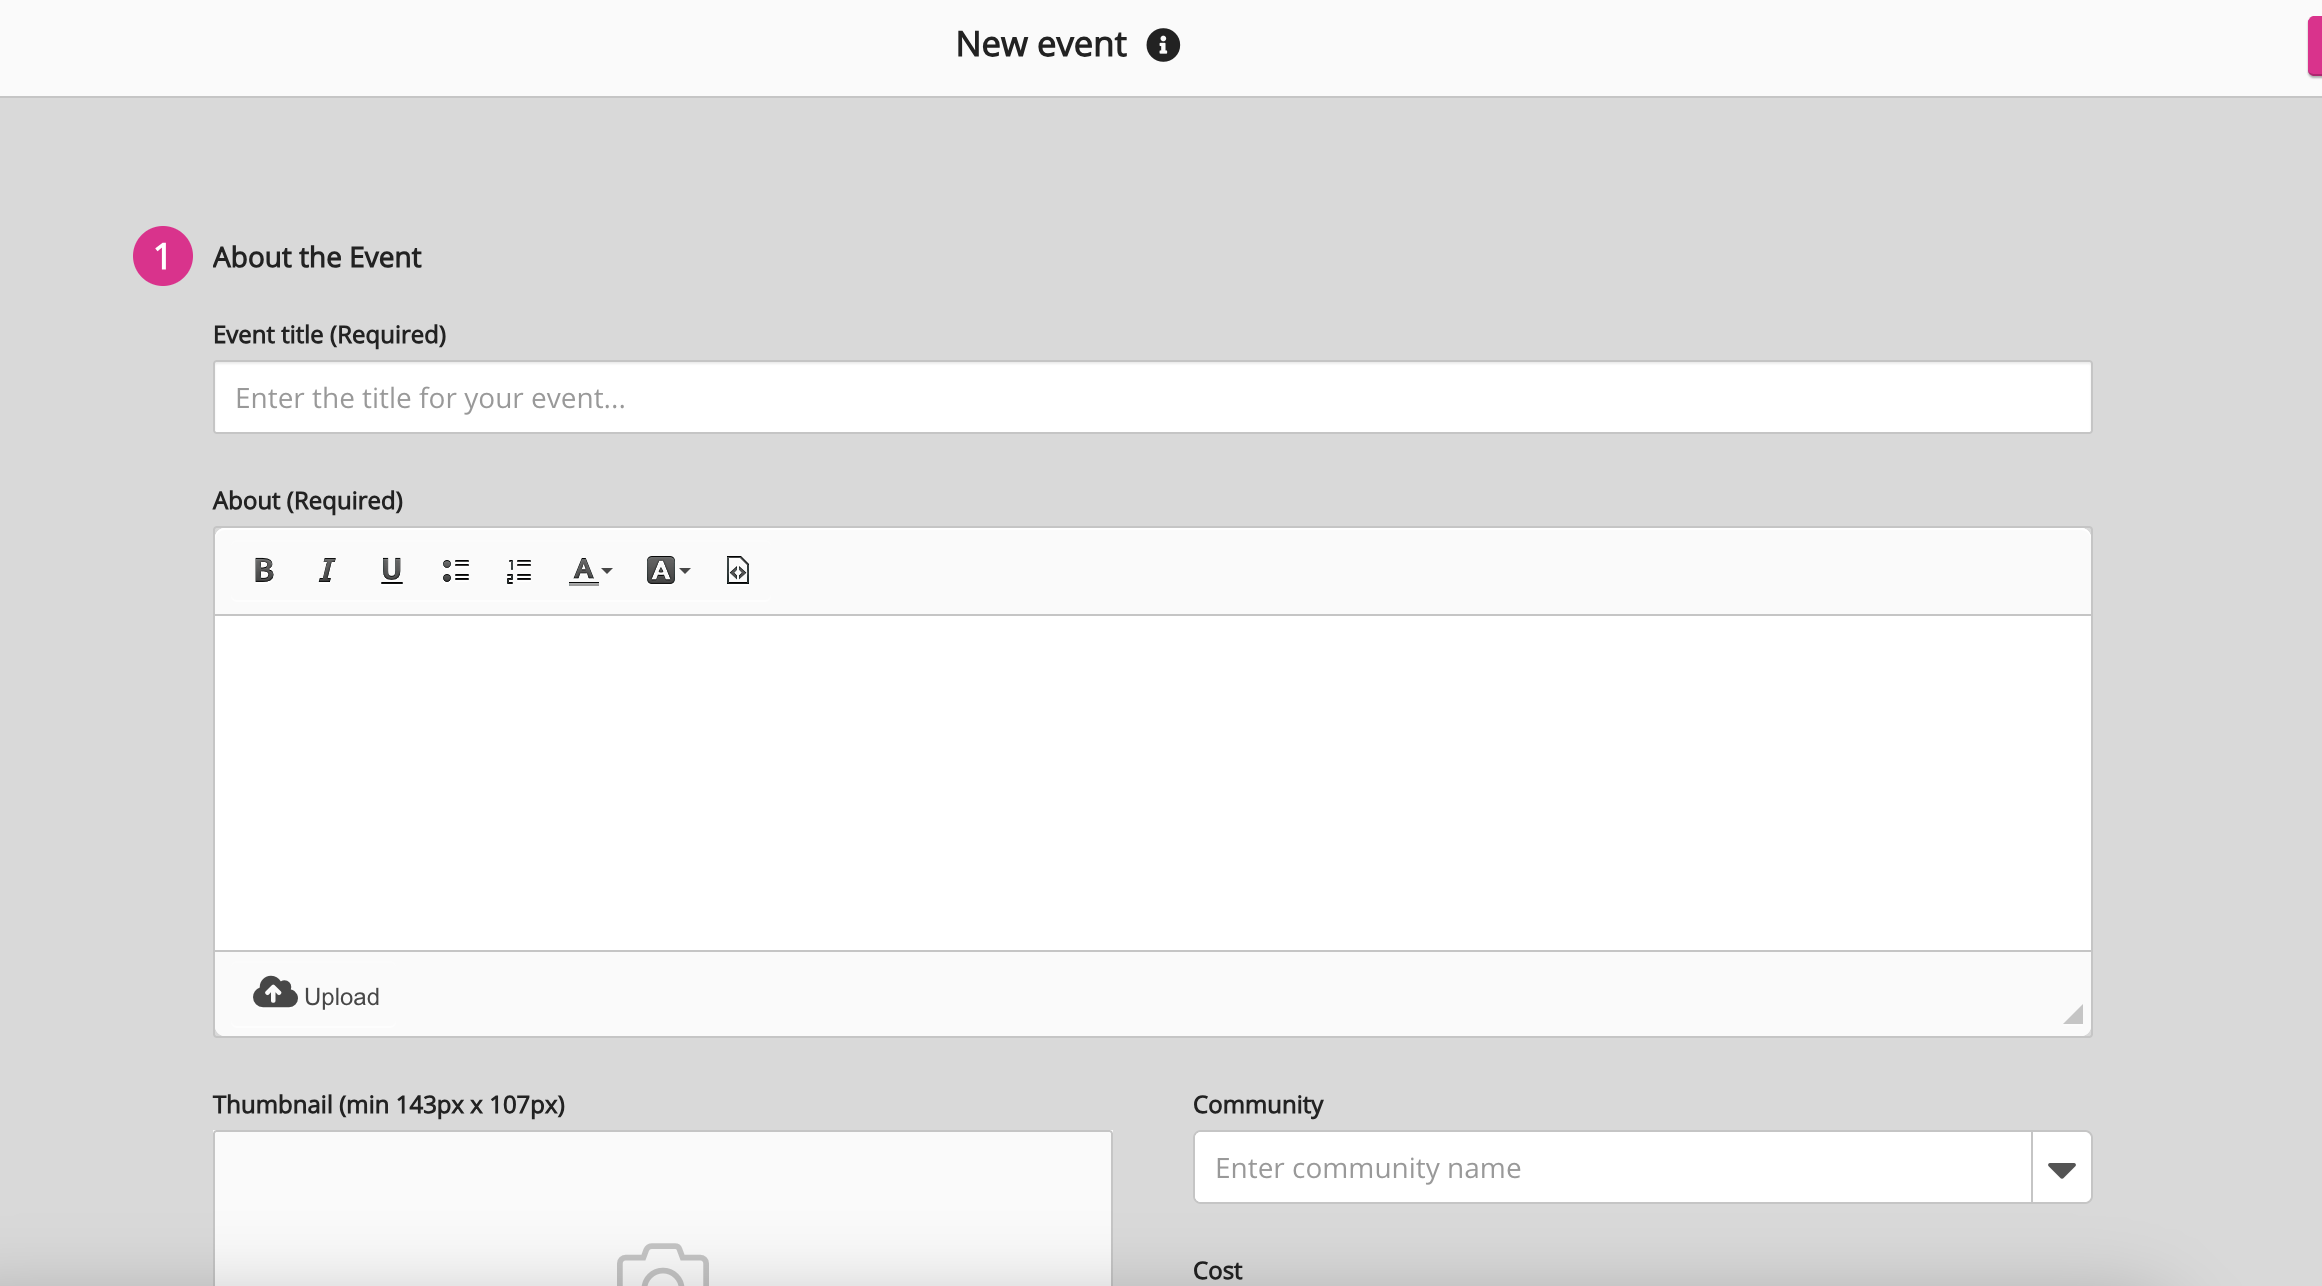
Creating an event
If you are site admin or a user who is a member of an admin group with the permission to create events, you will see the Create an event button in the top-right corner of the screen. Clicking this button takes you to the event creation screen where you can start creating an event.
If you do not have permission to create events, the Create an event button is not present on this screen:
Creating a new event
To create a new event:
-
On the Events screen, in the top-right corner, click Create an event.

The event creation screen opens, where you can start creating your event. For more information see:Creating an event.
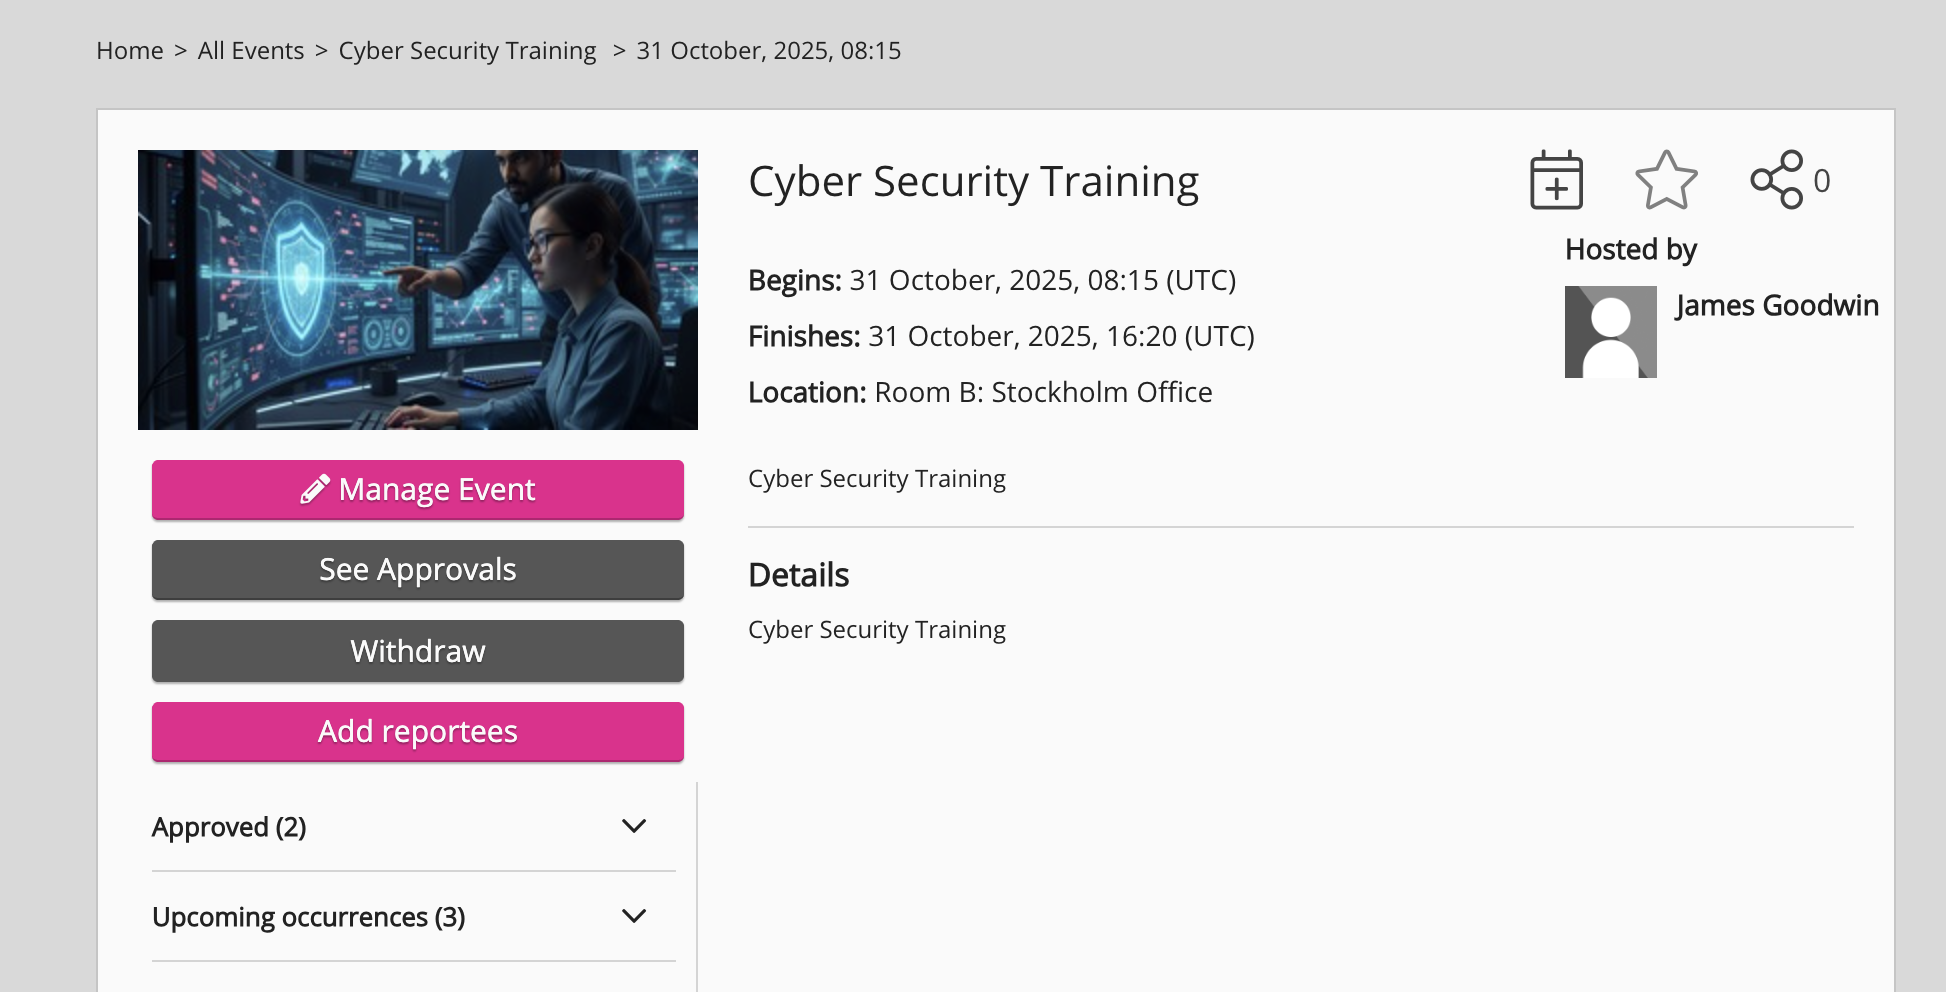
Viewing an event occurrence
The occurrence screen displays details about an occurrence of an event, including location, host, and availability, as well as the ability to register attendance or join the waitlist. A selection of management options are also available, such as the ability to change occurrence details and approve applicants.
To go to an occurrence of an event:
-
On the Events screen, click the View button on an event tile.
The event occurrence opens:
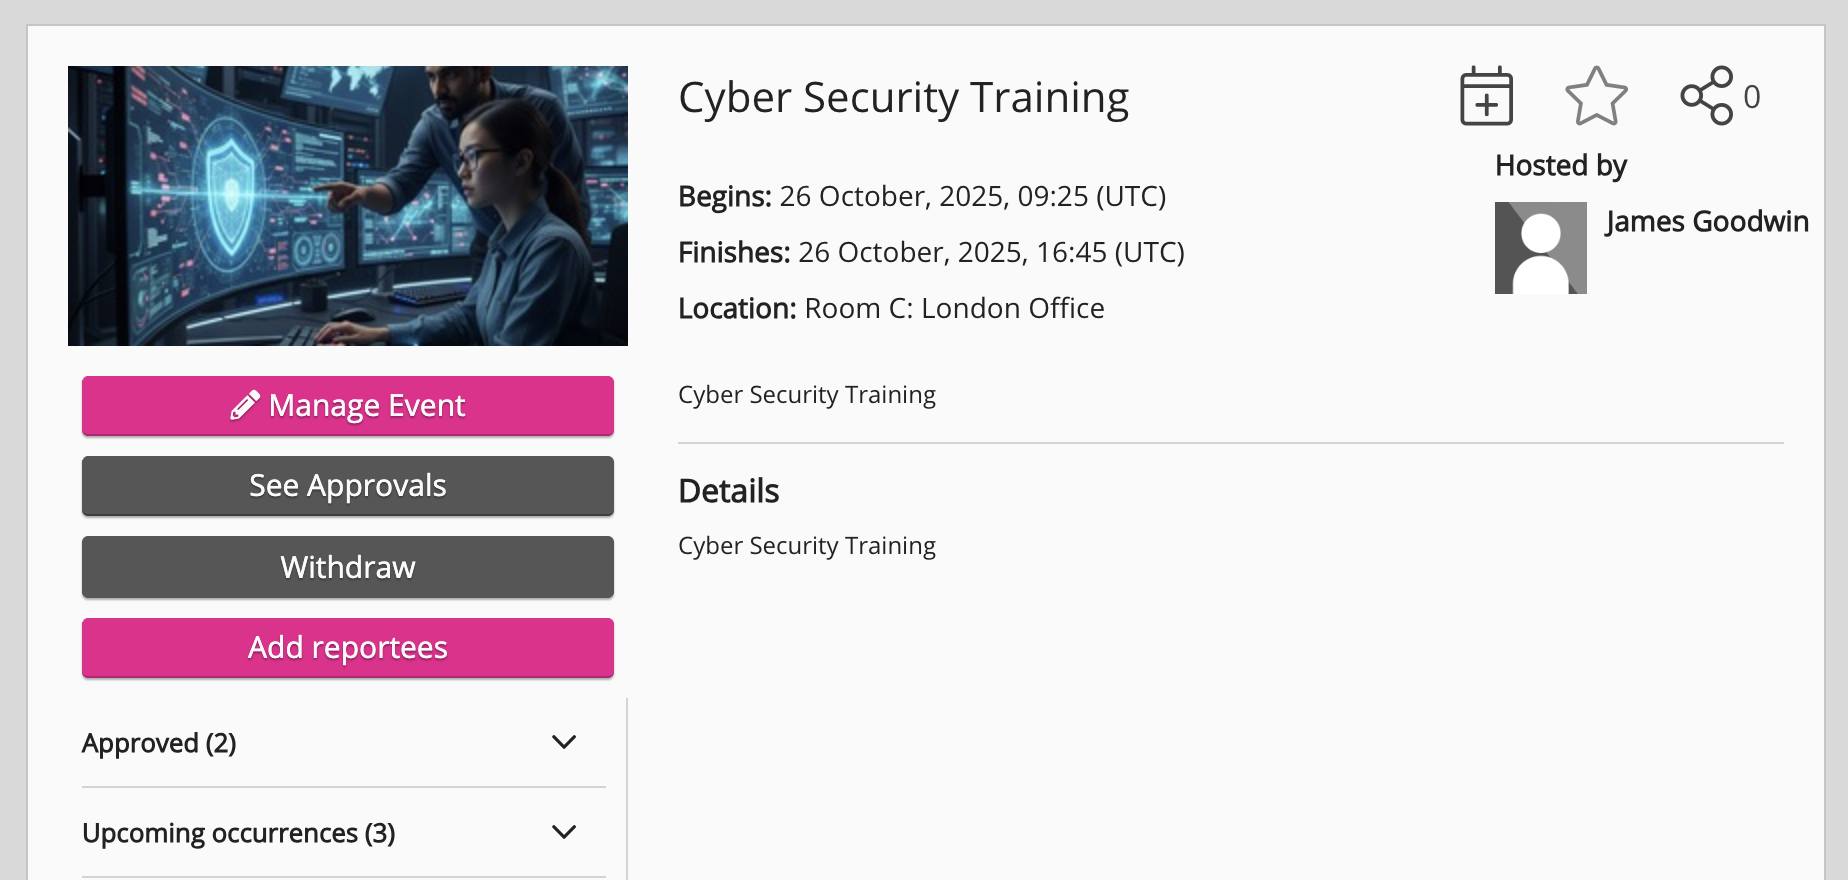
The following settings are available to all users and managers.
|
Setting |
Description |
|---|---|
|
Favourites |
To save the occurrence in your Favourites, click the Favourite icon. 
|
|
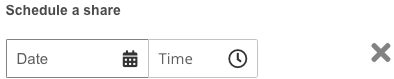
Share
|
To share the occurrence with all members of a community or specific users across the company instance:
|
|
Save to iCalender
|
To save the occurrence in iCalendar, click the calendar icon. 
|
|
Register |
To register to attend the occurrence, click Register. If there are no spaces remaining, a non-clickable Registration closed button displays in place of Register. |
|
Withdraw |
To withdraw from an occurrence you are registered to attend, click Withdraw. If the registration deadline has passed, users must provide a reason for withdrawing from the occurrence. |
|
Join waitlist / Leave waitlist |
If there are no spaces remaining on the occurrence, click Join waitlist to join the waitlist until spaces become available. Spaces become available when other users withdraw or the event creator or a manager adds more spaces. To enable the waitlist on an occurrence, see New event > Advanced options. To leave the waitlist, click Leave waitlist. If you rejoin the waitlist after leaving, you will lose your original position and go to the back of the waitlist. |
|
Add reportees |
To add one or more of your reportees to the occurrence:
If the Sign off required option is enabled for the occurrence, a notification is sent to the applicant approver, such as the event creator manager, or specified user to sign off the applicant. For more information, see Events admin screen. |
The following settings are available to administrators.
Administration settings are only available using the web platform on tablet-size screens or larger.
|
Setting |
Description |
|---|---|
|
Manage Event |
To go directly to the About tab on the occurrence management screen, click Manage Event. For more information, see the About tab section in Events > Managing occurrences. |
|
See Approvals |
To go directly to the Applicants (#) tab on the occurrence management screen, click See Approvals. For more information, see the Applicants (#) tab section in Events > Managing occurrences. |
|
Take attendance |
To register occurrence attendance:
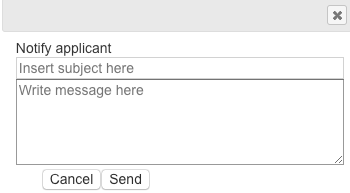
To send a user a notification:
The type of notification the user receives depends on their personal notification settings. |