

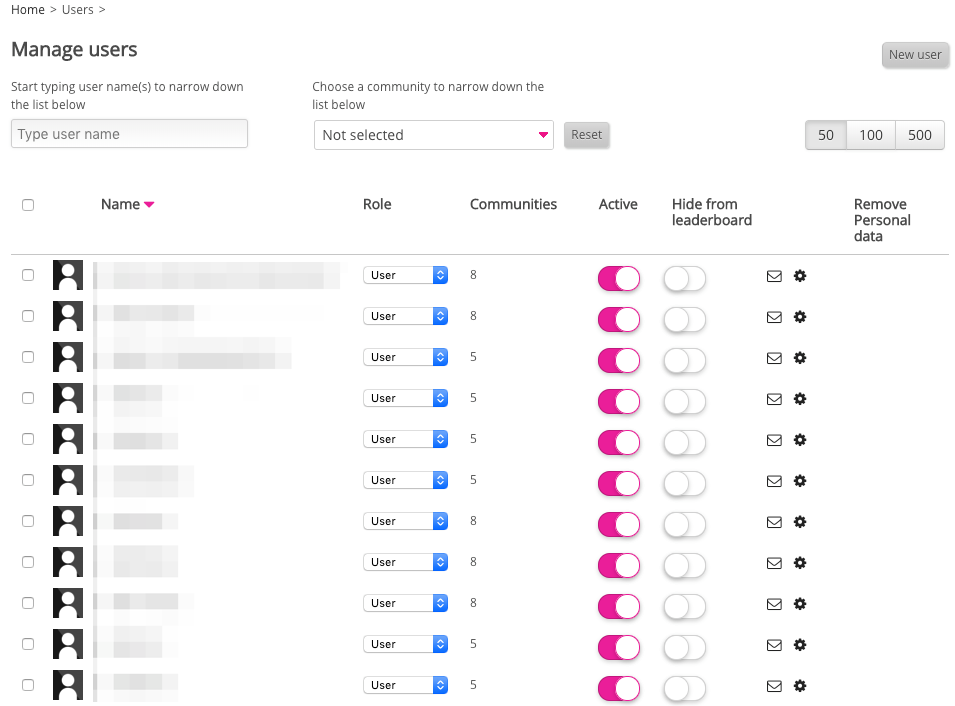
The Manage users screen in the Admin Panel, allows admins to create new users and manage existing users by assigning roles, accessing user profile records, and configuring other management options.
Creating a new user
To create a new user, see Creating a new user.
Manage users table
The following columns exist on the Manage users table:
|
Configuration |
Description |
|---|---|
|
Name |
The user's Name usually corresponds to the given name and surname. If there is no given name and surname on the user's profile records, the Name corresponds to the user's username. If there is no username, the Name corresponds to the user's email address. 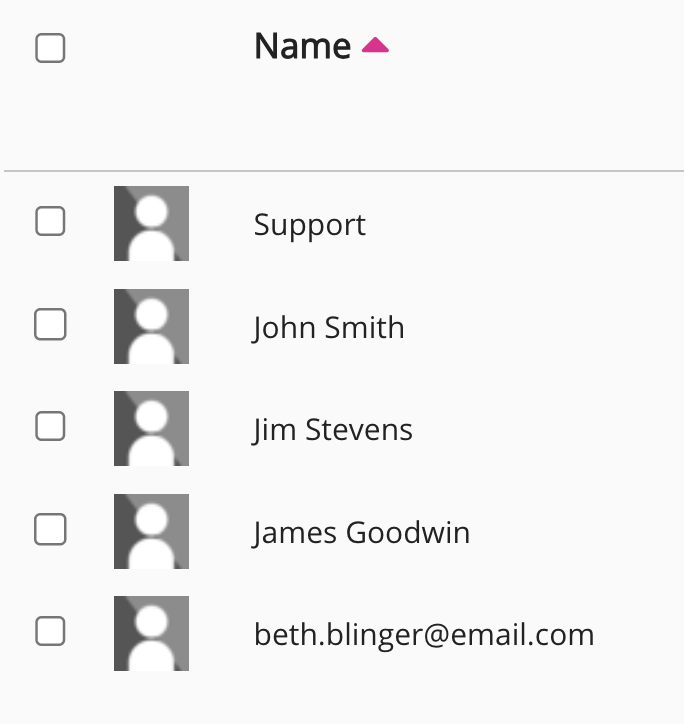
|
|
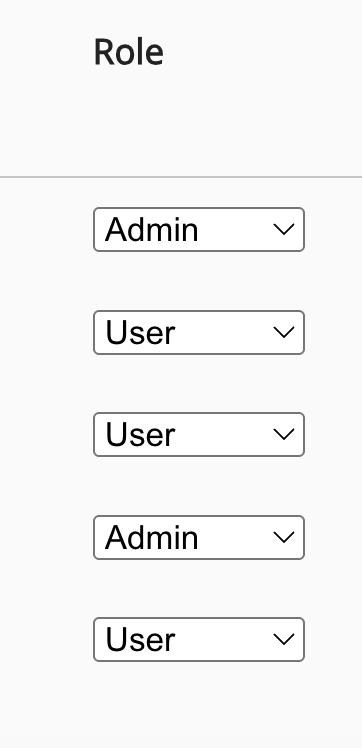
Role |
Select either of the following options:
|
|
Communities |
Number of communities the user belongs to. 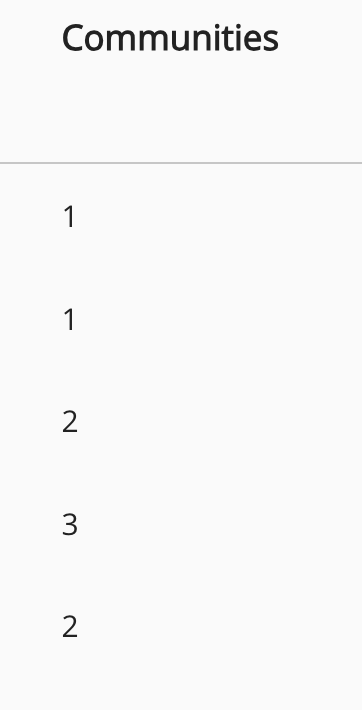
|
|
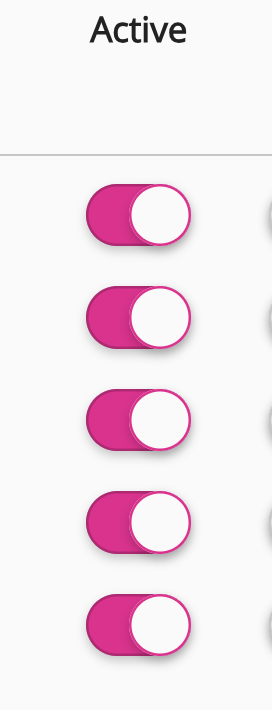
Active |
Enables you to deactivate a user, as well as permanently delete a user from Fuse.
|
|
Hide from leaderboard |
By default, the user appears on the Fuse leaderboard. To hide, select the Hidden from leaderboard checkbox. 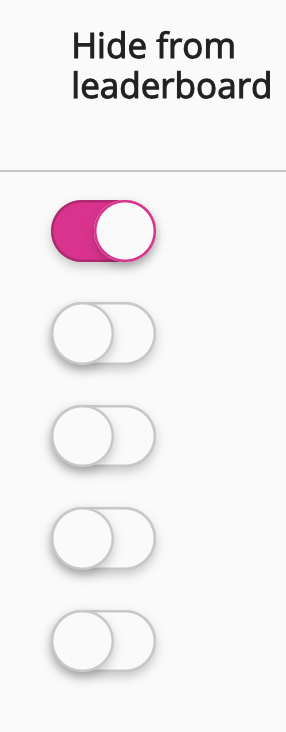
|
|
Send welcome email
|
Click to send a generic welcome email to the user from Support. The email contains a link to the Fuse login screen, along with the user's Fuse username and password. 
Notes:
|
|
Edit user |
Redirects to the user's profile records.
|
|
Remove Personal data |
Only available on disabled users. The user is completely removed from the Fuse app and only exists in analytics. When the user's personal data is removed, the user cannot be re-enabled.
|
Selected [#] users
Select one or more users from the Manage users table, and perform bulk operations on those users, including setting user roles, adding users to communities, sending a welcome email, activating/deactivating users, and hiding users from the leaderboard.
When you select users from the Manage users table, the total number of selected users is displayed in the title of this section.
For example, if you select 4 users, the title of this section will change from Selected 0 users to Selected 4 users.
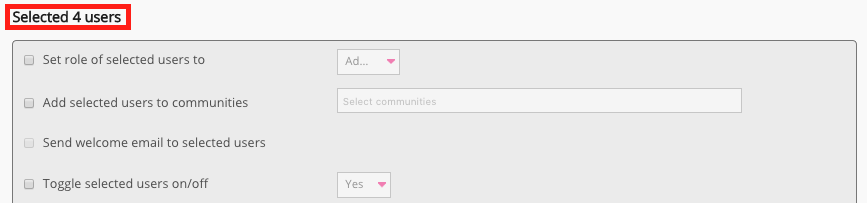
The following standard bulk operations can be performed:
|
Bulk operation |
Description |
|---|---|
|
Set role of selected users to |
Set the role for one or more selected users.
|
|
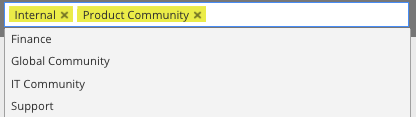
Add selected users to communities |
Add selected users to one or more existing communities. To add selected users to one or more existing communities:
|
|
Send welcome email to selected users |
Send a generic welcome email to the selected users from Support. The email contains a link to the Fuse login screen, along with the user's Fuse username and password. Notes:
To send the welcome email to the selected users:
|
|
Toggle selected users on/off |
Activate/deactivate one or more users. To activate/deactivate one or more users:
Deactivated users are still visible in the list of users and a cross is displayed in the Remove Personal data column in the Manage users table. Click the x to completely remove all of the user's personal data from Fuse. 
|
|
Hide selected users from leaderboard |
Hide the names of one or more selected users from the Leaderboard in Fuse. To hide one or more users from the Leaderboard:
|


Export users
Choose whether to export all users or selected users to a CSV file. The CSV file is available to open next to the corresponding button.
As an alternative, it is recommended that you generate a list of users using the All users report, on the Reporting screen.