
You can create and enable a new user on the Manage users screen.
Creating a user
To create a new Fuse user:
-
On the Manage users screen, click the New user button.

The Create a new user screen appears. -
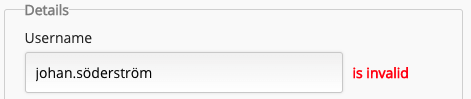
In the Username field, enter a username. For example, john.smith
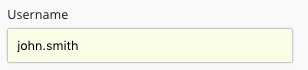
Special characters such as Æ, Ø, Å, Ü, Ö and Ä cannot be included in Fuse usernames. If special characters are entered in the Username field, you will be prevented from creating the user until the characters are removed.
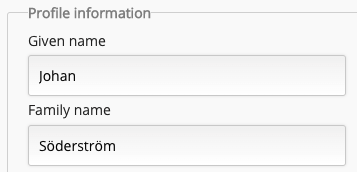
Fuse does however allow you to include special characters in a user's display name, such as their first and last names.
-
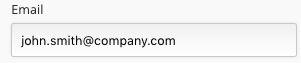
In the Email field, enter the user's email address. For example, john.smith@company.com
-
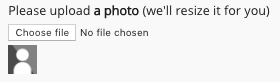
(Optional) Click the Choose file button and upload a profile picture for the user.
-
In the Password section, do one of the following:
-
Create a password for the user, by entering it in the Password and Password Confirmation fields.
-
Click the Generate button to automatically create a random password for the user.

-
-
(Optional) In the Notifications section, you can select/deselect the notifications the user receives, when other users share content with them, like content they have posted, when a user shares content with a community the user belongs to and so on.

-
In the Permissions section, select a role for the user.
Select one of the following:-
User: This can be a regular Fuse user without access to administrative tools or privileges, or a Fuse user who is part of an admin group.
-
Admin: This is a user with access to the administrative tools and privileges found in the Admin Panel.
-
-
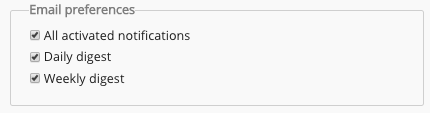
(Optional) In the Email preferences section, you can select when the user receives email digests.
The following options are available:-
All activated notifications: The user receives an email notification for all the notifications activated in the Notifications section above.
-
Daily digest: The user receives a daily digest email containing a summary of the notifications they have received each day.
-
Weekly digest: The user receives a weekly digest email containing a summary of the notifications they have received each week.
-
-
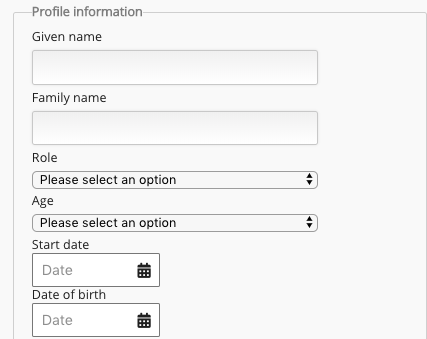
In the Profile information section, enter any user profile information. Custom fields in this section differ for each organisation.
-
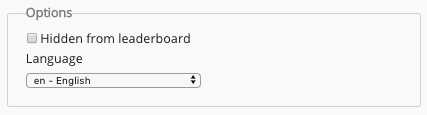
In the Options section, you can:
-
Choose to show or hide the user from the Fuse leaderboard.
-
Select the default UI language for the user.
-
-
At the bottom of the screen, click Create User.
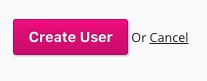
The user is created. You are taken to the user's Personal settings screen, where you can adjust other settings, such as specify the user's managers and reportees.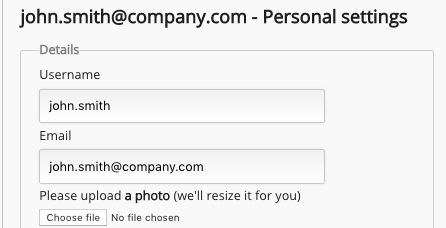
Enabling a user
To enable a new user once you have created them:
-
On the Manage users screen, ensure that the user is set to Active.

-
Click the Email icon, to send the welcome email to the user, containing their login details.
