The Bulk import of users tab allows admins to do the following by importing a CSV file:
-
Add new users to Fuse
-
Make changes to the details of multiple existing users
-
Deactivate multiple users
-
Assign managers/update manager-reportee relationships
-
Setting users' passwords
CSV examples
-
An example CSV for importing new users to Fuse can be found here.
-
An example CSV for making changes to the details of existing users can be found here.
It is recommended that you import a maximum of 500 rows of data per CSV file.
You cannot add profile pictures to users during import. This can only be done after users have been imported to Fuse.
Important information
Take note of the following points when formatting the CSV file:
-
UFT-8 encoded CSV files are not supported when importing users to Fuse - you must use a standard CSV file.
-
You can only upload CSV files when importing data - attempting to import other file formats will cause the import to fail.
-
You do not need to add headers at the top of each column when creating the CSV file. You will be prompted to map existing Fuse profile fields to each column during the import.
-
For custom profile fields with predefined options, you must enter the ID of the selected option, rather than the name of the option. The ID for each custom profile option can be found in the Profile custom options screen. For example, if there is a custom profile field called Location and the user has “London” selected in their profile, you must enter the ID for London, as shown in the Profile custom options screen.
.png?cb=543dddf9c6a2f874dcf5b08e22b90b33)
-
When importing new users to Fuse, the CSV must include each user's username or email address in order to import successfully.

-
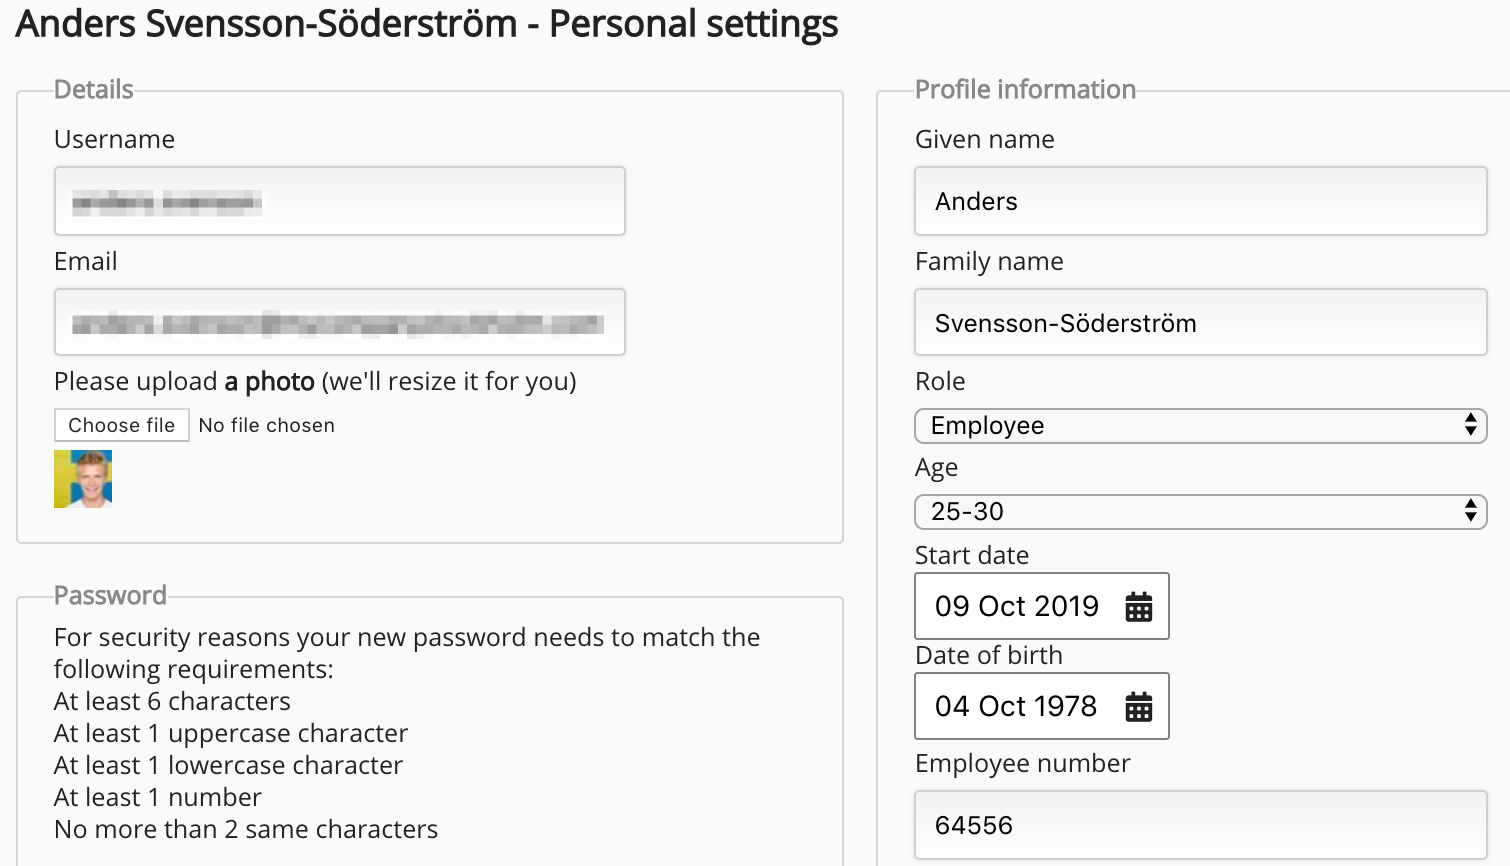
When making changes to existing users, the CSV file must contain the user's username, email address or Fuse ID (User ID).

An existing user's ID is visible in the URL of their Personal settings page:

-
All dates included in the import must be in the following format: DD-MM-YYYY. For example: 01-01-2024. Using any other date format can cause issues with the import, such as users being added to the wrong audiences or communities.
-
Non-mandatory user information in the CSV differs for each organisation and is based on the custom profile fields that have been set up in an organisation's Fuse instance. For example, some organisations may include a user's department, region or employee number in the CSV file because there are fields in each user's profile that correspond to this information.
Importing user data to Fuse by CSV
To import users using a CSV file:
-
In the Bulk import of users tab, click Import from CSV
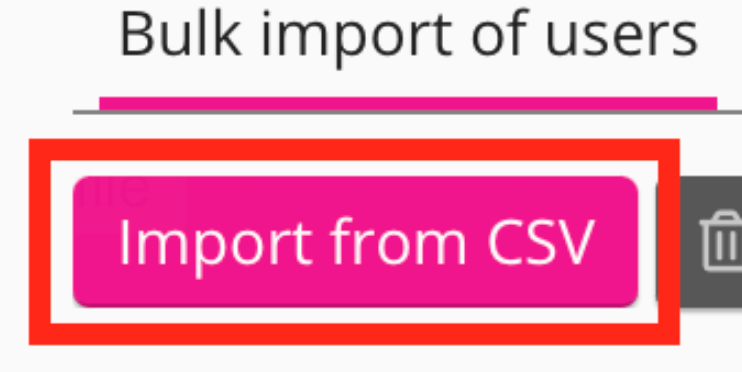
A window appears allowing you to search for and upload the CSV file.
-
Select the CSV file and click Open.
The Tweaking the import screen appears.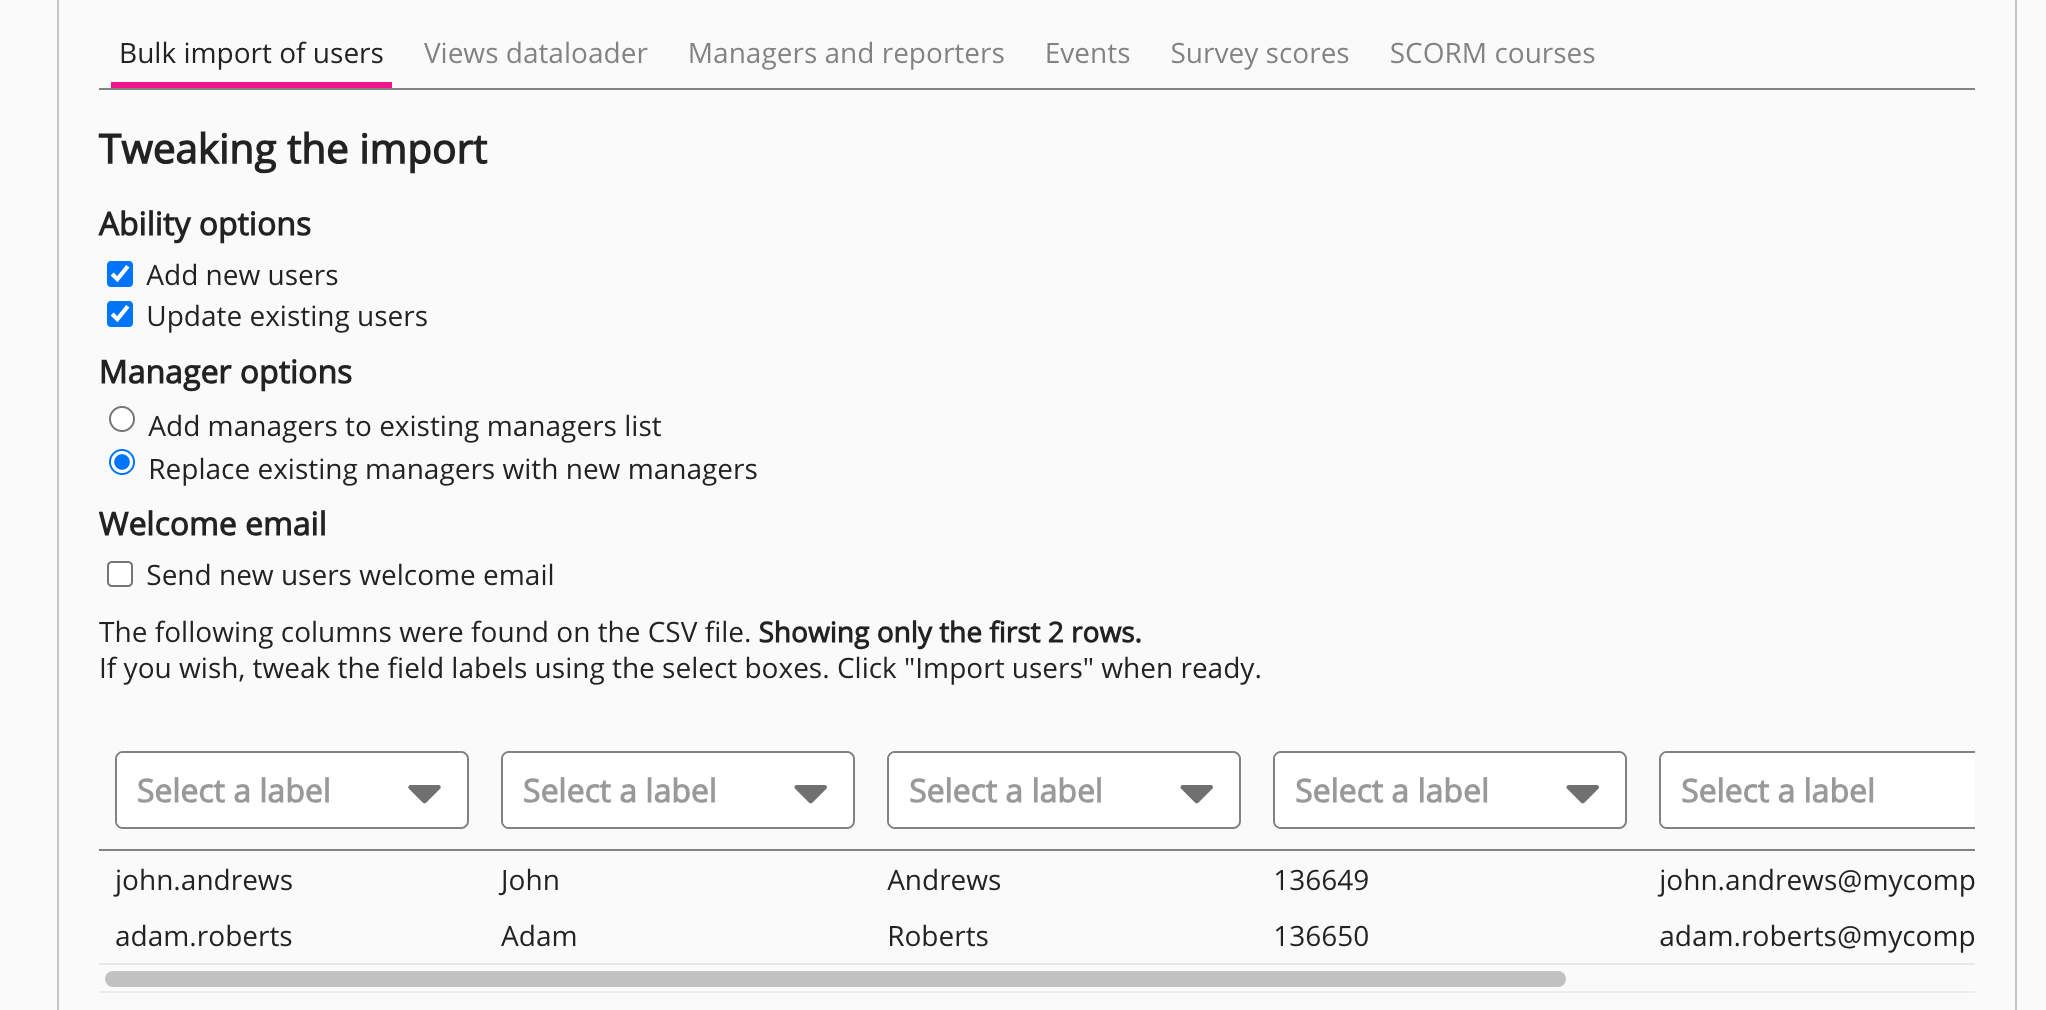
-
[Optional] Under Ability options, select one or more of the following configurations:
-
Add new users: Assigns new user IDs to all imported users.
-
Update existing users: Profile details for existing users are updated based on the information in the CSV file.
-
-
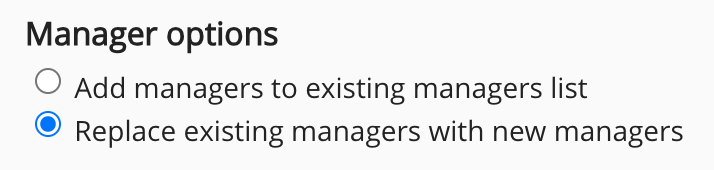
Under Manager options, select one of the following configurations:
-
Add managers to existing managers list: Users marked as ‘managers' in the CSV file will be added to the Managers field in the reportee’s Personal settings screen.
-
Replace existing managers with new managers: Users marked as ‘managers' in the CSV file will replace any existing managers that are already listed in the Managers field in the reportee’s Personal settings screen.
-
-
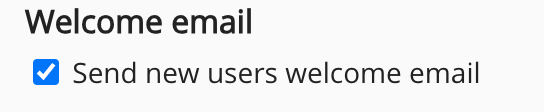
[Optional] Under Welcome email, select Send new users welcome email if you want a welcome email to be automatically sent to all newly-imported users. Please be aware, if you select the Send new users welcome email option, the password for all newly-imported users is reset.
-
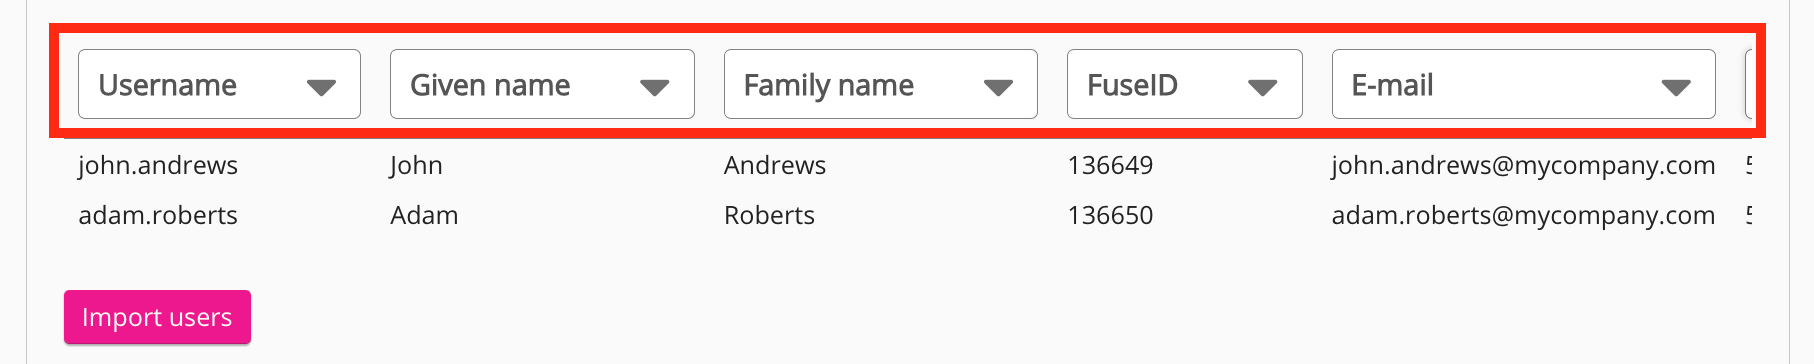
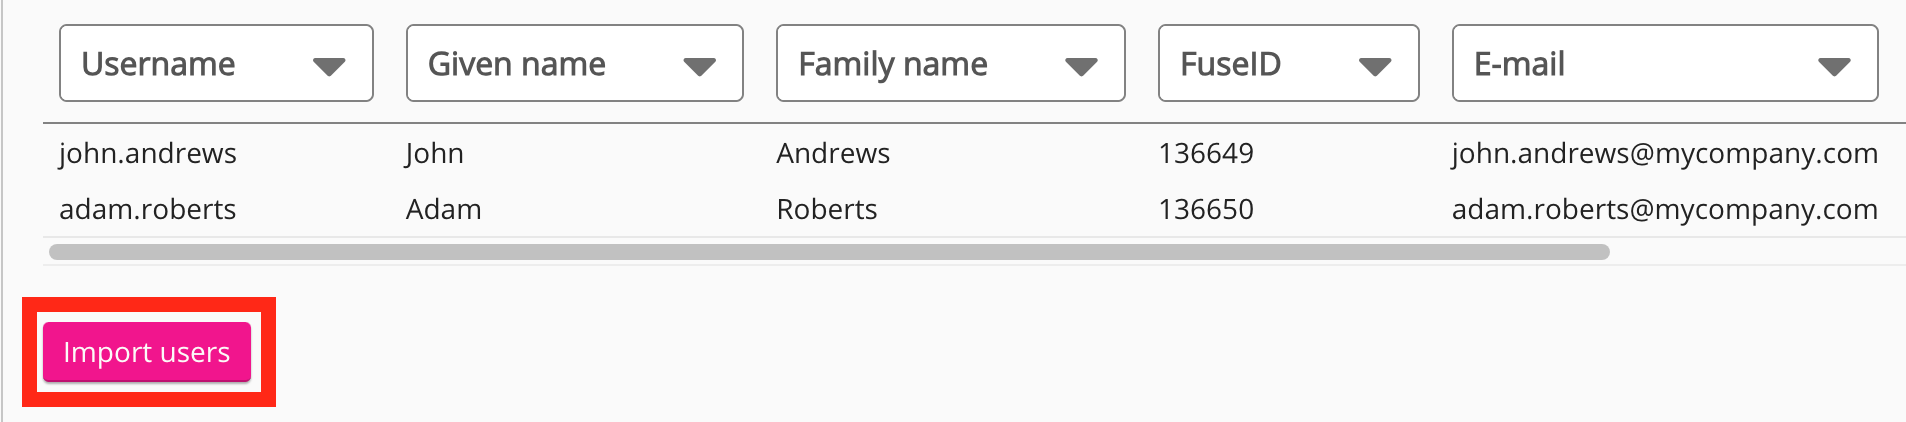
In the section below Welcome email, select labels from each dropdown, to correspond to the categories of information provided for each user in the CSV file, such as username and email address. The available labels correspond to the custom profile fields created during the company on-boarding process.

-
Click Import users.
-
The CSV starts importing.

-
Refresh the page until the import has completed. Once the import has completed, you can check that the specified users have been deactivated on the Manage users screen.

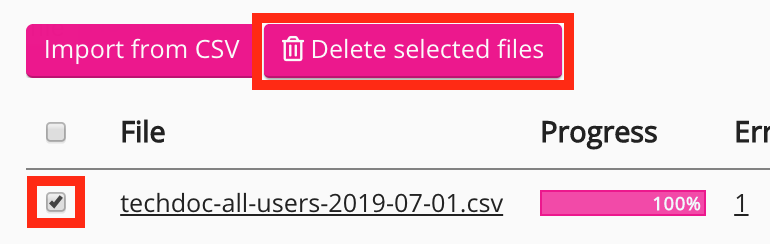
The users are added to Fuse and the CSV file is listed on the table in the Bulk import of users tab. If you have imported new users, they will appear on the Manage users screen. If a file fails to import successfully, you can download a report containing a list of errors by clicking the number in the Errors column. In the example below, 1 error was found in the CSV file.

Deactivating users by CSV
You can deactivate multiple users at once by uploading a CSV file.
For information on how to deactivate users individually, see Manage users.
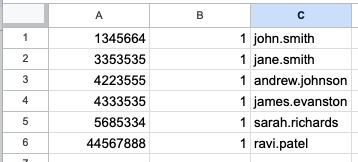
When deactivating users, the CSV file must be formatted in the following way:
-
Column A: In this column of the CSV, enter the user ID for each user you wish to deactivate.
-
Column B: In this column of the CSV, you must enter a number 1 for each user.
-
Column C: In this column of the CSV, you must enter the email addresses OR usernames of the users you wish to deactivate. Please note that you cannot have a mixture of email addresses and usernames in this column; you must choose either the email addresses or usernames for the specified users. A mixture email addresses and usernames will cause the import to fail.
To upload the CSV:
-
In the Bulk import of users tab, click Import from CSV.
-
A window appears allowing you to search for and upload the CSV file.
-
Select the CSV file and click Open.
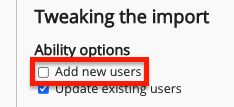
The Tweaking the import screen appears.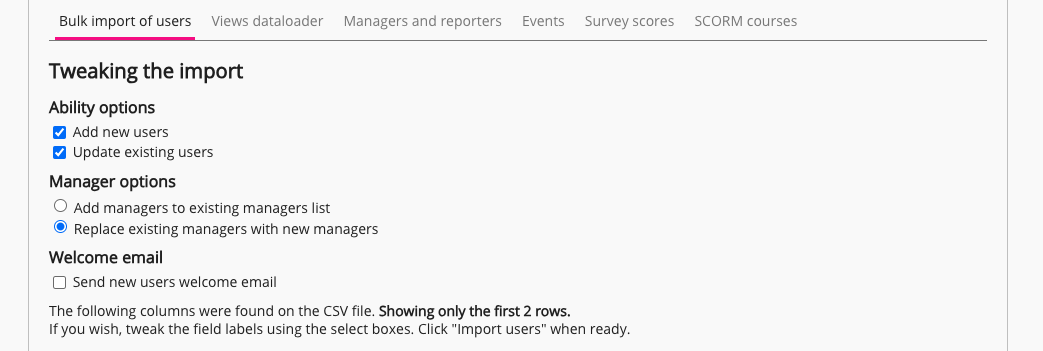
-
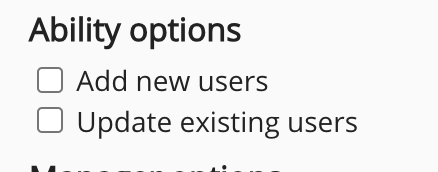
Under Ability options, deselect the Add new users option.
-
In the Select a label dropdown above column A of the CSV, select FuseID.

-
In the Select a label dropdown above column B of the CSV, select Deactivate.

-
In the Select a label dropdown above column C, select either Username or Email, depending on what you have specified in the CSV.

-
Click Import users.
The CSV starts importing.
-
Refresh the page until the import has completed. Once the import has completed, you can check that the specified users have been deactivated on the Manage users screen.

The bulk import of users table
The table in the Bulk import of users tab displays a list of completed user imports, as well as those that are currently in progress. The following information is displayed for each CSV file:
|
Item |
Description |
|---|---|
|
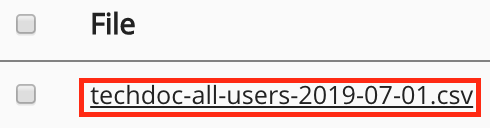
File |
Displays the name of the CSV file used to import users to Fuse. The following options are available in the File column:
Notes:
|
|
Progress |
Displays the current user import progress. For example, if the import has completed, the progress bar will show 100%. 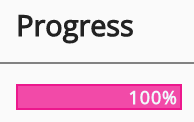
If labels have not been assigned to each of the user details in the CSV, click Adjust labels to start to assign labels before importing can complete. |
|
Errors |
Displays the number of errors that occurred during the import process. Click the number to download an error report CSV file. 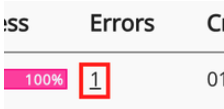
|
|
Created |
Displays the date and time the CSV file began importing. For example, 01 July, 2019, 16:41. 
|
|
Author |
Displays the name of the user who imported the CSV file. For example, James Evanston. 
|
|
CSV |
Click Download to download the CSV file. 
|