You can come back and edit any of the existing lessons you have created, such as those that you are currently in the process of drafting, or a lesson that someone else has created that you are collaborating with them on, via the Course+ hub on the side . You can also create different versions of a lesson that only include certain changes and alterations.
When you are in the Course+ hub, you can see and edit your own lessons, but you can also do the same for lessons created by other users. It is important to always ask the lesson creator before making edits to their lessons, and if you have created a lesson, it is highly recommended that you create different versions for a lesson as you go along so that if your lesson does get altered either purposely or by accident, you can easily revert back to a version of the lesson from before those changes were made. For more information on lesson versioning, see the Versioning and version history section.
Editing a lesson
To edit a lesson:
-
On the side navigation, click Course+ hub.
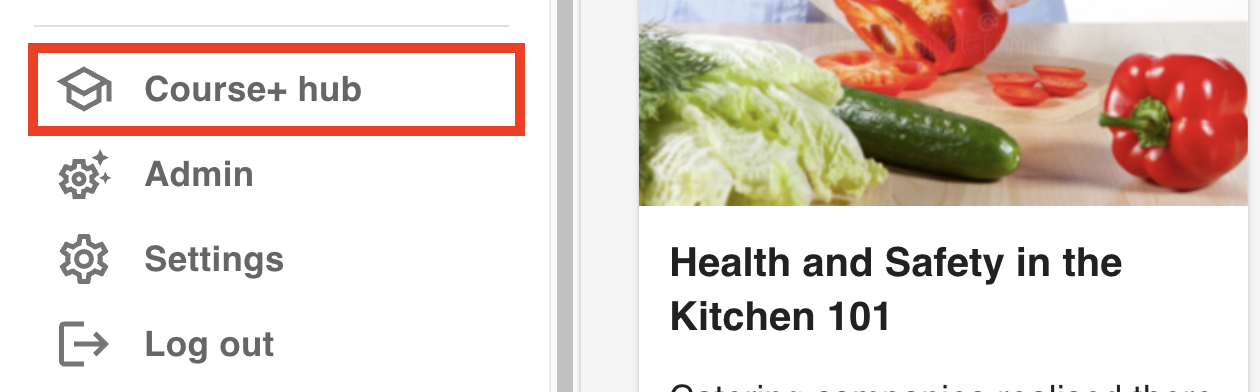
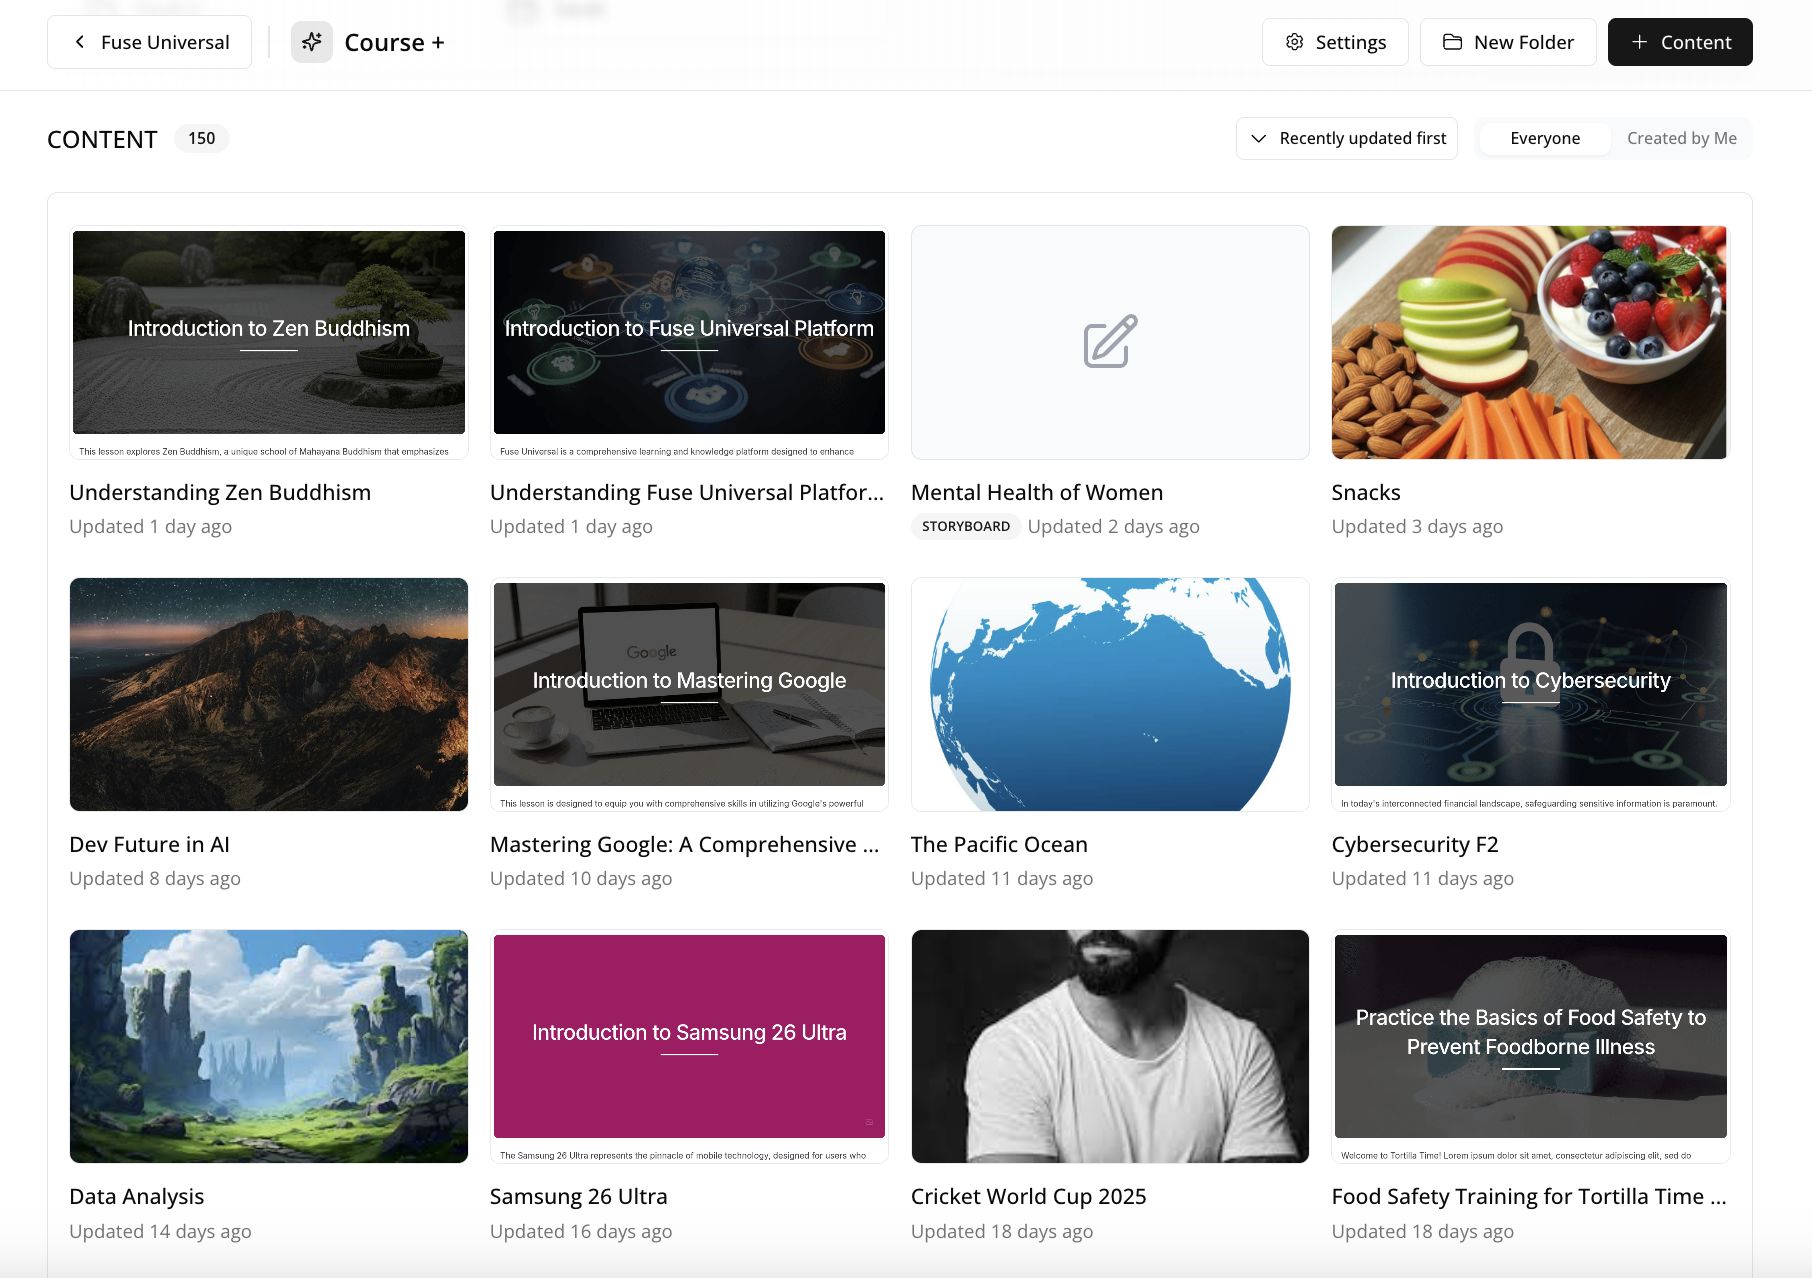
The Course+ hub opens and you are presented with a list of lessons that are available for you to edit, including lessons you have created yourself and those created by other users with the Course+ permission granted to them.
-
Click on the lesson you want to edit and then you can start making alterations.
Collaborating with other users on a lesson
You can open an existing lesson and then collaborate with other users at the same time. For example, you might want to work together on a particular lesson and get input from those other users in real-time.
When you are working together on a lesson with one or more users, you can see the other users that are currently collaborating with you in the top-right corner of the screen, as well as the name of the user above any sections and elements they are currently editing.
You can also send out a review link so that other users can leave feedback on a lesson through comments without editing it directly. For more information on how to do this, see Copying a review link to a lesson.
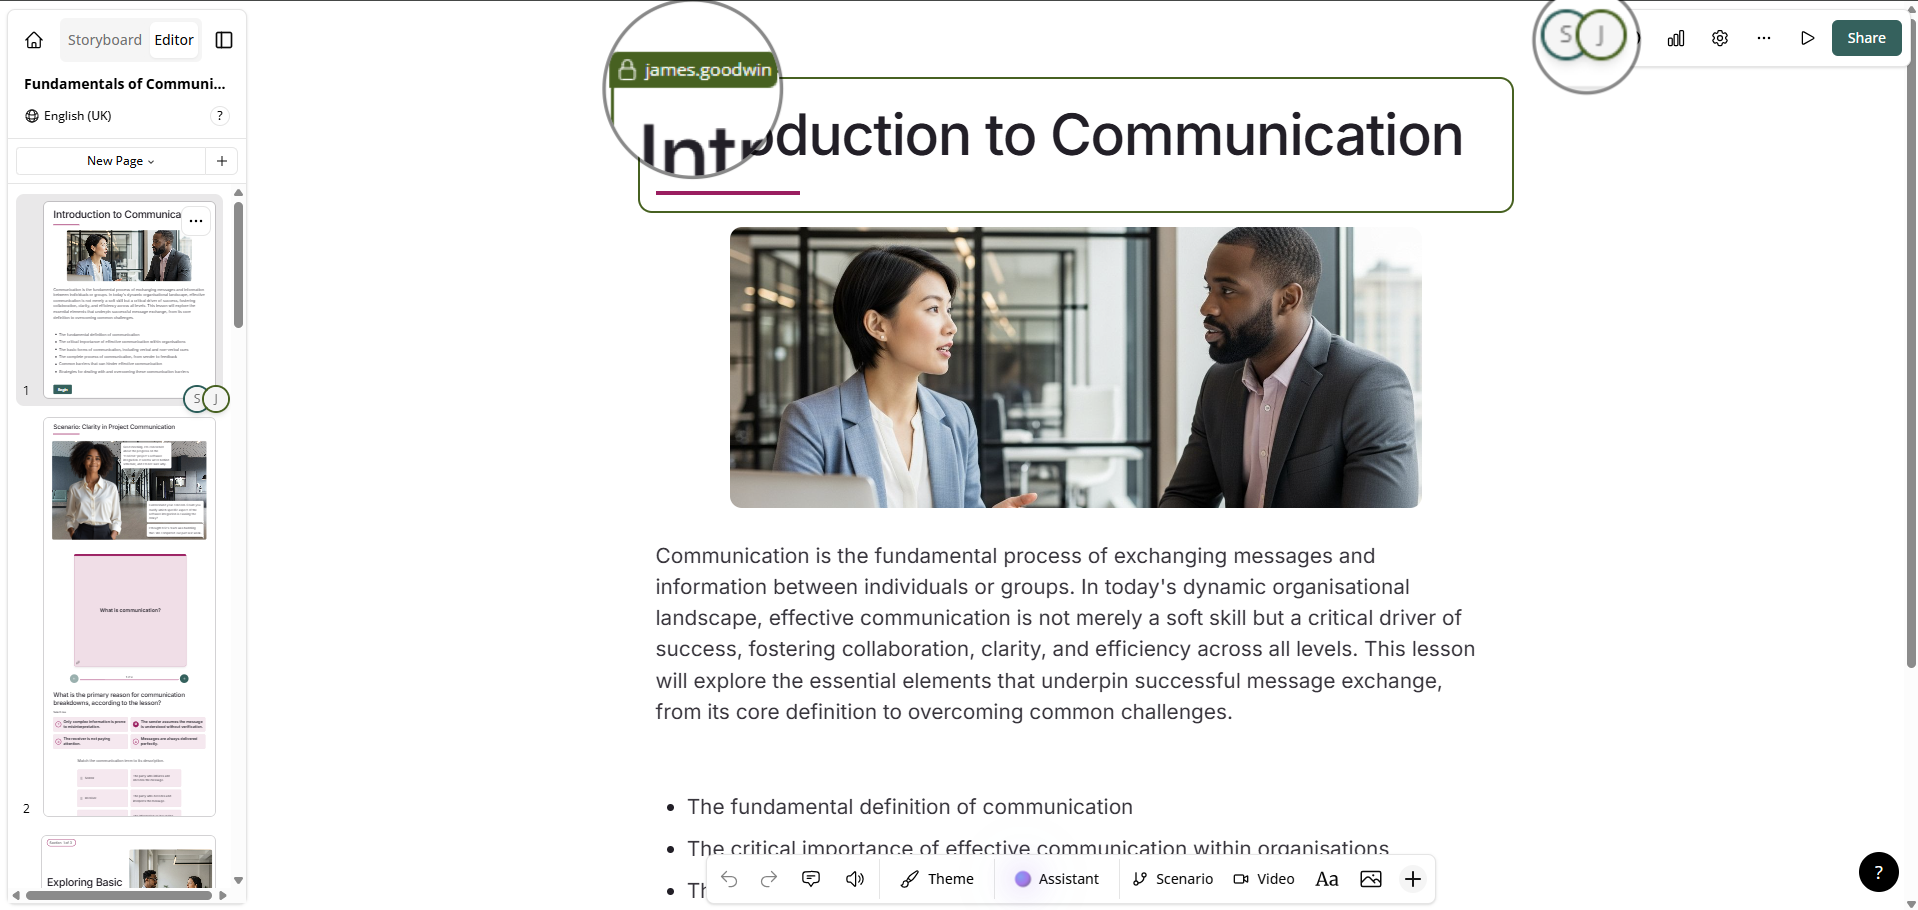
If another user is currently editing an element within a lesson, such a block of text, you are prevented from editing that element until the user has finished making their alterations and has clicked away from it. When another user is editing an element in a lesson, their name appears above it with a padlock symbol on it.

Versioning and version history
Once you are happy with the changes you have been made, you can create a version of the lesson that only includes changes that have been made up to that point. By creating versions, you can easily revert back to a previous version of a lesson by clicking the History icon on the to-right menu. You might revert back to a specific version you have previously created if you’ve made changes by mistake, or if another user has perhaps made changes to the lesson after the version was created, and you now want to revert back to a time prior to when those changes were made.
Creating a lesson version
To create a version of a lesson:
-
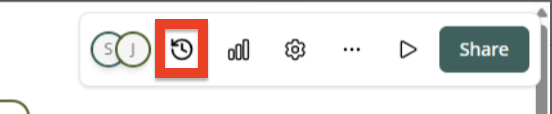
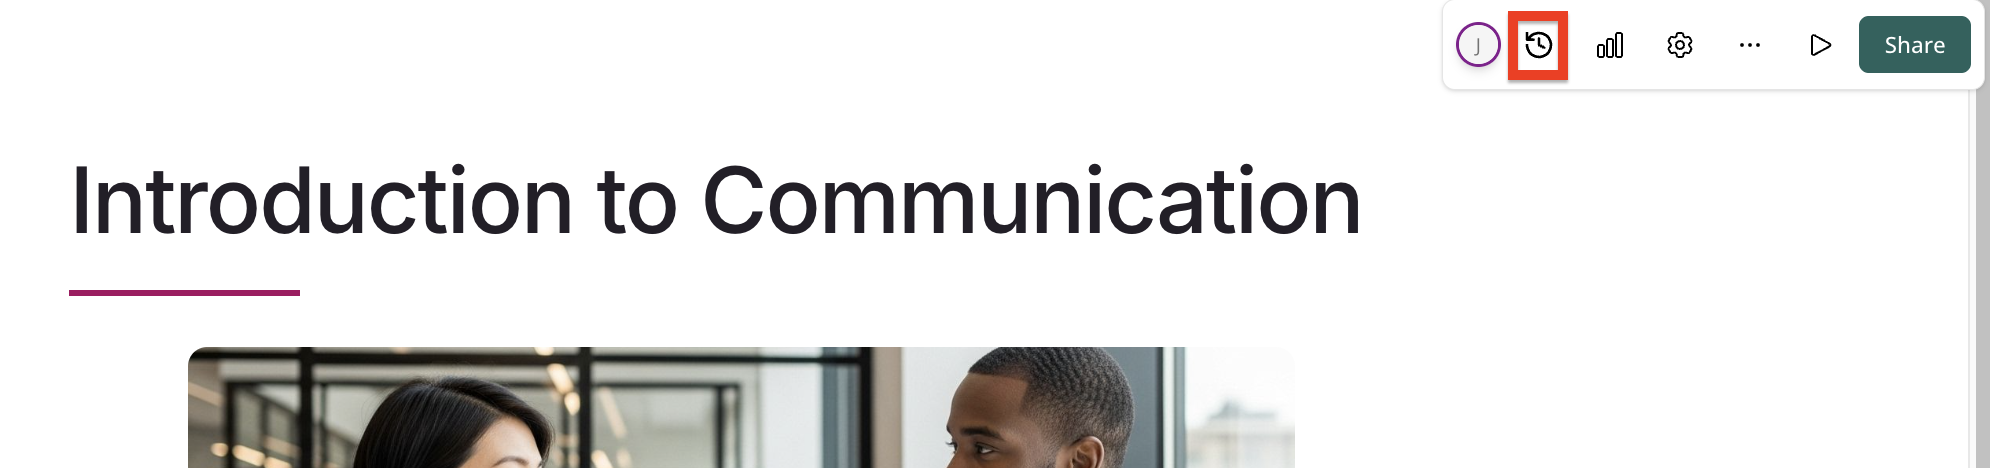
On the top-right menu, click the History icon.
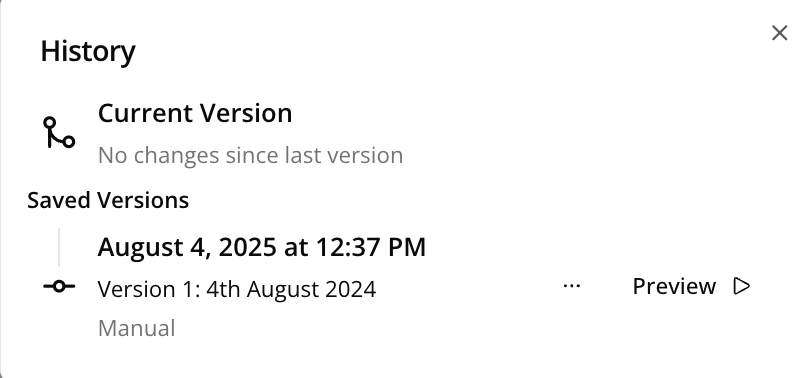
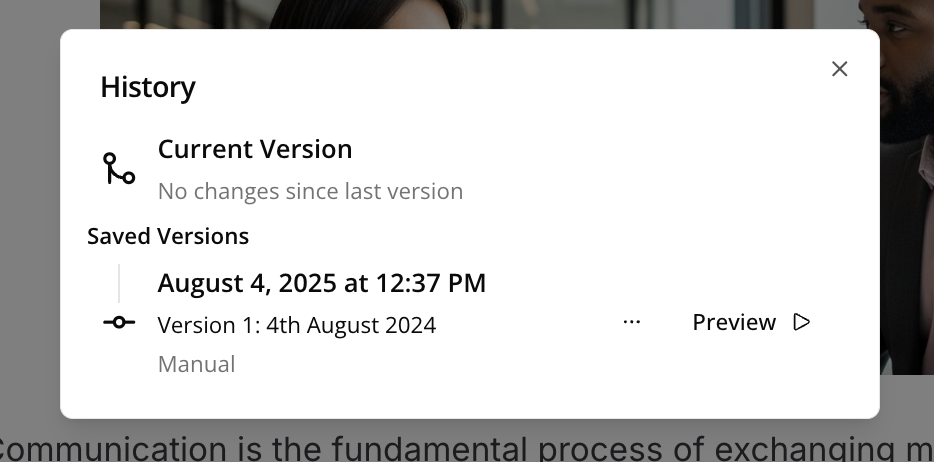
The History popup appears.

-
Click Create New Version.

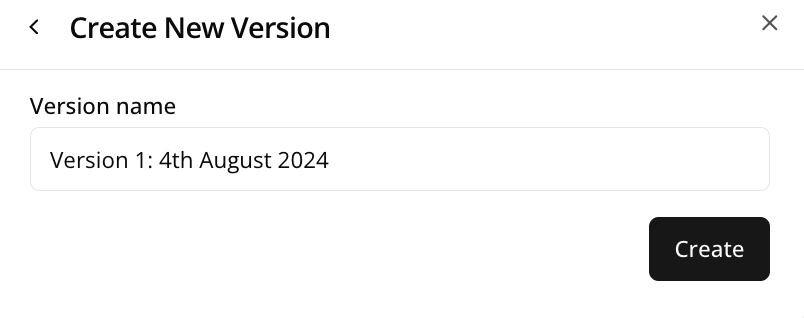
The Create New Version popup appears
-
In the Version name field, enter a name for this version, ensuring that you have given it a name and/or number that is easily recognisable to you and any other users who may need to collaborate with you or edit the lesson in future. You might add a version number or add today’s date so that other users know when this version dates from when viewing the list of previous versions. For example: Version 1: 4th August 2025.
-
Click Create.
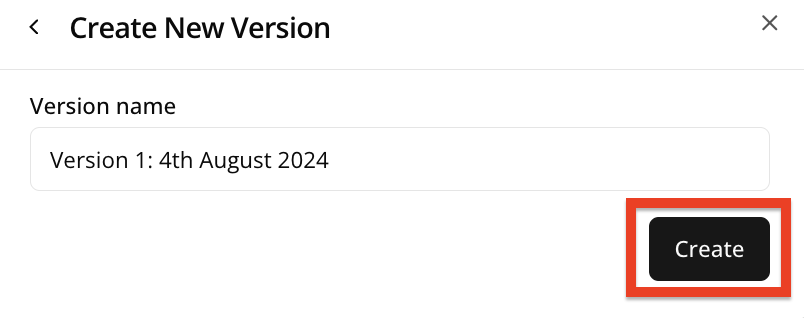
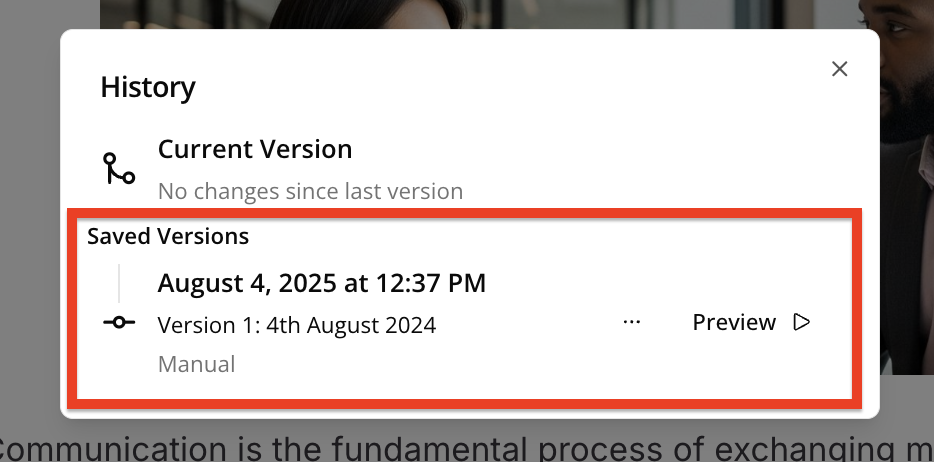
The newly created version is added to the Saved Versions list.
Reverting to a previously created version of a lesson
To revert back to a previously created version of an existing lesson:
-
Click the History icon.
The History popup appears.
-
If previous versions of this lesson have been created, they are listed in the Saved Versions list.
-
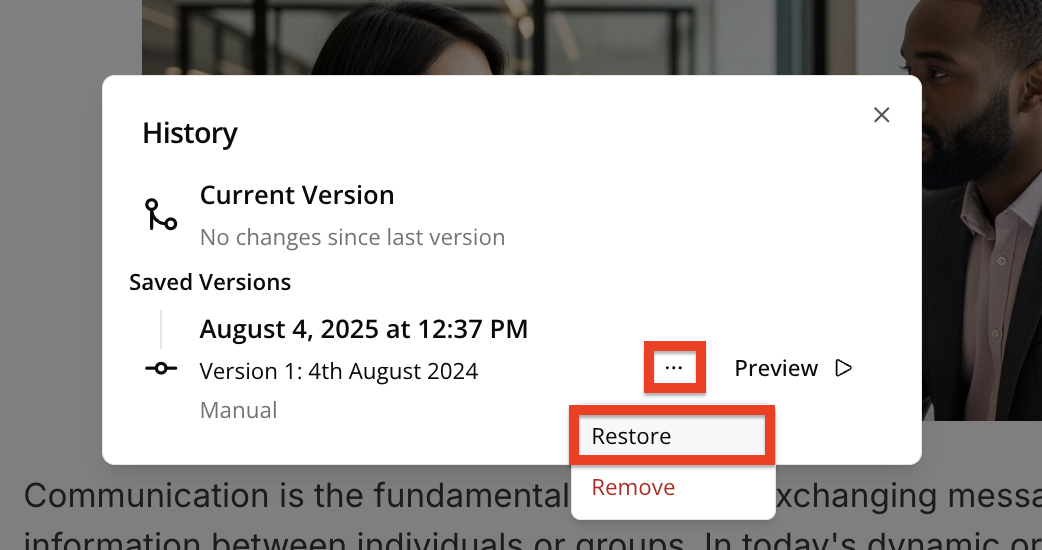
Click the ellipsis (…) next to the version you want to open, and from the dropdown, click Restore.
-
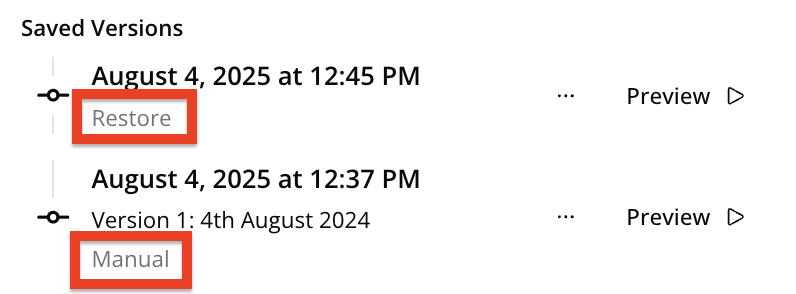
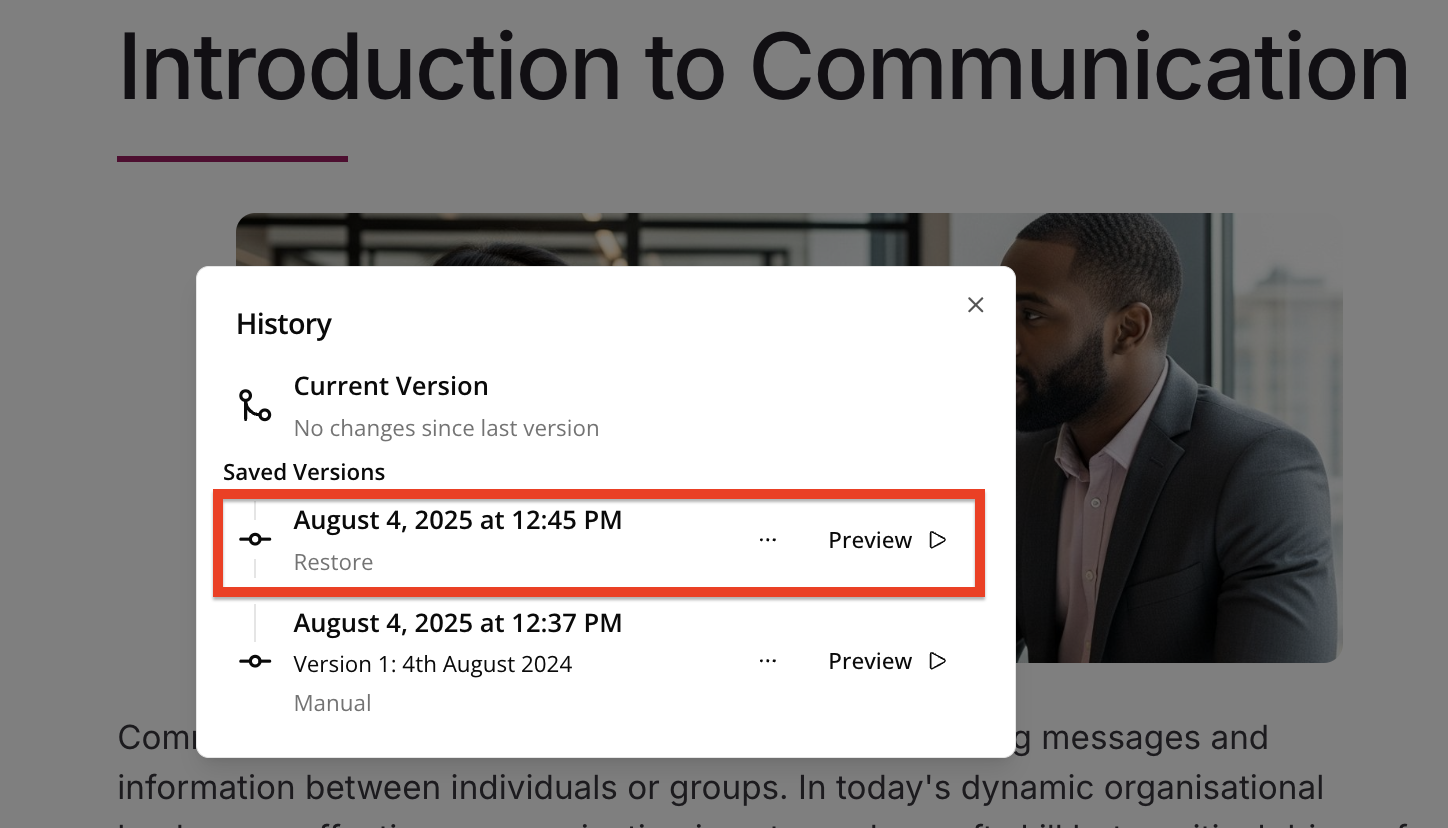
The lesson is restored. This restored version is added to the list of previous versions as a separate version in its own right but has the Restore label on it, instead of the Manual label.
Removing a version
To remove a version of a lesson:
-
On the top-right menu, click the History icon.
The History popup appears.

-
If previous versions of this lesson have been created, they are listed in the Saved Versions list.
-
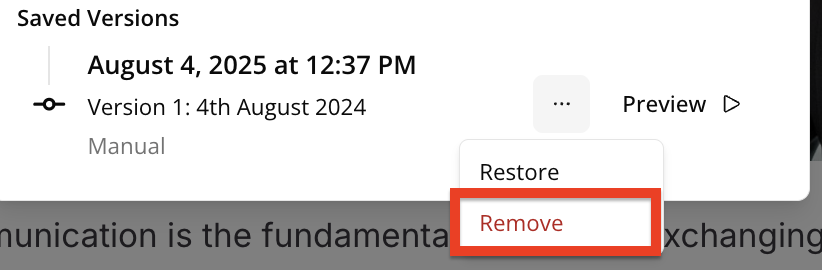
Click the ellipsis (…) next to the version you want to remove, and from the dropdown, click Remove.
Manual versions vs restored versions
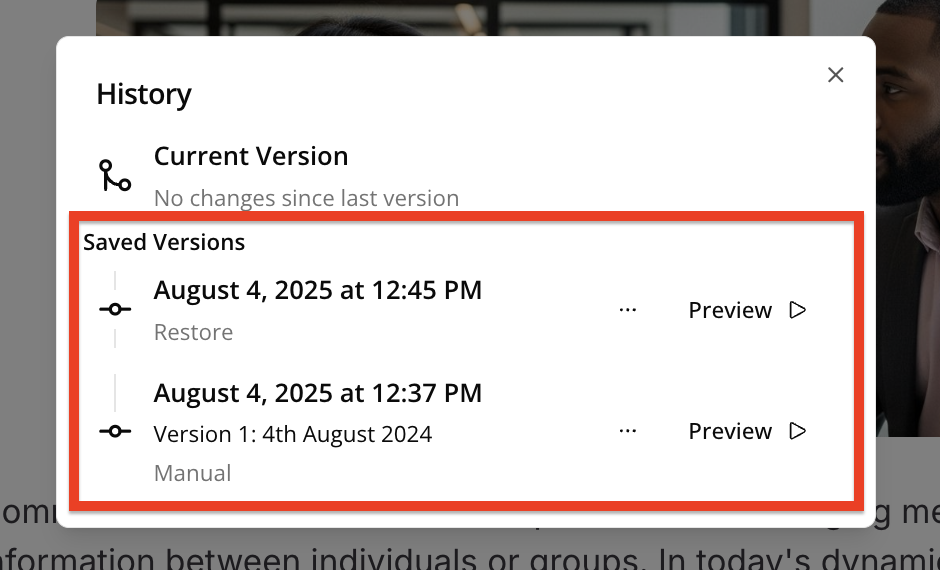
Depending on how a lesson version has been created, you will either see a Manual or Restore label on it in the Saved versions list.
-
Restore: Versions with a Restore label on it indicate that the version was created when a user restored the lesson to a previously created version, such as one that was manually created by a user.
-
Manual: Versions with a Manual label on it indicate that the version was created manually by a user.