
The Course+ hub houses the Settings section, where you can adjust various default settings related to how users configure and interact with lessons, how lessons are graded and scored, branding, and AI settings, such as the default settings for AI image generation.
To access these settings, click the Settings button in the top-right corner of the Course+ hub:

The Settings section includes the following:
Content
The following content settings can be configured:
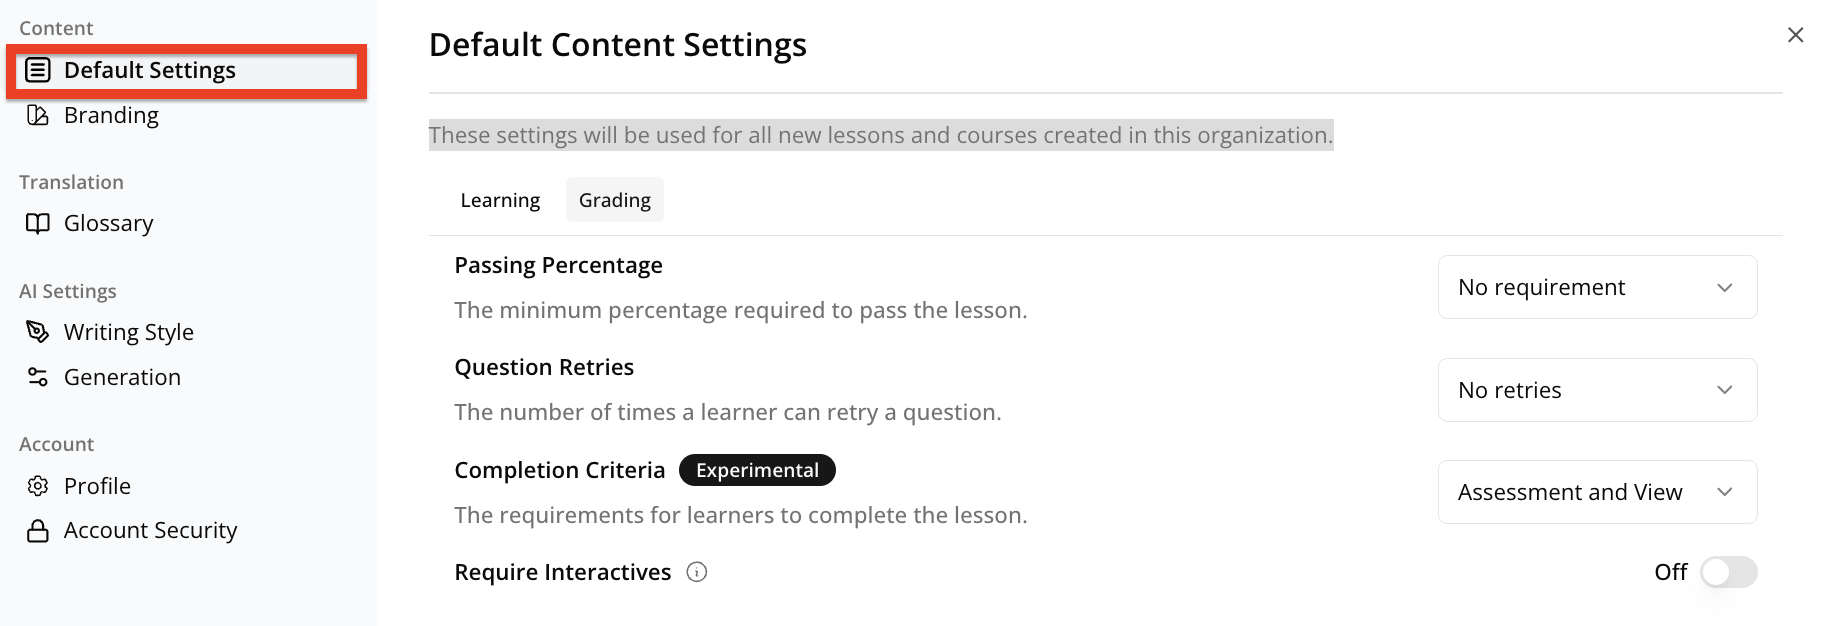
Default Settings
These settings in the Default Settings section apply to all new lessons created in your platform.
|
Category |
Setting |
Description |
|---|---|---|
|
Learning |
Restart Lesson Button |
If this setting is selected, learners can restart lessons which they are currently taking. |
|
Completion Dialog |
If this setting is selected, a dialogue message is shown when a user successfully completes a lesson. |
|
|
Mobile Navigation Mode |
This setting determines the scroll direction when learners are navigating lessons when viewing them on mobile devices. You can select one of the following:
|
|
|
Narration Autoplay |
If selected, and a narration has been added to a lesson, the narration will play automatically as soon as the learner starts the lesson. Note: The narration can be disabled by users on a lesson by lesson basis. |
|
|
New Learner Navigation |
If selected, enabled modern navigation in lessons, with smart button positioning and scroll-based visibility. |
|
|
Collect Names from Learners |
If selected, learners are required to enter a name to view a lesson which can be viewed in analytics. |
|
|
Collect Email from Learners |
If selected, learners are required to enter an email to view a lesson which can be viewed in analytics. |
|
|
Exit Button in SCORM |
If this setting is selected, an exit button is displayed in the lesson, allowing learners to exit the lesson. |
|
|
Enhanced SCORM Integration |
If selected, this setting allows you get the name of the learner, and other preferences from the LMS and associate those details with the learner in when the are shown in analytics. |
|
|
Navigation Freedom |
This setting determines whether or not learners can freely navigate between screens in lessons or if they must follow a linear progression, one page at a time, in the correct order.
|
|
|
Grading |
Passing Percentage |
The minimum percentage required to pass the lesson. |
|
Question Retries
|
The number of times a learner can retry a question. |
|
|
Completion Criteria |
The requirements for learners to complete the lesson. |
|
|
Require Interactives |
If selected, learners are required to interact with all interactive tiles in the lesson, such as flashcards, accordions, hot buttons, and so on. |
Branding
|
Setting |
Description |
|---|---|
|
Default Theme |
Set the default theme for your lessons so that they conform to a certain style. For example, you might choose a specific theme, such as one you have created, so that all your lessons to match your company branding.
|
|
Lesson Logo |
Manage the default logo shown on all lessons. For best results, use an image with a transparent or white background and no margins. For example, this might be your company logo. |
Translation
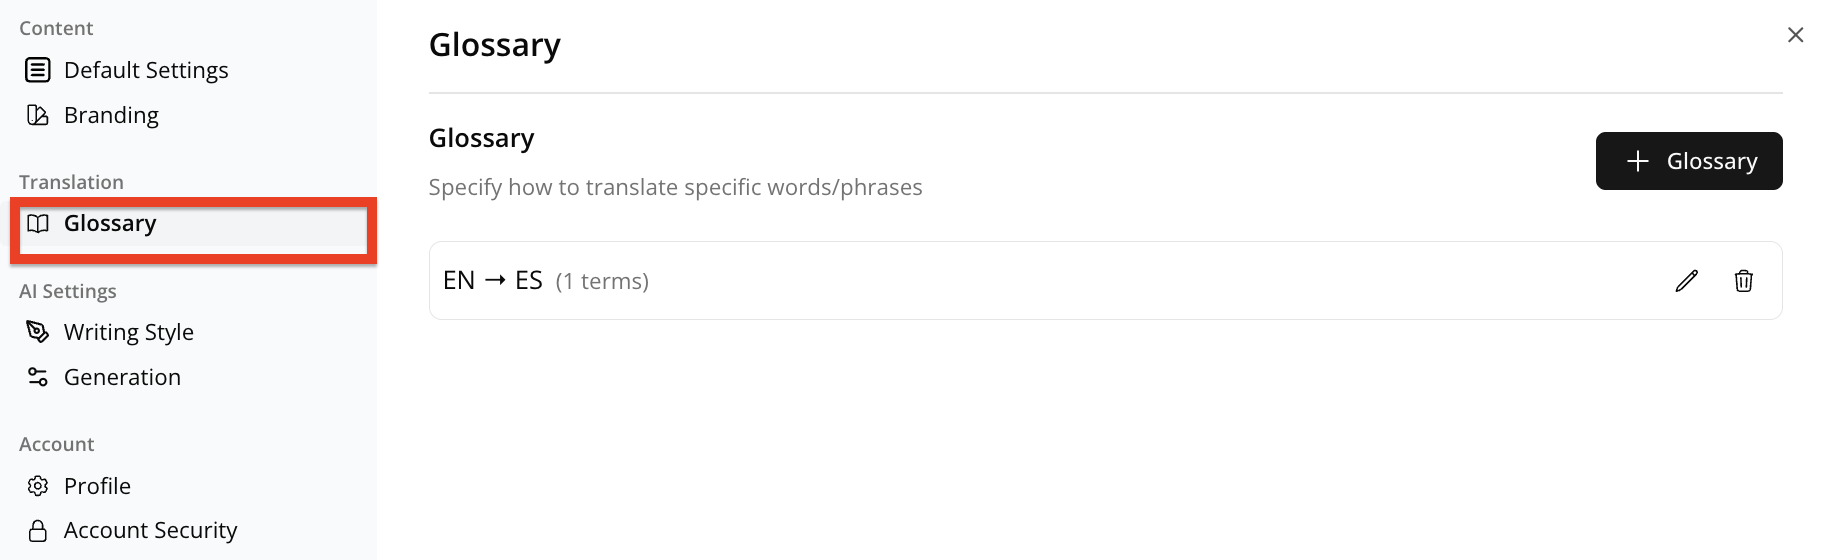
Glossary
In the Glossary section, you can add a list of words or phrases and then specify how they should be translated when added to lessons in different languages. For example, these might be brand, industry, or company-specific words and phrases that may need to appear in a certain way irrespective of the language a lesson has been translated into.
To create a glossary for words and phrases that need to be translated from one particular language to another:
-
Click the + Glossary button.
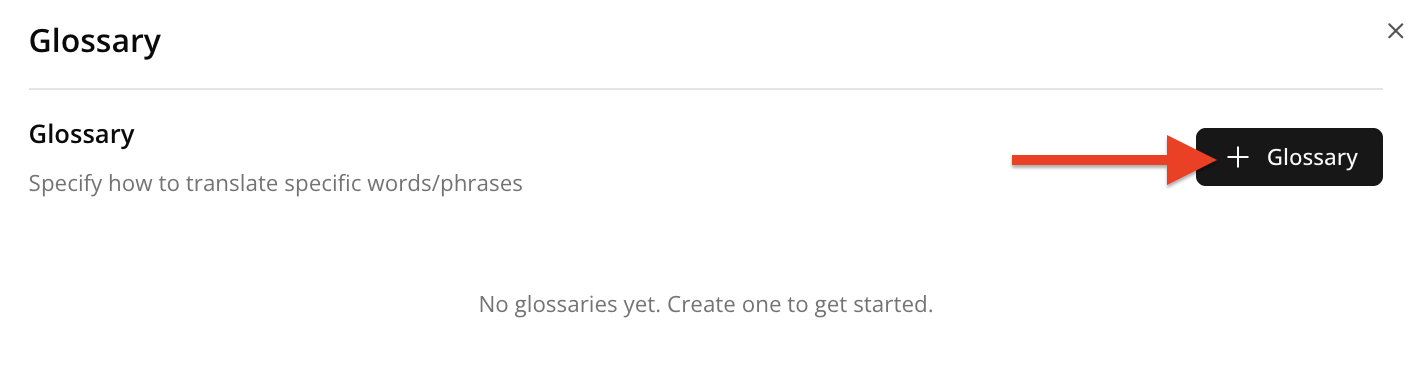
The Create Glossary popup appears.

-
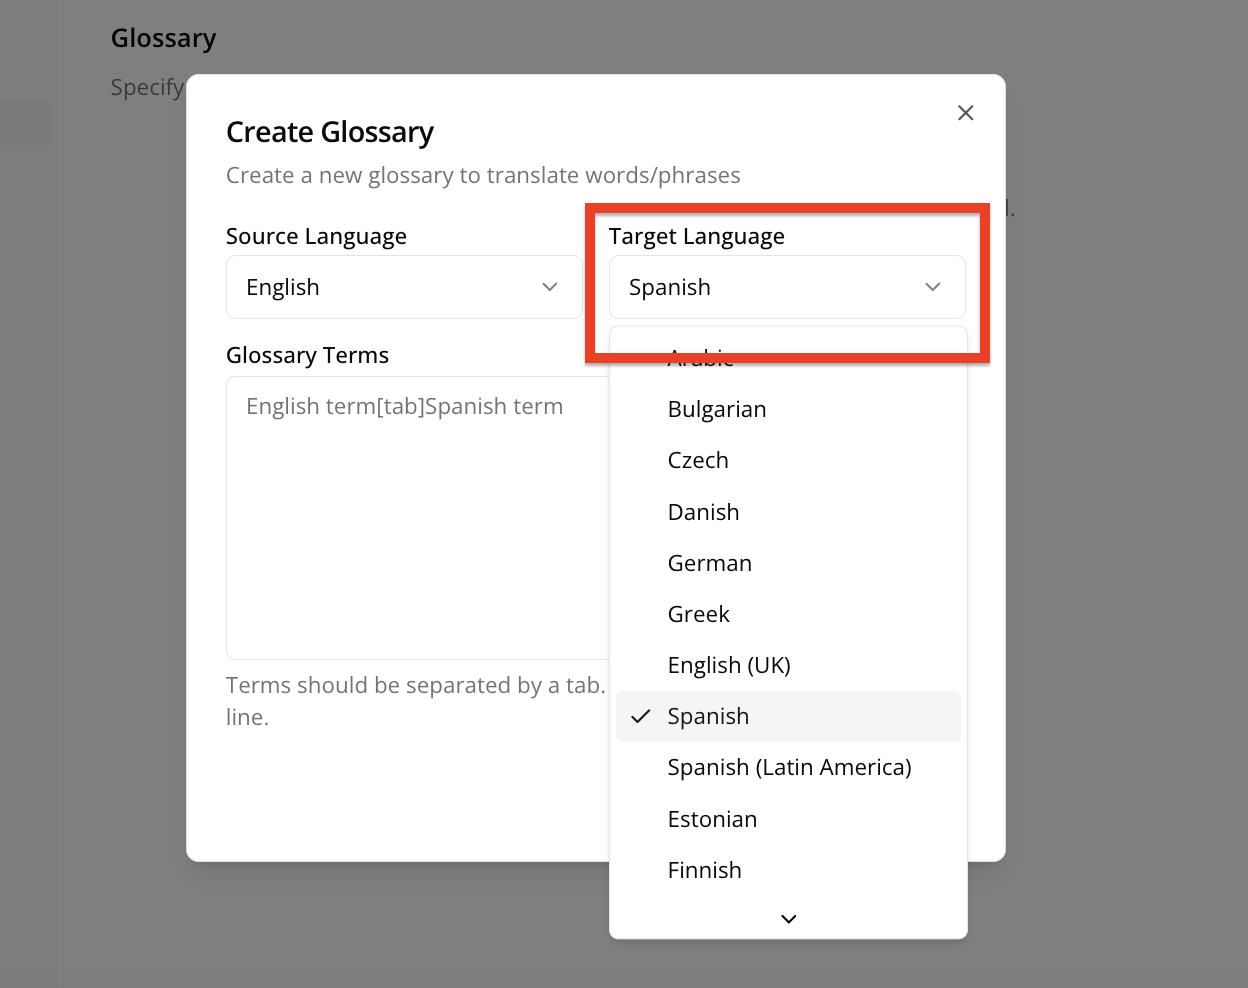
From the Source Language dropdown, select the source language for the original words and phrases in the glossary, for example, if the words and phrases in this particular glossary are originally in English, select English.

-
From the Target Language dropdown, select the target language for the words and phrases in the glossary. For example, if the words and phrases in this particular glossary are going to be used to determine how these words and phrases will be presented in Spanish translations of lessons, then select Spanish.
-
In the Glossary Terms section, enter each term in the original language, then add press the Tab key, and then enter the term as it should be displayed when translated into the selected target language.
For example, if you were dealing with English terms being translated into Spanish, you would enter the English word or phrase first, then press the Tab key, and then enter the Spanish version of that word or phrase, as shown below. For example: Learning Academy(press Tab key)Academia de aprendizaje. Each new term should be added on a new line.

-
When you have added all the terms to this particular glossary, click Create Glossary.

-
The glossary for the specified target language is added to the list of glossaries, with a label indicating the original and target languages for the terms listed within them.
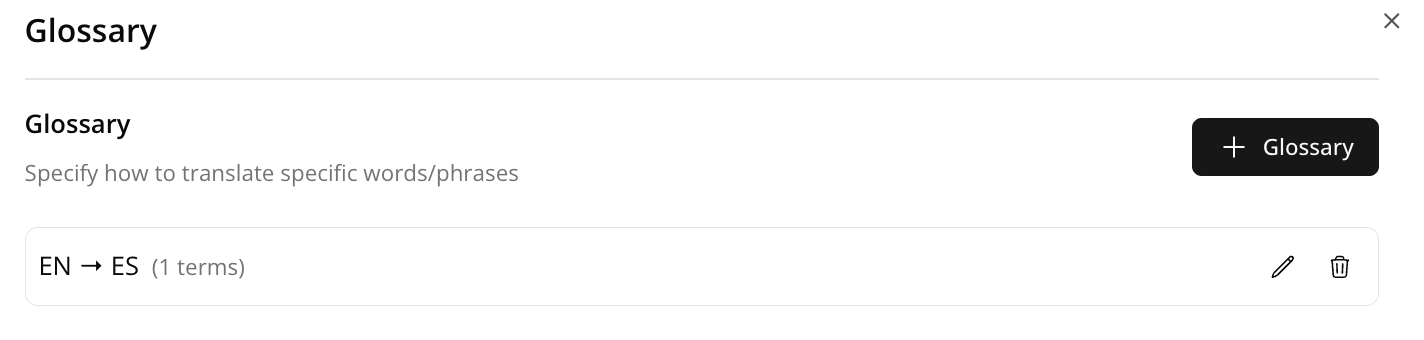
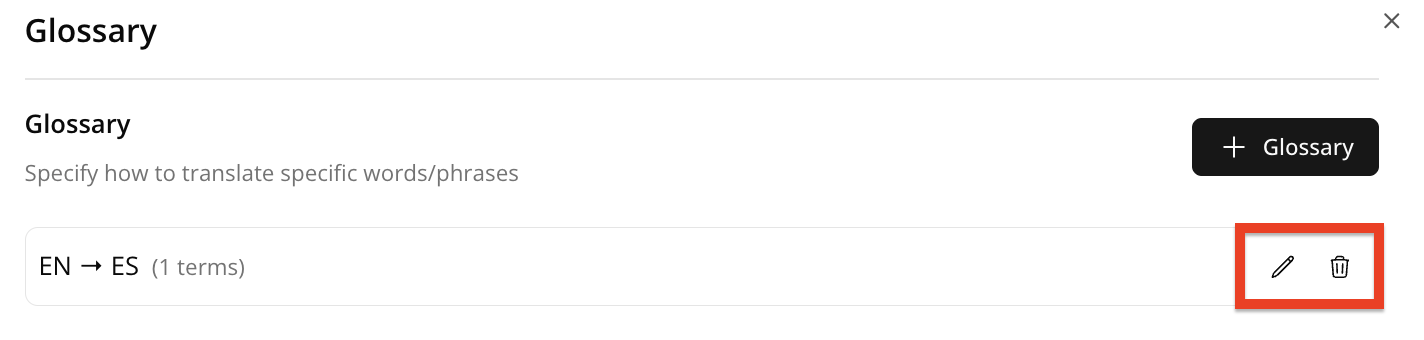
-
To edit a particular glossary, click the Edit icon, and to delete it, click the Delete icon to the right of it.
AI settings
The AI settings section contains settings related to the AI features used in lesson creation, such as the writing style, interactivity of lessons, and images.
The following AI settings can be configured:
Writing Style
In the Writing Style section, you can create a writing style that can be applied to lessons you create in the platform so that the language conforms to it when specified. This can be based on a combination of instructions and information in attached files. When your writing style is saved, it can be selected in the Writing Style dropdown when configuring a lesson. For example, you might create a writing style called Upbeat and informal, which you and other users can select when configuring lessons:

Creating a new writing style
To create a writing style:
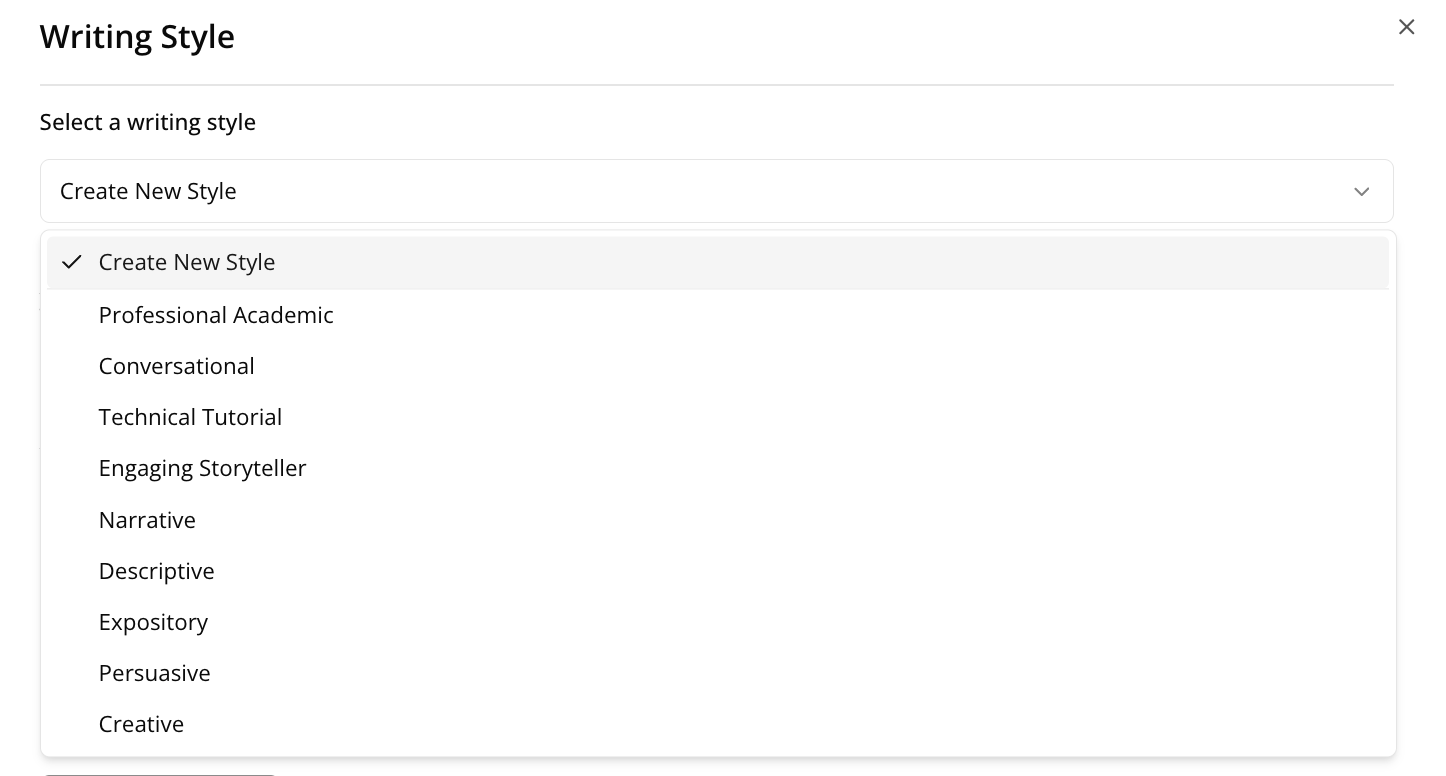
-
From the Select Writing Style dropdown, select a Create New Style. The style you choose depends on the audience for the lesson which this style will be applied to.
-
In the Upload a writing sample section, you can:
-
Upload a file that contains a piece of writing that conforms to the style you want to use.
-
Upload some detailed instructions for how you want the style to be.

-
-
In the Writing Style Name section, enter a descriptive name for the writing style you are creating, ensuring that it is obvious what the style is. This is so that when you or another user selects the writing style, they know exactly what style will be applied to the lesson they are creating.

-
In the Define your writing style section, specify some additional details for how the style should be. For example, you might want the style to be technical but not necessarily serious or rigidly formal, so you might enter: The style should be technical but also engaging, conversational.

-
Click Save Writing Style.
-
Your writing style is saved, and can now be selected from the Writing Style dropdown when configuring a lesson.
Editing an existing writing style you have created
You can add additional details, such as files, as well as edit some details for existing built-in writing styles and those created by other users, by selecting a writing style from the Select a writing style dropdown and then editing it.

Generation
In the Generation Settings section, you can determine the baseline configuration for certain lesson settings found on the Configure your lesson popup, presented to users when they are creating lessons. You can set the default selection for various settings, including interactivity, lesson language, image source, style and provider, page length, and so on. When users go to create a lesson, these settings will be set based on what is configured here in the Generation Settings section, which users can then readjust as they please on a lesson by lesson basis.
Example: You might want Interactivity to be set to None by default, or the Images setting to be set to Web, so that images are sourced from the web by default, unless changed, when users land on the Configure your lesson popup when creating lessons.

|
Setting |
Description |
|---|---|
|
Page Length |
Determines the default selection for the Page Length setting in the Configure your lesson popup, used to determine the length of pages within a lesson. Example: If you select Standard, this will be the default selection for the Page Length setting in the Configure your lesson popup for all users when creating lessons. 
|
|
Lesson Length |
Determines the default selection for the Lesson Length setting in the Configure your lesson popup, used to determine the length of lessons. Example: If you select Auto, this will be the default selection for the Lesson Length setting in the Configure your lesson popup for all users when creating lessons. 
|
|
Interactivity |
Determines the default selection for the Interactivity setting in Configure your lesson popup, used to configure how interactive a lesson should be and determines whether or not certain interactive elements, such as tiles, drag and drops, and short assessments are added to the lesson. Example: If you set the slider to none, the Interactivity setting in the Configure your lesson popup is automatically set to contain no interactive elements in lessons for all users. 
|
|
Image Provider |
Allows you to select the default image provider. For example, you might want all images that are included in generated lessons to be from a particular source, such as a non commercial images from the web or from one of the available AI providers. 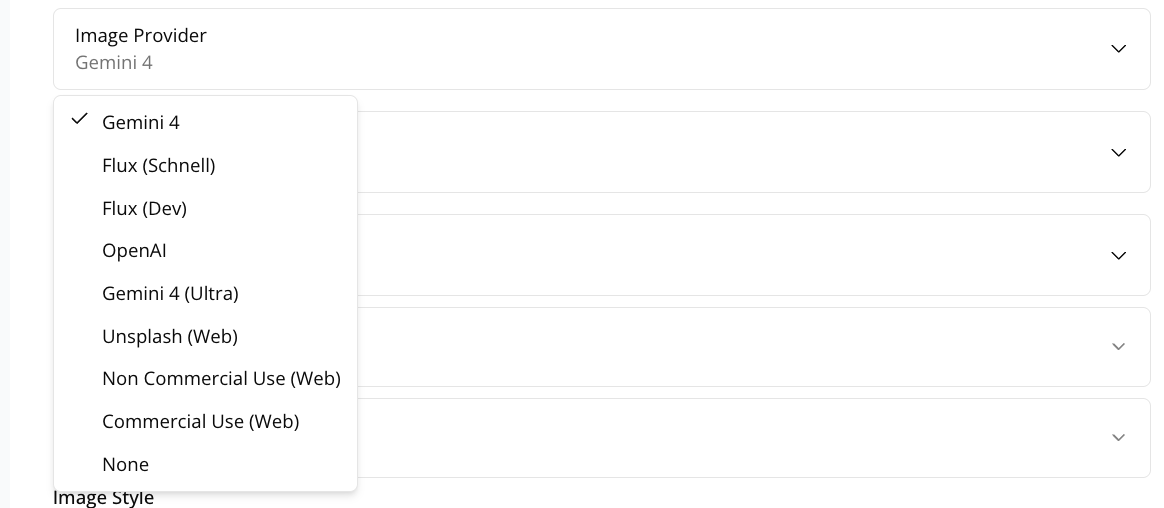
|
|
Language |
Determines the default selection for the Language setting in Configure your lesson popup, used to configure the default selected language for lessons. Example: If you set the Language setting to English, this setting in the Configure your lesson popup is automatically set to English for all users ny default. 
|
|
Image Type |
Determines the default image type that is used in generated lessons, such as stock images, images from the web, or AI-generated images. 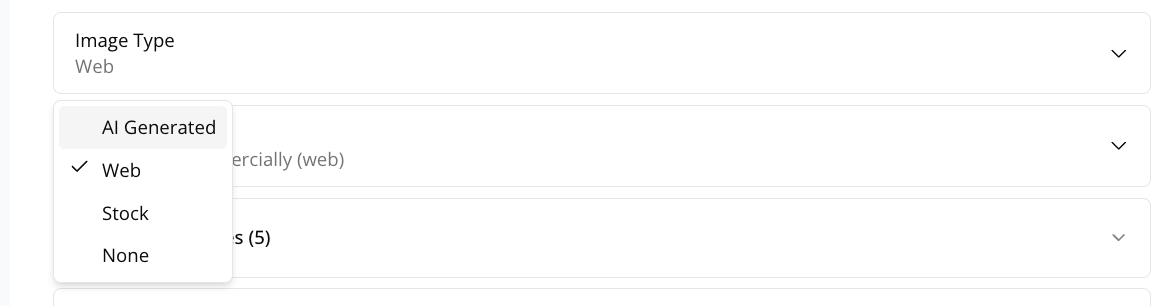
|
|
Include Page Types |
Determines the default selections for options in the Include Page Types setting in the Configure your lesson popup, used to select which page types are included in a lesson output. Example: If you select Introduction, Core Content, Assessment pages, these options will be selected for the Include Page Types setting in Configure your lesson popup automatically for all users. 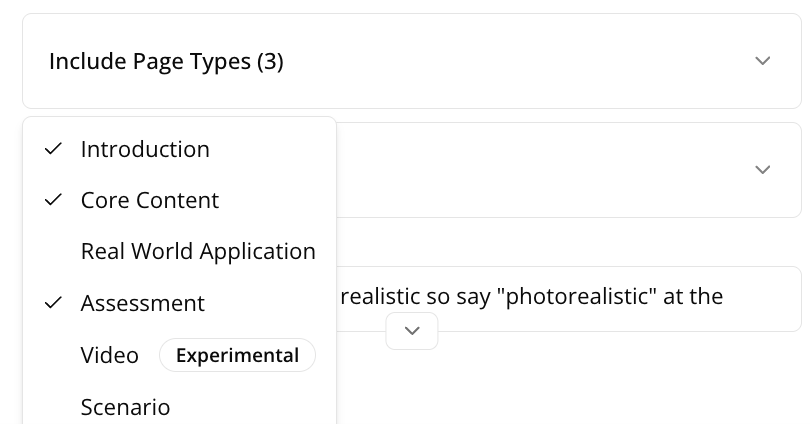
|
|
Include Tiles |
Determines the default selections for options in the Include Tiles setting in the Configure your lesson popup, used to select which elements are included in the lesson output, such as images, text and interactive elements, such as accordions, flashcards, tabs and so on. 
|
|
Image Style |
Determines the default instructions for how images added to lessons should be. The instructions specified here are automatically added in the Image Style setting in the Configure your lesson popup automatically for all users. This can be altered by users when configuring each lesson. 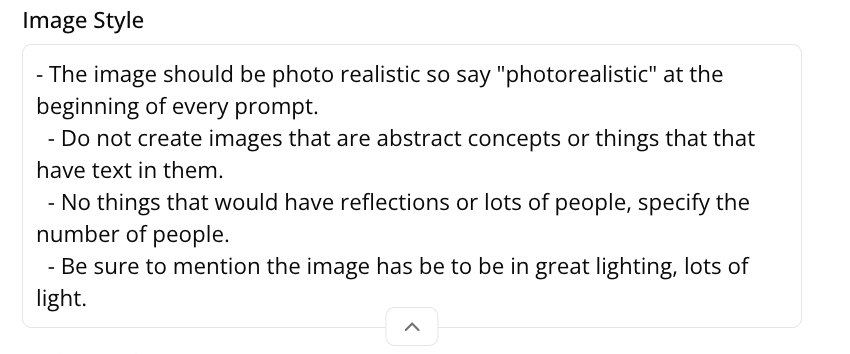
|