If you already have an outline set out for a lesson, you can upload it to Course+ and Course+ will adhere to the provided structure. An outline is the desired structure and ordering for the lesson, essentially providing a blueprint for the lesson’s layout, including the sections, the pages within those sections, and the information on each page.
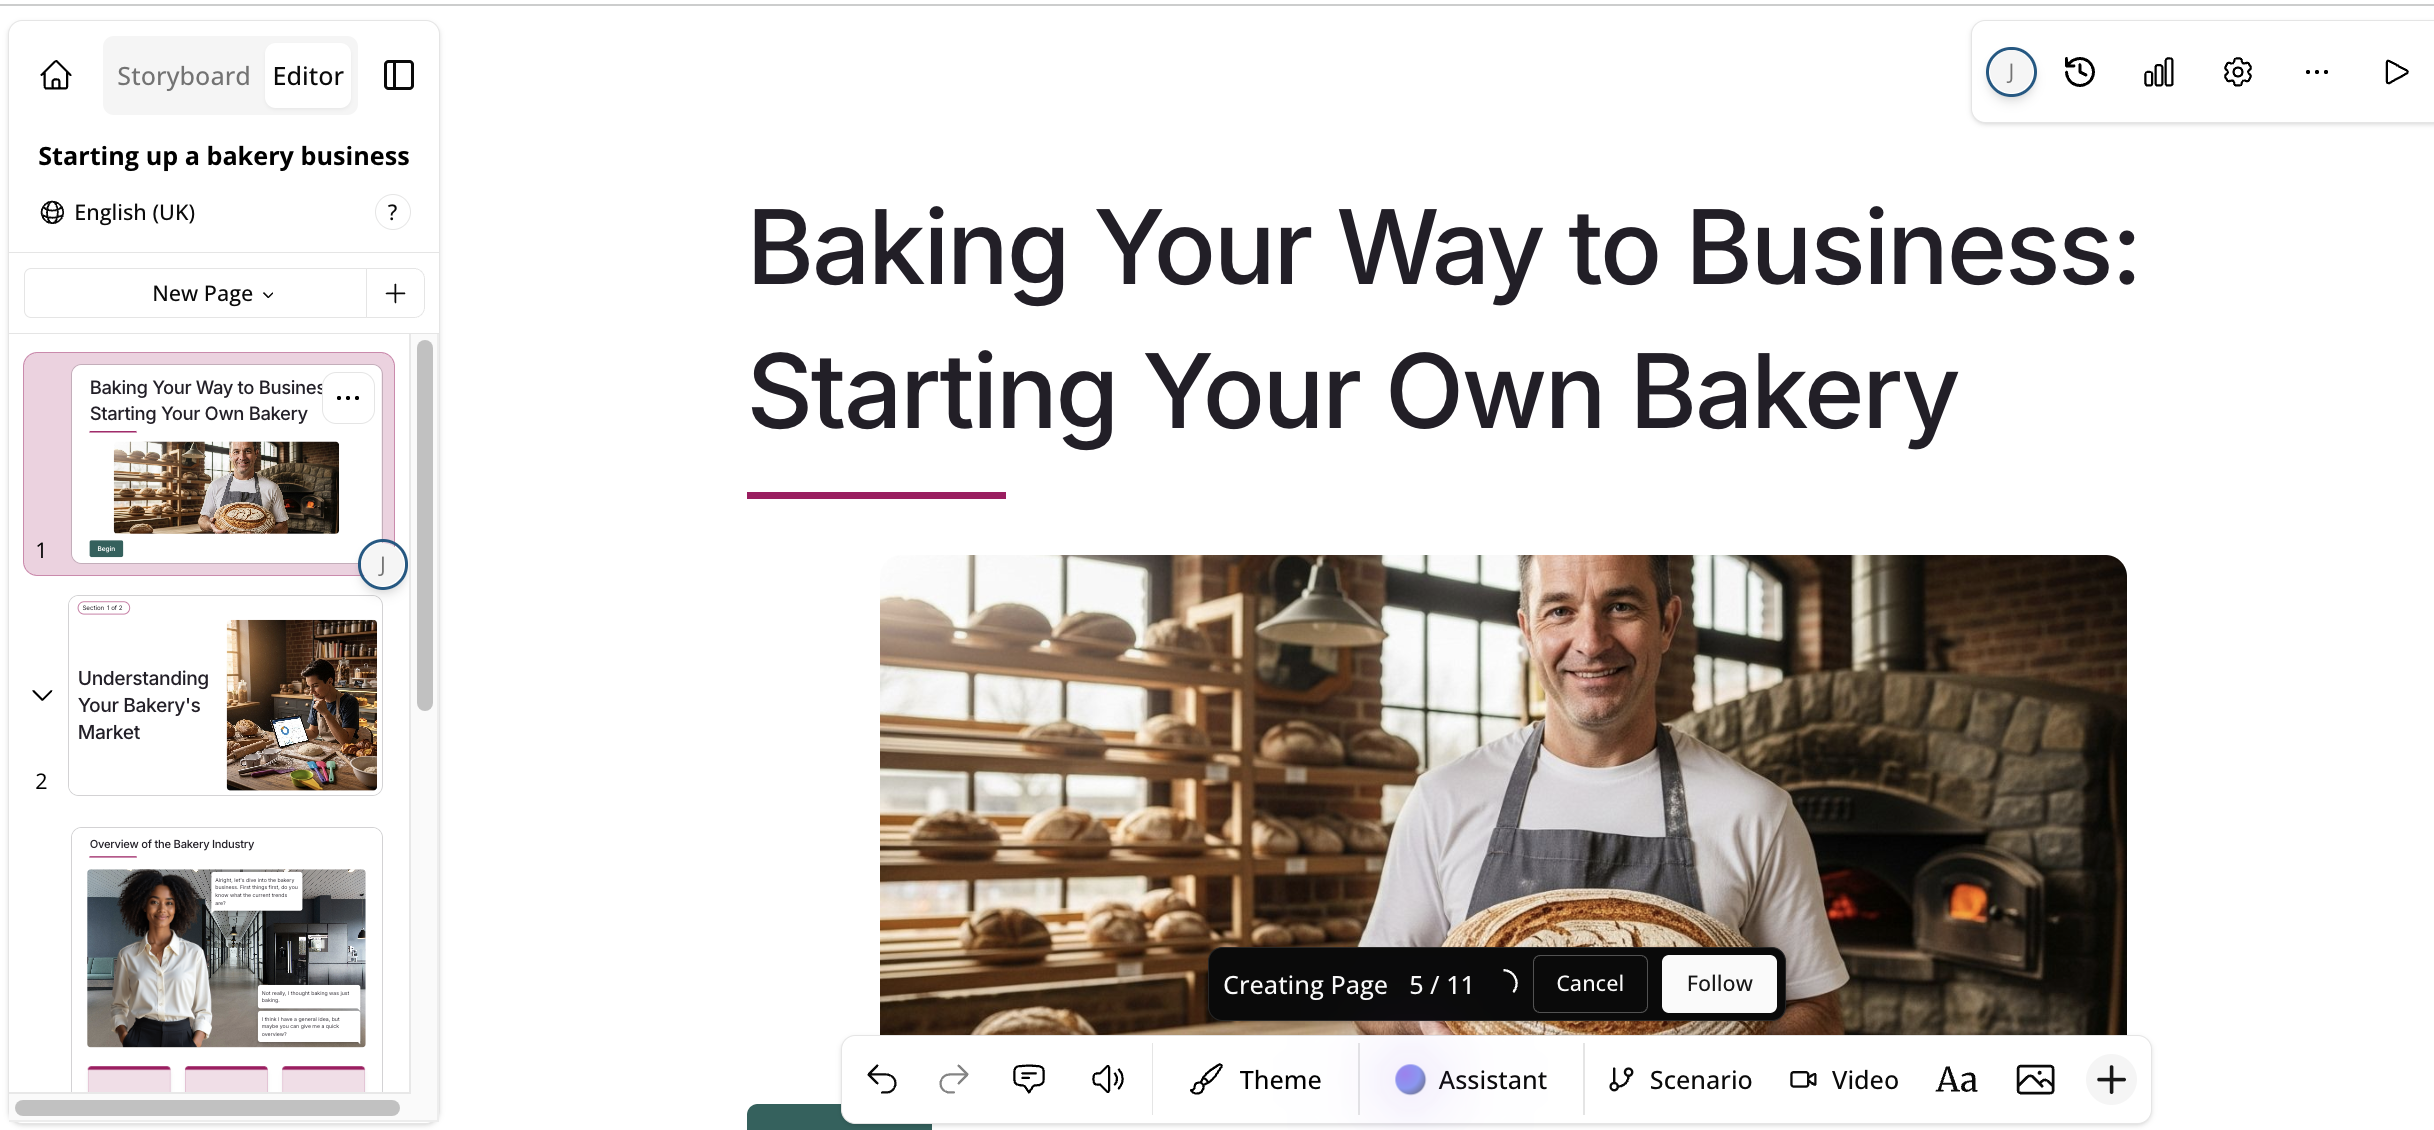
Example: You might create an outline for a lesson about starting a bakery business. In this case, you might specify a structure with sections, such as:
-
An overview of the bakery industry
-
Navigating the bakery industry
-
An introduction to business planning
-
Required food hygiene standards and certification
You might then set out the pages within each section, and the information within those pages, and so on, so that when you add this to Course+, it is adhered to.
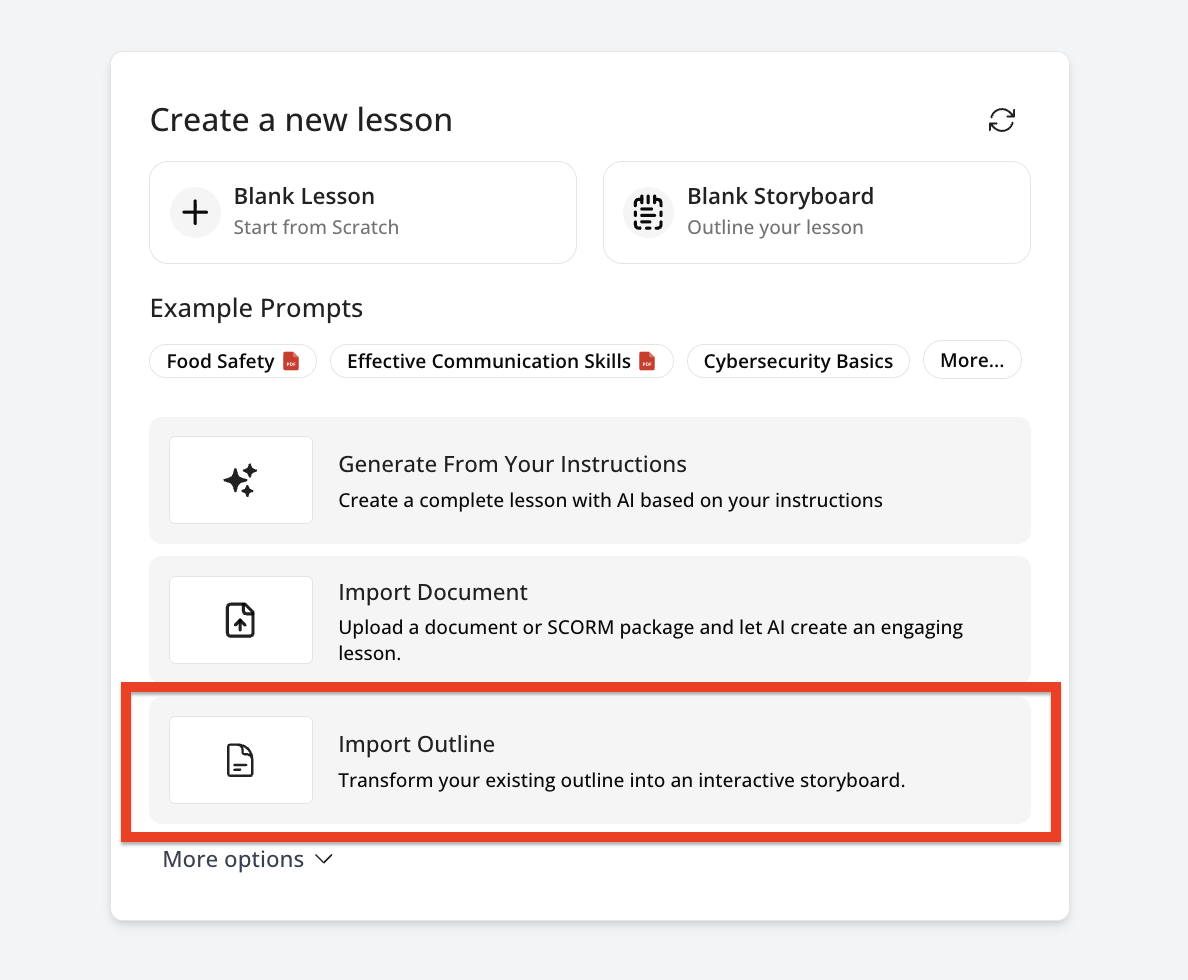
To create a lesson using an outline:
-
On the Create lesson screen, click the Import Outline option.
-
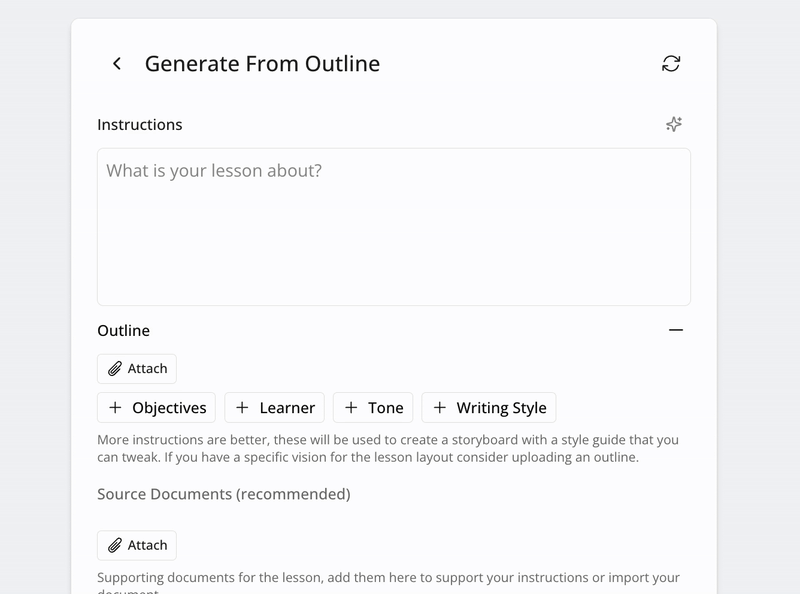
You can add your lesson outline in one of two ways:
-
Click the Generate From Your instructions option and then copy and paste the lesson outline directly into the Instructions box:
-
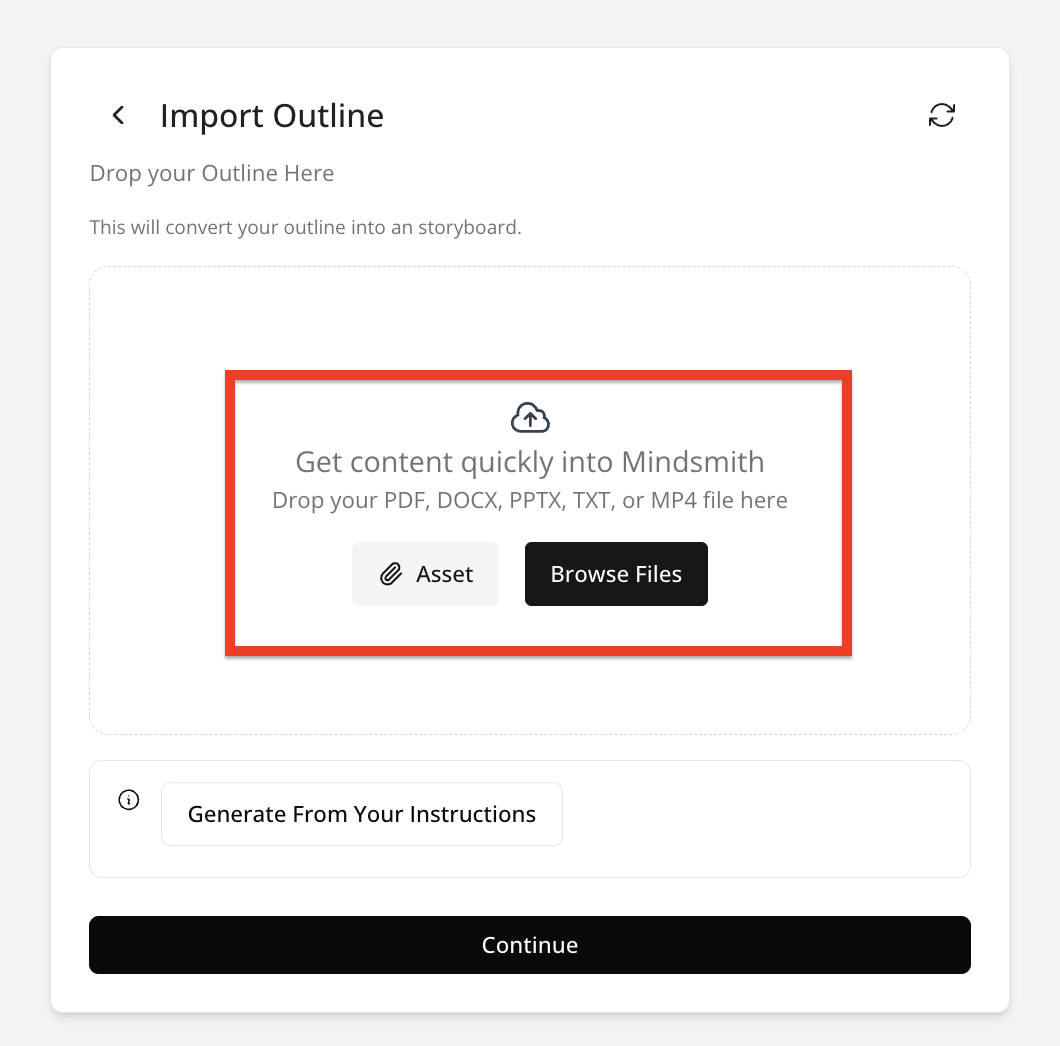
Attach the file containing the outline, such as a document, containing the outline:
-
-
When you’ve added the outline using the preferred method, click Continue.

-
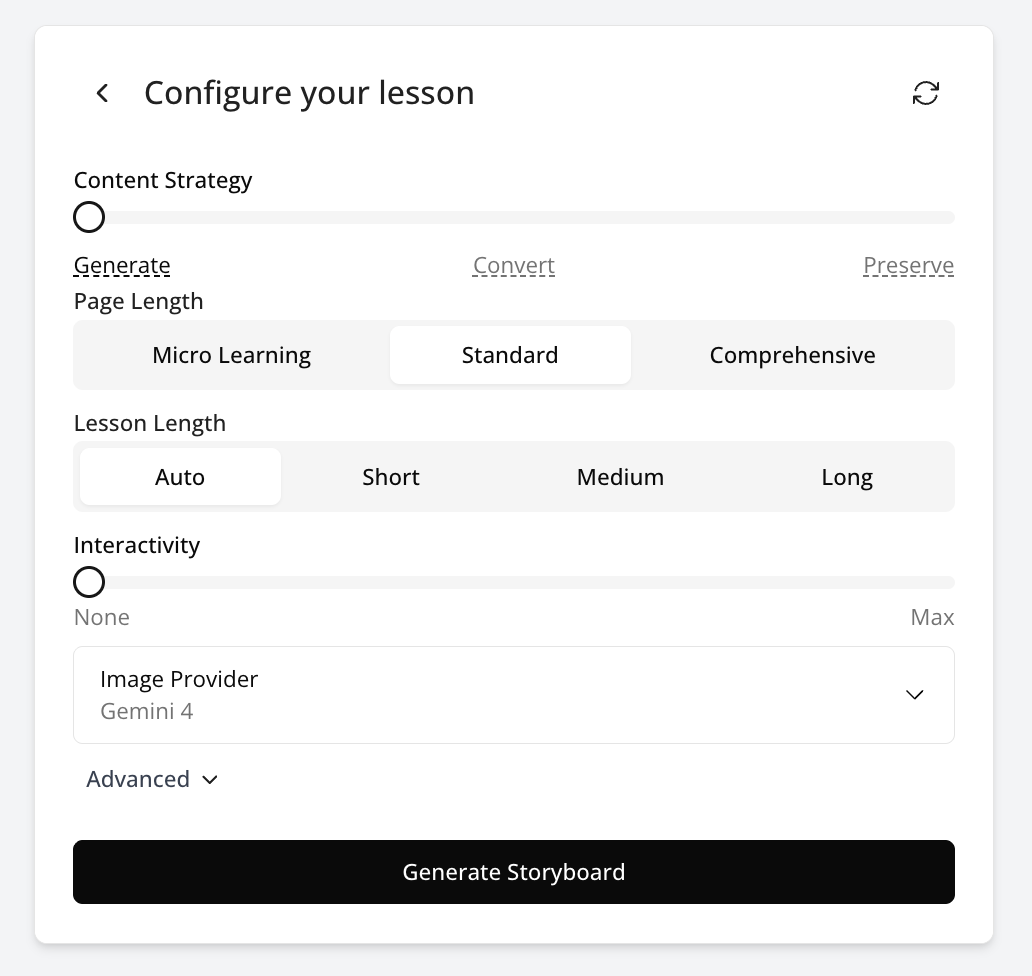
The Configure your lesson section appears, where you can specify additional style, language and configuration options.
-
In the Configure your lesson section, you can configure settings that determine certain aspects of your lesson, including interactivity, what kind of imagery will be presented to learners, where that imagery is sourced from, and the language it is in.
The following options can be configured:-
Page length: You can choose how long each page in the lesson is. For example, if you only want each page to include short, bitesized bits of information, you might select Micro Learning.

-
Interactivity: This option determines how interactive the lesson can be and determines whether or not certain interactive elements, such as tiles, drag and drops, and short quizzes are added to the lesson. Selecting None means that the lesson will feature no interactive elements at all, and will be purely static text and images, and if the slider is moved all the way to Max, the lesson will feature lots of interactive elements where applicable, such as quizzes and other interactive elements interspersed throughout the lesson.

For example, interactive tiles and assessments:
-
Images: Choose the source of the images that Course+ will add to your lesson.
You can source images from:-
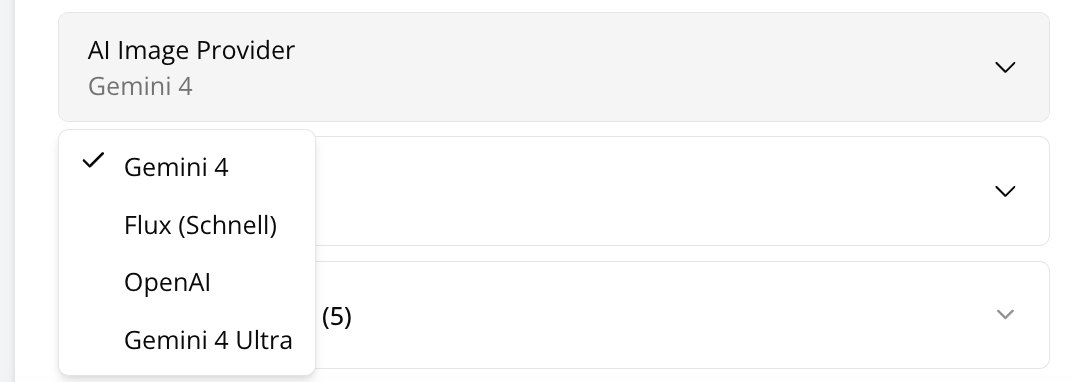
AI Generated: The images used in the lesson output will be generated using AI, and will be based on the information you have specified while configuring the course, including the information in any files, such as documents you may have attached. If you choose this option, you can also select the AI provider that is used to generate the images further below, include from Google’s Gemini, Flux, and OpenAI.
-
Web: The images used in the lesson output will use existing images online. If you choose this option, you can also select if the images being used are free to use, in that they’ve been licensed for personal use, or if they are free to use commercially, in that they are licensed for use in commercial scenarios.
-
Stock: The images used in the lesson output will be sourced from an online library of stock images.
-
None: No images will be added to the lesson output by Course+. You might choose None of you want to manually add your own images to the lesson afterwards because you have a set of images already decided and you have an idea of where you’d like them to go in the course.

-
-
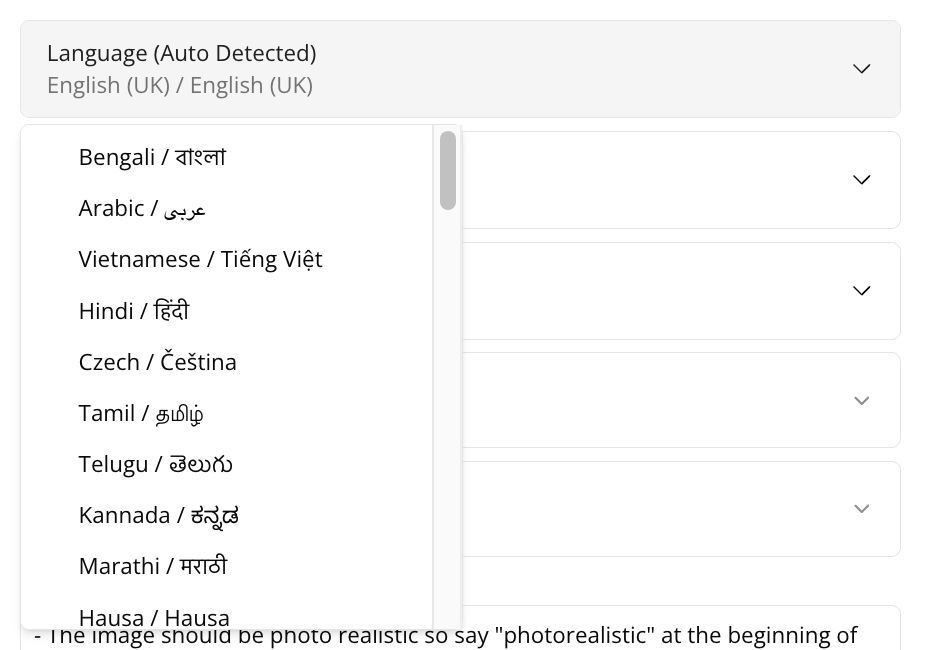
Language: Select the core language you would like the lesson to be in. After you have created a lesson in the core language, you will later have options to create language versions in the same file, or duplicate the original lesson in another language. Once published, users who have their browser language set to another language will see an applicable version if one in that language has been published.
-
AI Image Provider: This configuration option is only available if you have selected the AI Generated option in the Images section, and allows you to select the provider for AI-generated images that are added to the lesson in the initial output. You can choose from the following AI-generated image providers: Gemini, Flux, Open AI.
-
Length: You can choose how many pages the course is spread out over. If you leave the Auto decide with AI option selected, Course+ will decide based on the information, files and instructions you have provided during the configuration. You can also add or remove pages once the initial output has been created, if you find that it is not exactly how you would like it.

-
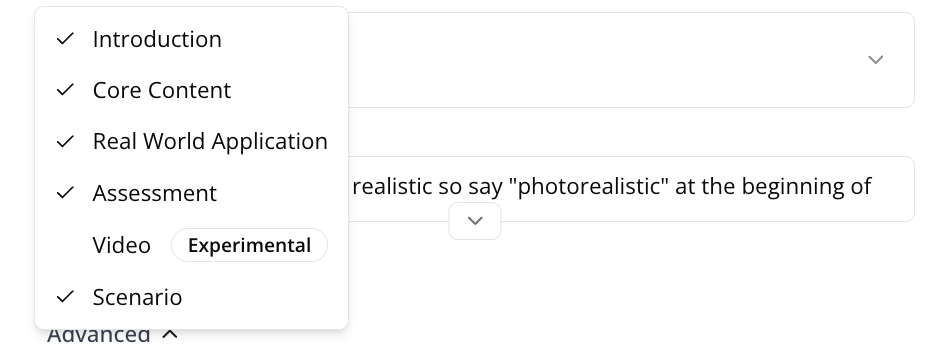
Include Page Types: You can decide what types of pages are included in the lesson output.
-
These include:
-
Introduction: An introductory page at the start of the lesson, providing the learner with an outline of what they will be learning about and some bullet points breaking down the key points:
-
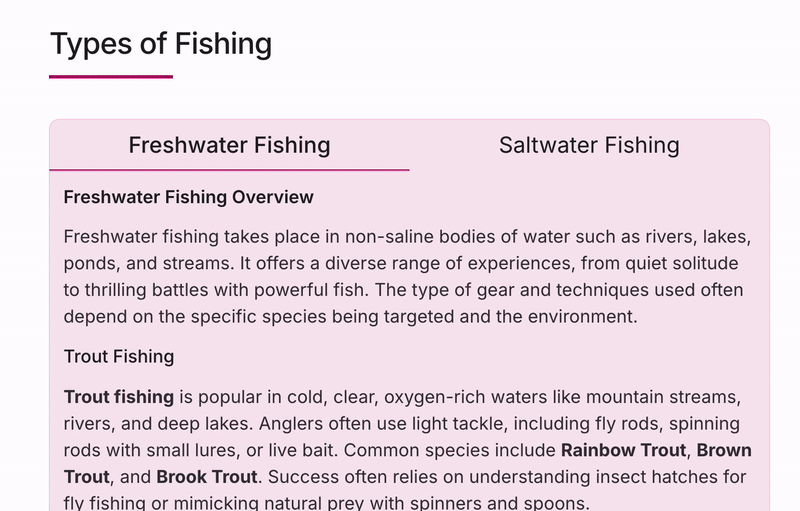
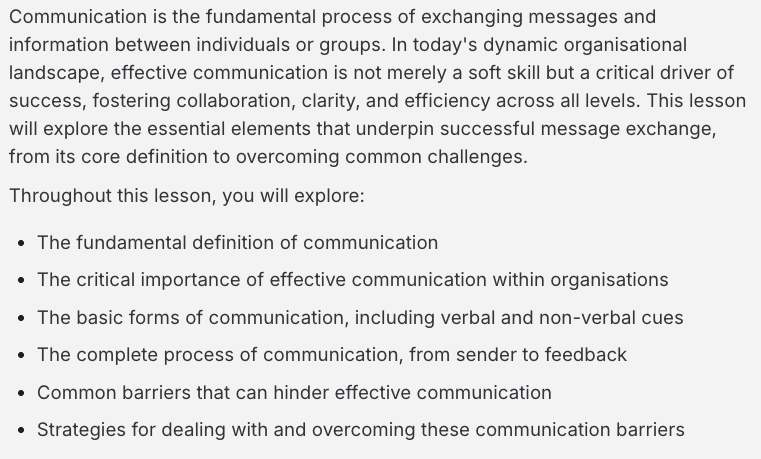
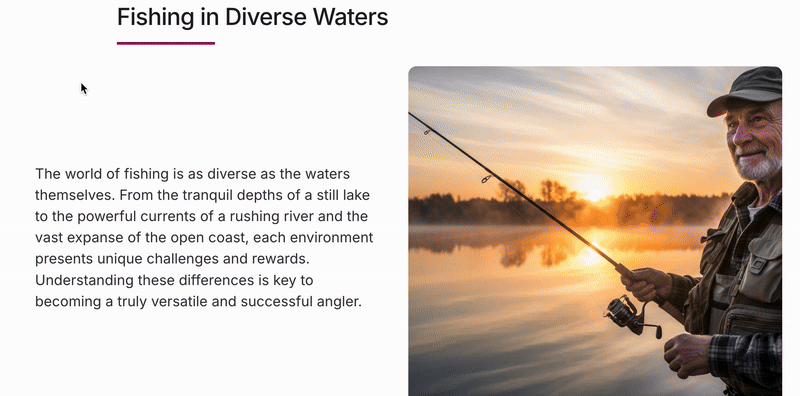
Core Content: The content consists of text and images, based on the information provided:

-
Real World Application: An example scenario that demonstrates the practical relevance of the materials to real-world context. The user may be presented with a real life situation, such as in the workplace, broken down by the problem being faced, the solution to that problem, and the outcome:
-
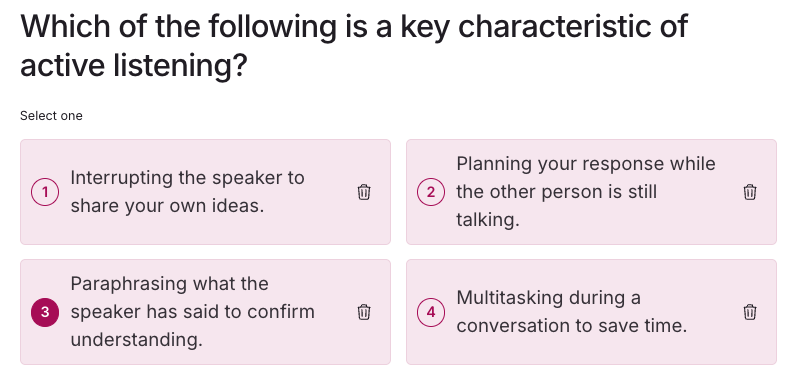
Assessment: Adds assessments with questions to pages based on the information provided, and is used to test the learner’s understanding of the topic being presented in a particular page or section.
-
Video: Videos based on the information provided are included where applicable.
-
Scenario: Scenario pages feature images of people talking about or discussing relevant scenarios, taken from information you have provided. For example, an encounter with an angry customer and how solve it:

-
-
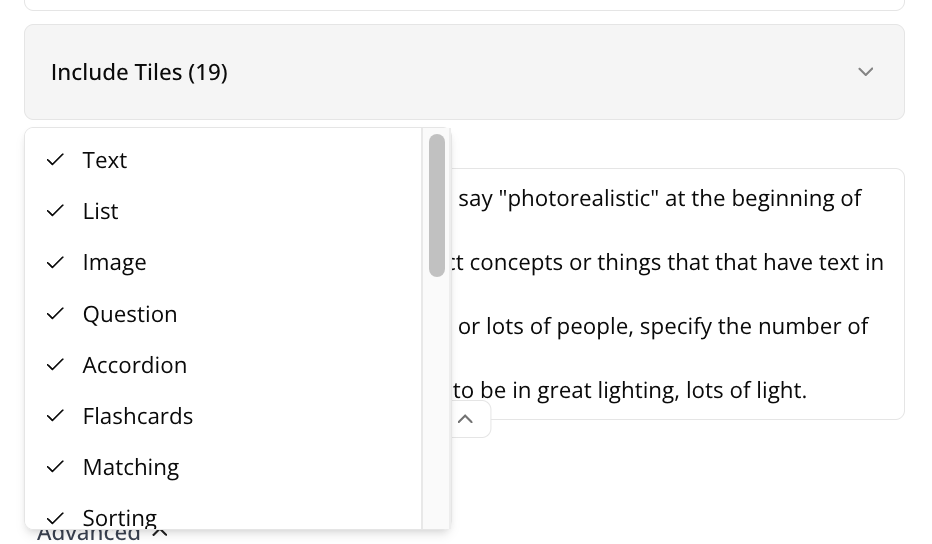
Include Tiles: Select which types of tiles are included on pages in the lesson.
-
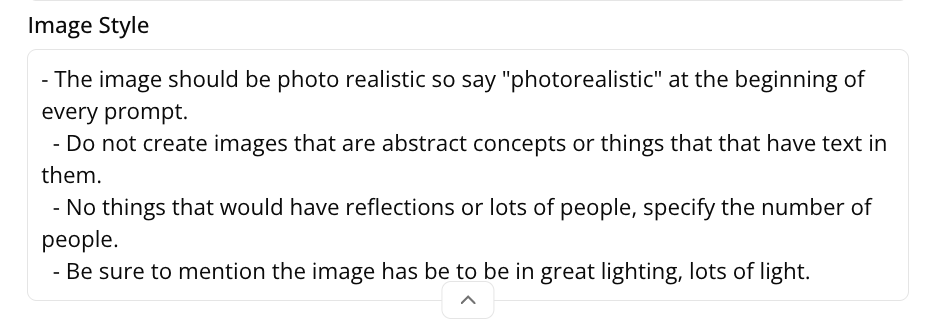
Image Style: Describe how the images in your lesson should look and what style they should conform to, as well as what they shouldn’t look like. For example, if your lesson is about food hygiene in a hotel kitchen, you might only want there to be photorealistic imagery related to that, as described in the prompts and information in the files you’ve uploaded and the prompts you have provided.
-
Add citations: This only appears if you have attached source files, such as documents. Course+ will provide references to places in these files that the information has been sourced from.
-
Images from document: Select this checkbox if you have attached a file and you would like the images in the file to be included in the lesson.
-
-
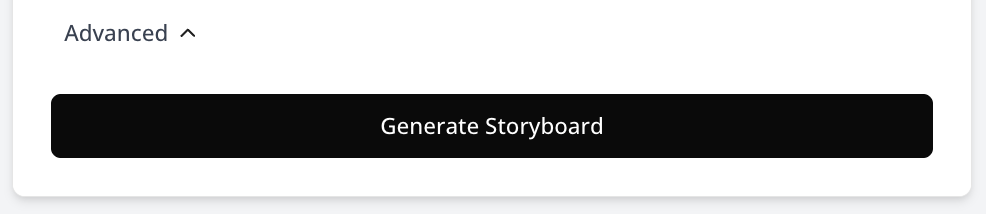
When you’ve finished configuring the lesson, click Generate Storyboard.
-
A lesson storyboard, based on the submitted outline and any other settings you may have configured, is generated. Once this is done, you can review it, including making edits to the selected settings to adjust the storyboard as well as moving pages around. You can go on to make more detailed and substantial edits to the lesson, such as to individual sections of text, pages and images, as well as add and remove content and pages and adjust their ordering once the lesson has been generated.

-
Your lesson is generated and you can browse through it, as well as make edits to the content. Once you are happy with content within it and it is ready for learners to consume, you can share it using the Share option. For more information on the different methods of sharing a lesson with learners, see Sharing and publishing a lesson you have created in Course+.