
You can create a new audience via the Audience Management screen in the Admin Panel. An audience allows you to make content available to a specific set of users dynamically.
When creating an audience you can:
-
Apply filters so that certain categories of users are dynamically included or excluded from the audience.
-
Add a static list of users to the audience, by uploading a CSV file containing a list of email addresses.
You can apply filters, so that certain categories of users are included in/excluded from your new audience, using the Include users where... and Exclude users where... sections:
-
In the relevant section, click Add filter.
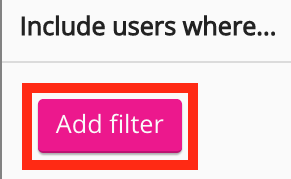
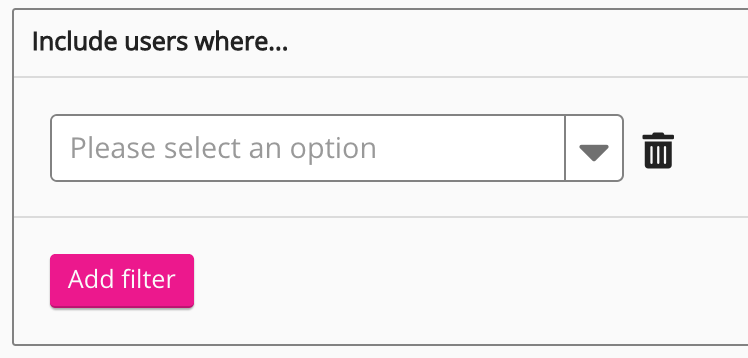
The Please select an option dropdown appears.
-
In the Please select an option dropdown, select an audience filter.
Value-input fields appear depending on the audience filter selected. The screenshot below displays the value-input fields for the Location audience filter.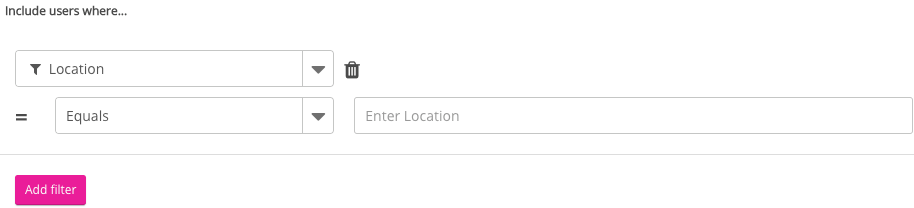
-
Depending on the value-input fields available, configure the parameters of the audience filter.
The screenshot below displays an audience filter configured to only include users whose location is London. This means all users with the “London” option selected in their profile will be added to this audience automatically.
Please note that the inputted values are case sensitive. For example, if you want to include all users with “London” selected in their profile, you must enter the option exactly as spelled in the user’s Personal Settings screen, including any capitalisations. Misspelling an option or omitting capitalisations may result in users being excluded from the audience.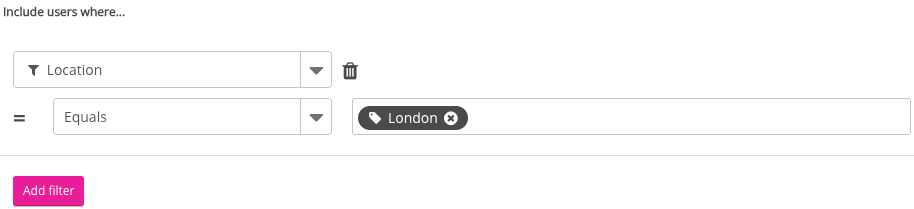
-
Click Add filter.
Another Please select an option dropdown appears.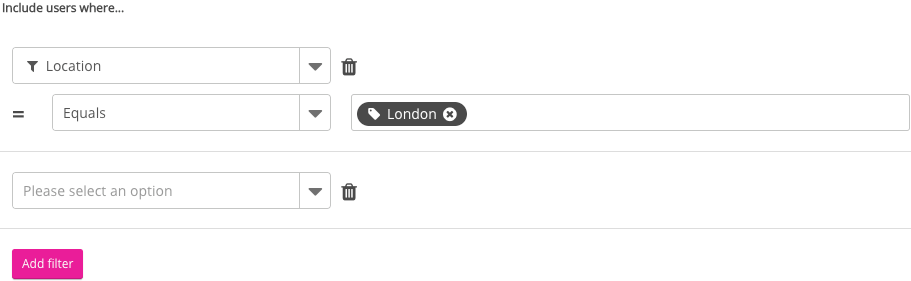
-
If necessary, repeat the steps above to create a new audience filter.
The screenshot below displays an audience filter configured to only include users whose location is London and who are TAMs (Technical Account Managers).
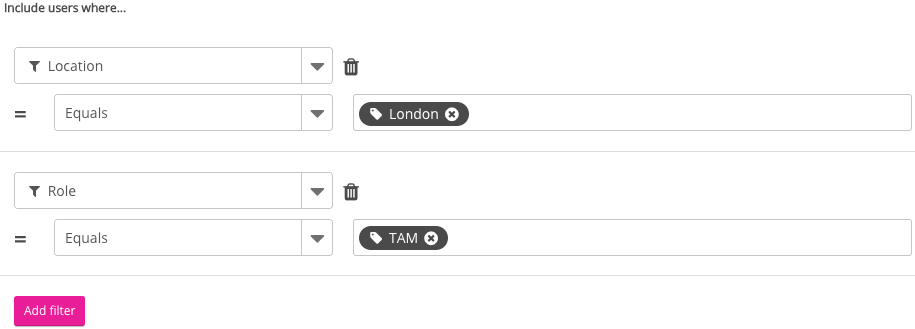
You can add a maximum of five filters each to the Include users where... and Exclude users where... sections. For more information, see here.
To import a static list of users to the audience via CSV:
An example template can be downloaded here.
-
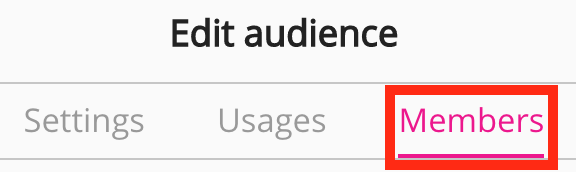
Click the Members tab.
-
In the Import static members section, click Import from CSV and select the CSV you want to import.

The users are imported to the audience. If the import is successful, you will see the following message:
Imported [#] emails matching [#] users. Click save to persist these changes.

The email addresses in the CSV file, must be linked to existing Fuse user accounts, in order to be added to the audience. Any email addresses not related to Fuse accounts will be ignored and you will receive the following message once the import has completed:

When you have finished creating the audience, click Save in the top-right corner of the screen.
