When creating a custom report you can tailor the selected report to suit your needs.
You can:
-
Apply filters to narrow down the data and make it more relevant - such as excluding certain fields or only including data specific to a certain thing. For example, if you are creating a custom learning plan report, you might only want to include data for one particular learning plan.
-
Schedule it to be generated automatically on a regular basis (such as daily, weekly, or monthly).
-
Share it with users who might need to see it.
Example: You might create a learning plan report that only shows the completion data for a particular set of learning plans, and then schedule the report to be generated and shared on a weekly basis with certain people who need to see that completion data, such as heads of a departments or managers in your organisation, so they can keep track of reportee completions.
To create a custom report:
-
On the Reporting screen, expand the Create a custom report section.
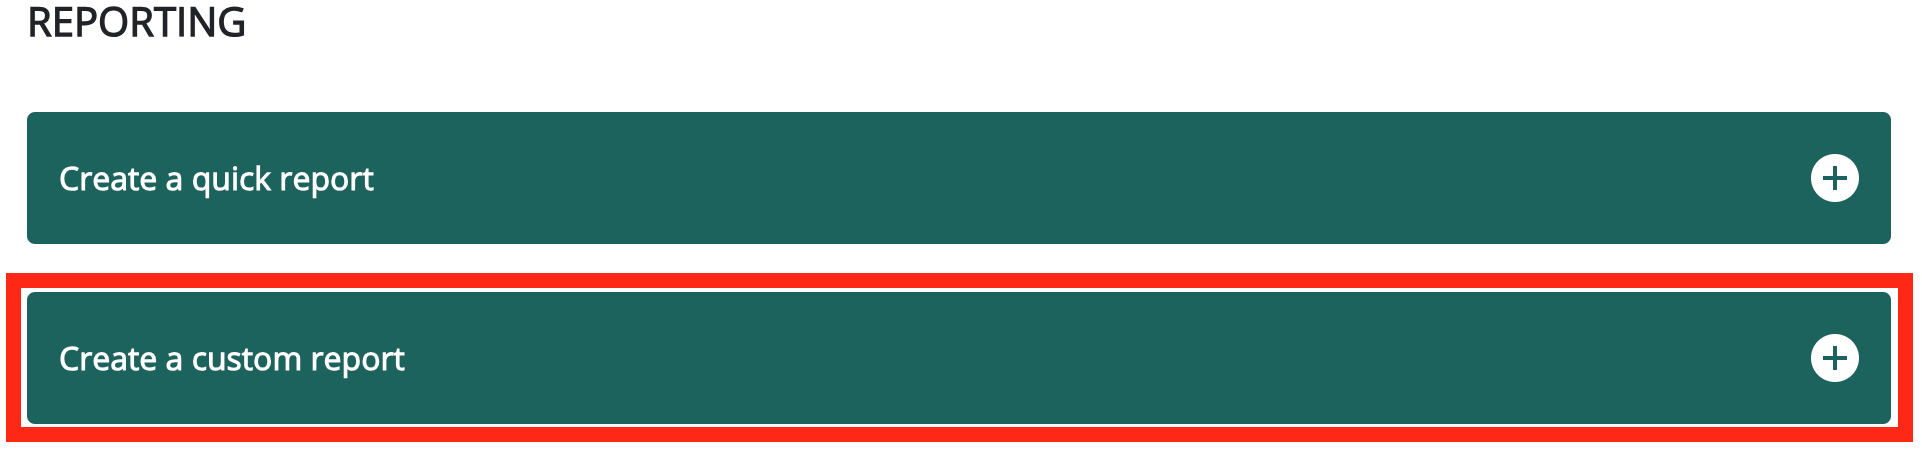
A list of available custom reports appears.
-
Select the report you would like to generate. For example, the User report report.

The report wizard opens.

-
In the Report title field, enter a unique title for the report so that it is easily identifiable in the list of existing reports. For example, you might include the date in the report title so that you can find it easily when searching the list of reports on the My reports tab screen.

-
In the Included fields section, you can see which mandatory fields are included in the report. These are standard Fuse profile fields that cannot be removed from the report.

-
[Optional] In the Optional fields section, you can include or exclude organisation-specific custom profile fields and some other non-essential data from the report, by selecting the checkboxes. Custom profile fields are specified by your organisation and added to users' profiles during the implementation process, and typically contain non-standard data that is unique or relevant to your organisation, such as Department, Location, Team, Sales Region, Office, and so on.
You can request that one or more of your custom profile fields be disabled and excluded from both quick and custom reports so that they no longer appear and so that the reports can no longer be filtered by them. For custom reports, if excluded, those custom profile fields no longer appear in the Optional fields section and are no longer selectable as filter options in the Report filters (Optional) section. For more information, see Disabling custom profile fields in reports.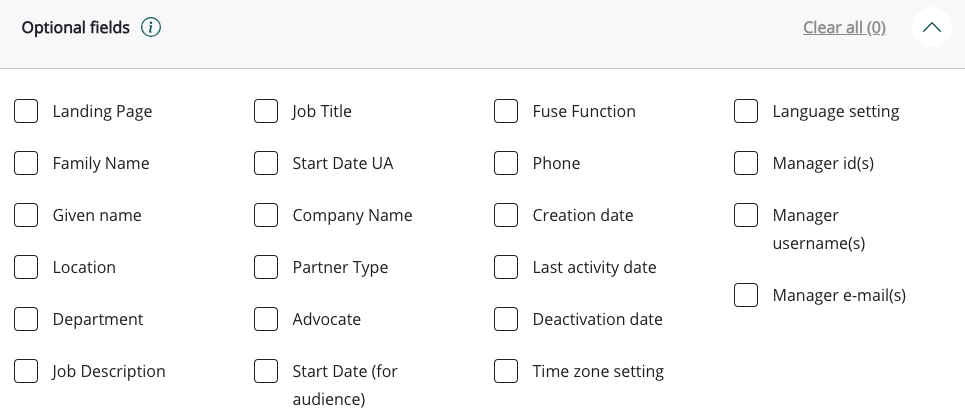
-
Click Next.
-
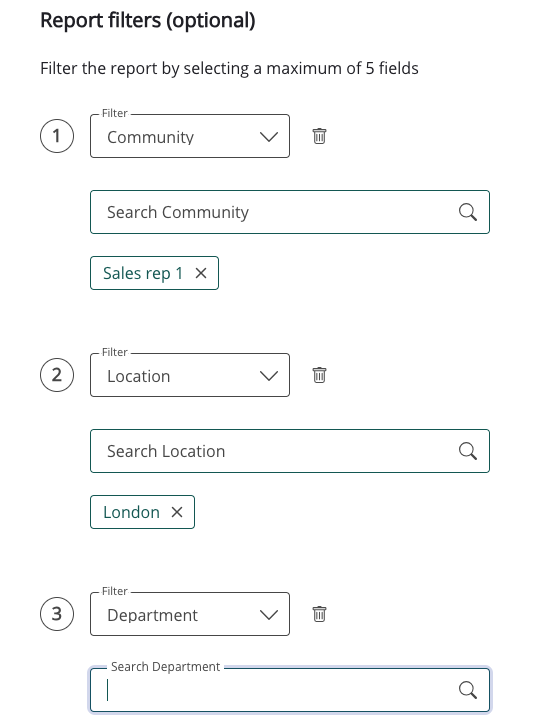
In the Report filters (Optional) section, you can narrow down and refine the data shown in the report by applying optional filters. For example, in the case of the User report, you may wish to filter by a particular community so that the report only shows users from that community, or by one of your organisation’s custom profile fields. For instance, your organisation may have custom profile fields for things like Job Title, Department, Location, Team, and so on.
-
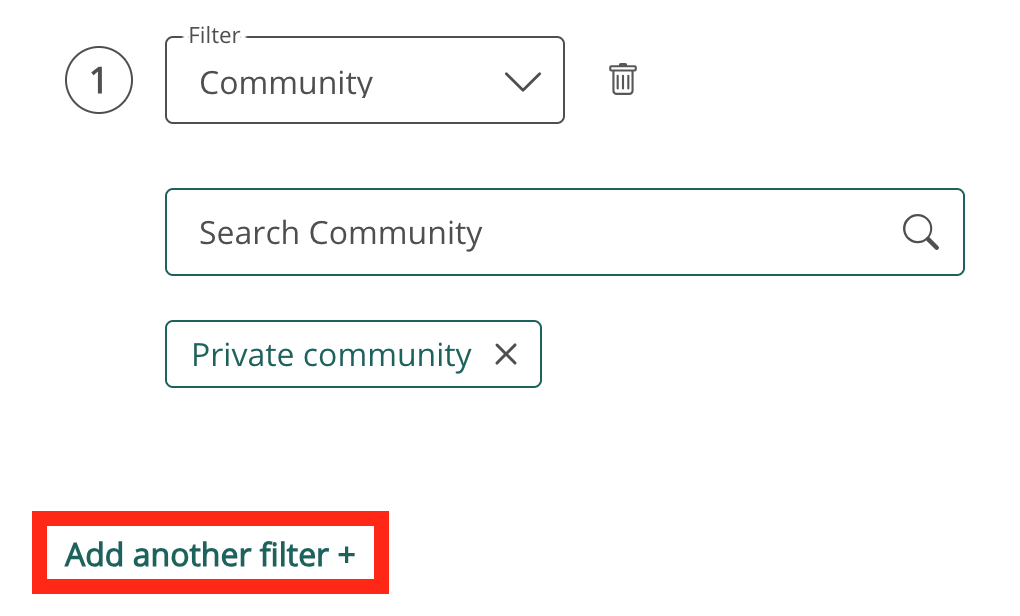
To add more filters, click Add another filter +.
-
[Optional] By default, deactivated users are hidden from reports.
The following options can be selected:-
Yes: Select this option to include deactivated users in the report.
-
No: Select this option to exclude deactivated users from the report.
-
-
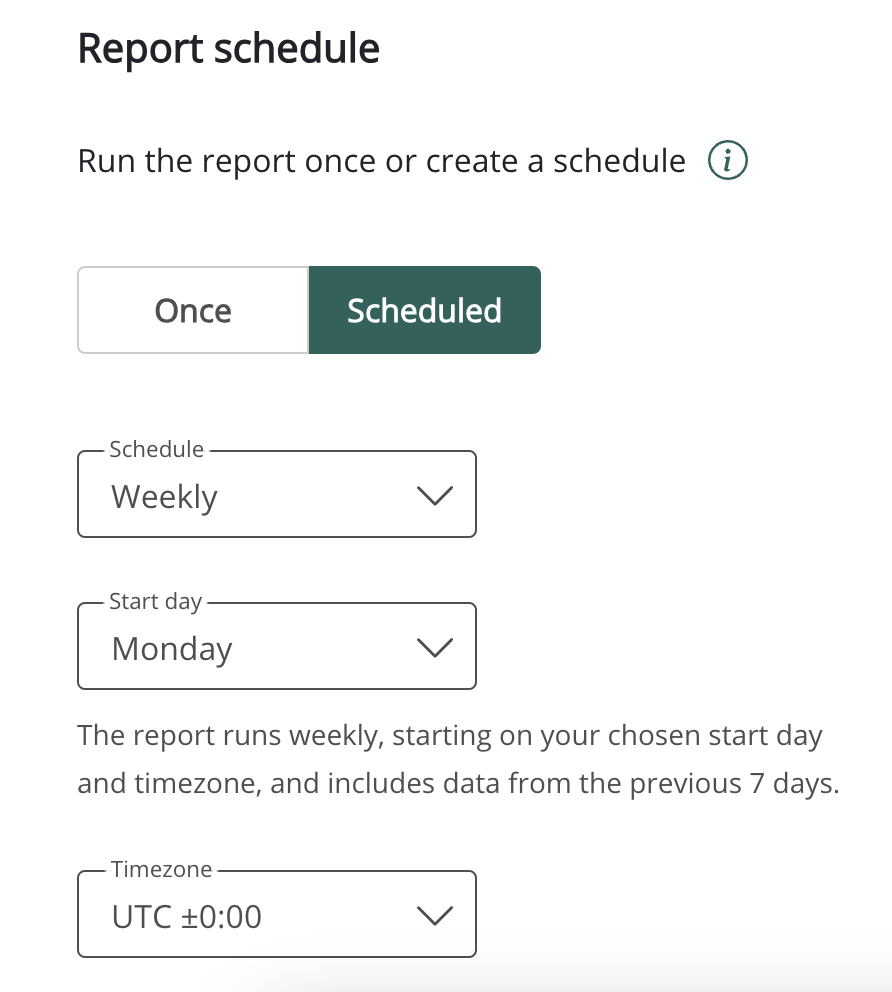
In the Report schedule section, you can set it so that the report is generated only once or repeatedly on a regular basis:
The following options can be selected:-
Once: This option is selected by default, and if selected, the report runs once as soon as you’ve clicked Submit.
-
Scheduled:This option allows you to set up a schedule by which the report is run automatically on a regular basis, such as daily, weekly, or monthly. If this option is selected, you can also choose whether or not the data in the report is filtered dynamically each time the report is generated. For example, in the case of a learning plan report, if you’ve set it to filter dynamically and you select Weekly and filter it by Completed date, it will be updated to include the current data for users with completions from the previous week every time it is generated.
-
-
Click Next.
In the Report sharing (optional) section, you can share the report with other users and admin groups. If you have scheduled the report to be generated on a regular basis and you also share it, a current version of the report will be shared with the selected users and admin groups automatically on a regular basis.
-
Click Submit.
-
The report is generated and appears in the My reports list, where you can:
You will also receive:
-
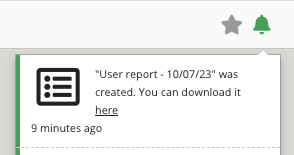
A notification in Fuse with a download link for the report:
-
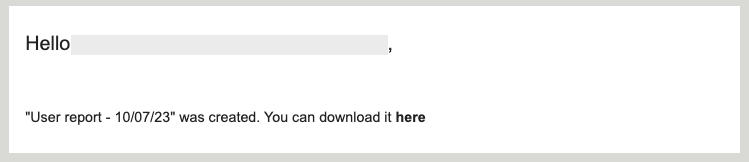
An email with a download link for the report: