
System admins can generate reports containing user information for a survey.
These steps cover how to create a survey report using the legacy reports functionality. For information on how to create survey reports using Universal Analytics, see Reports in the Surveys tab.
Creating a report for a survey
To create a report for a survey:
-
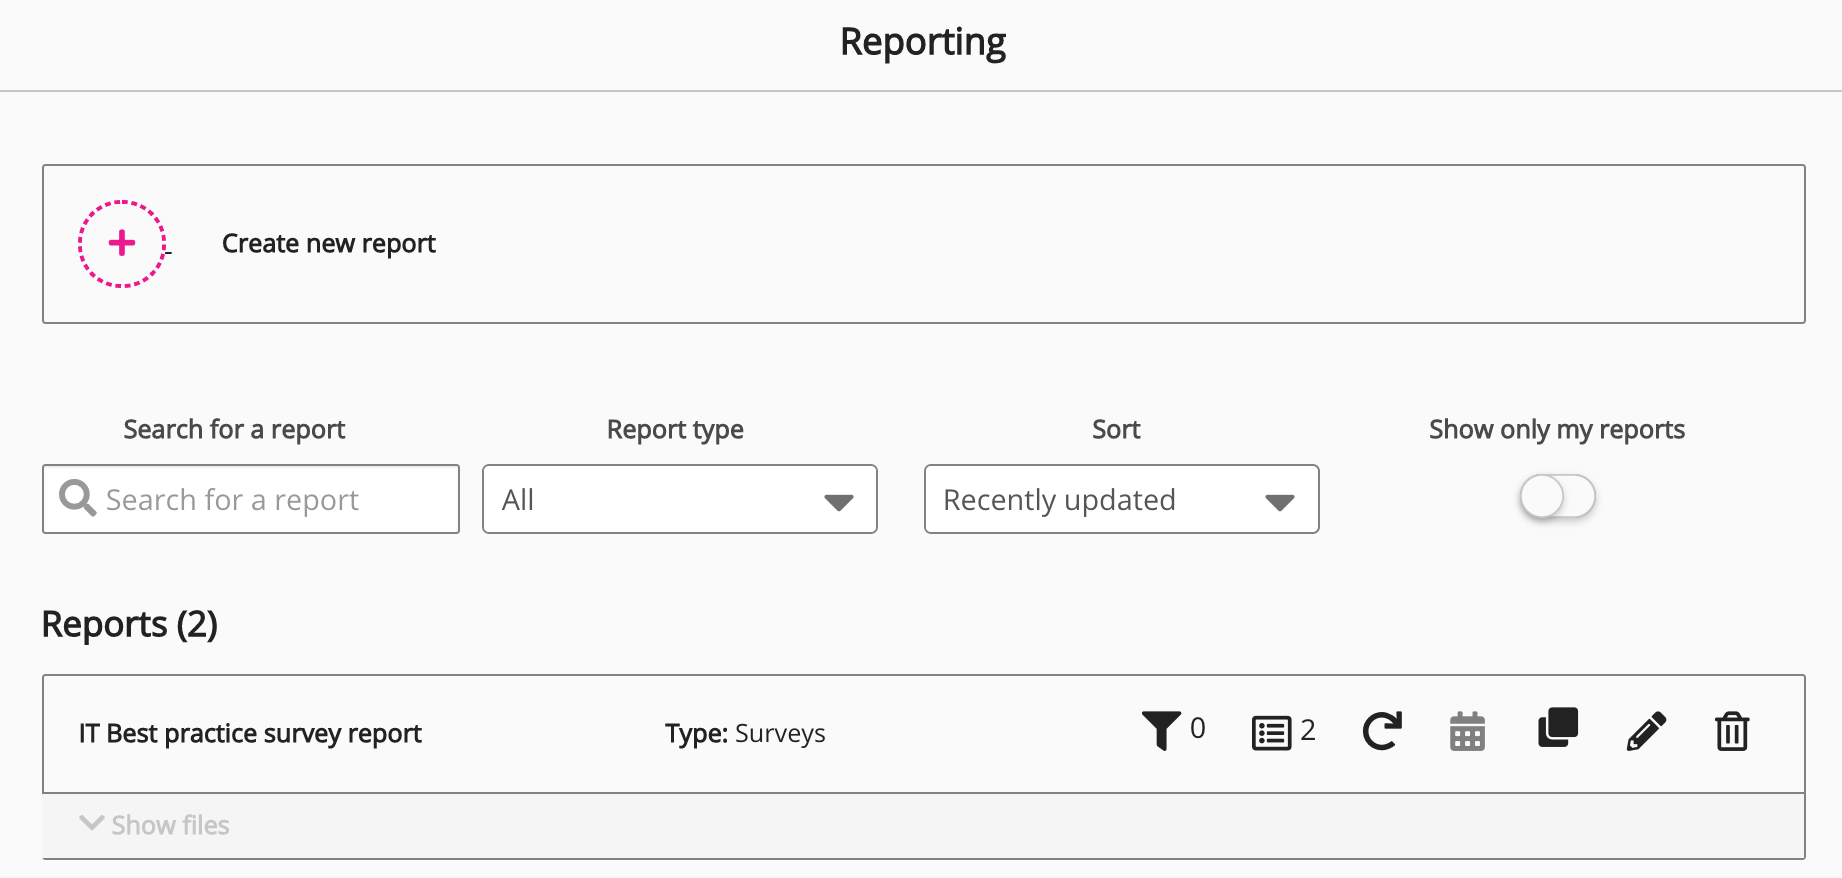
Click the report icon.
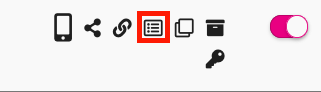
The Surveys screen appears.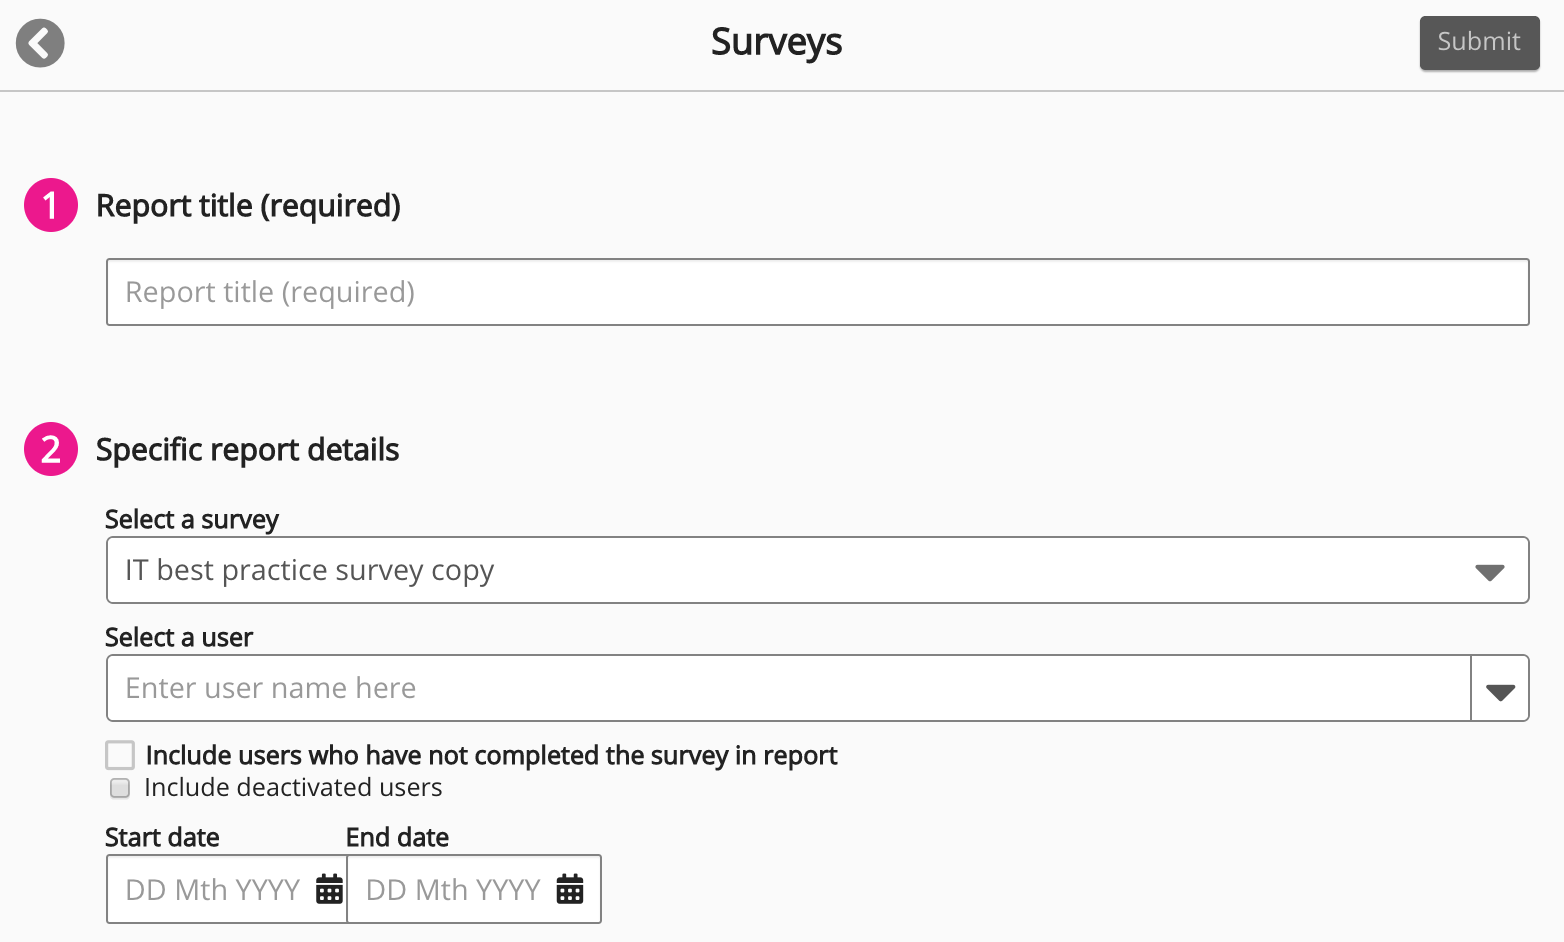
-
In the Report title (required) field, enter the title for the report.

-
In the Specific report details section, from the Select a survey drop down, select an existing survey.

-
[Optional] To generate the report for a specific user, in the Select a user field, enter a user's name.
If you do not select a specific user, all users who have completed the survey are added to the report by default.
-
[Optional] Select Include users who have not completed the survey in report to include users who have not completed the survey.
-
[Optional] Select Include deactivated users to include deactivated users.
-
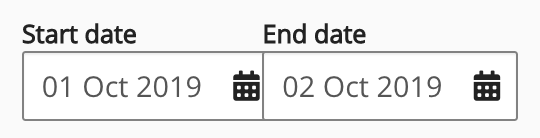
Click the Start date and End date fields to select the date range for the report.
-
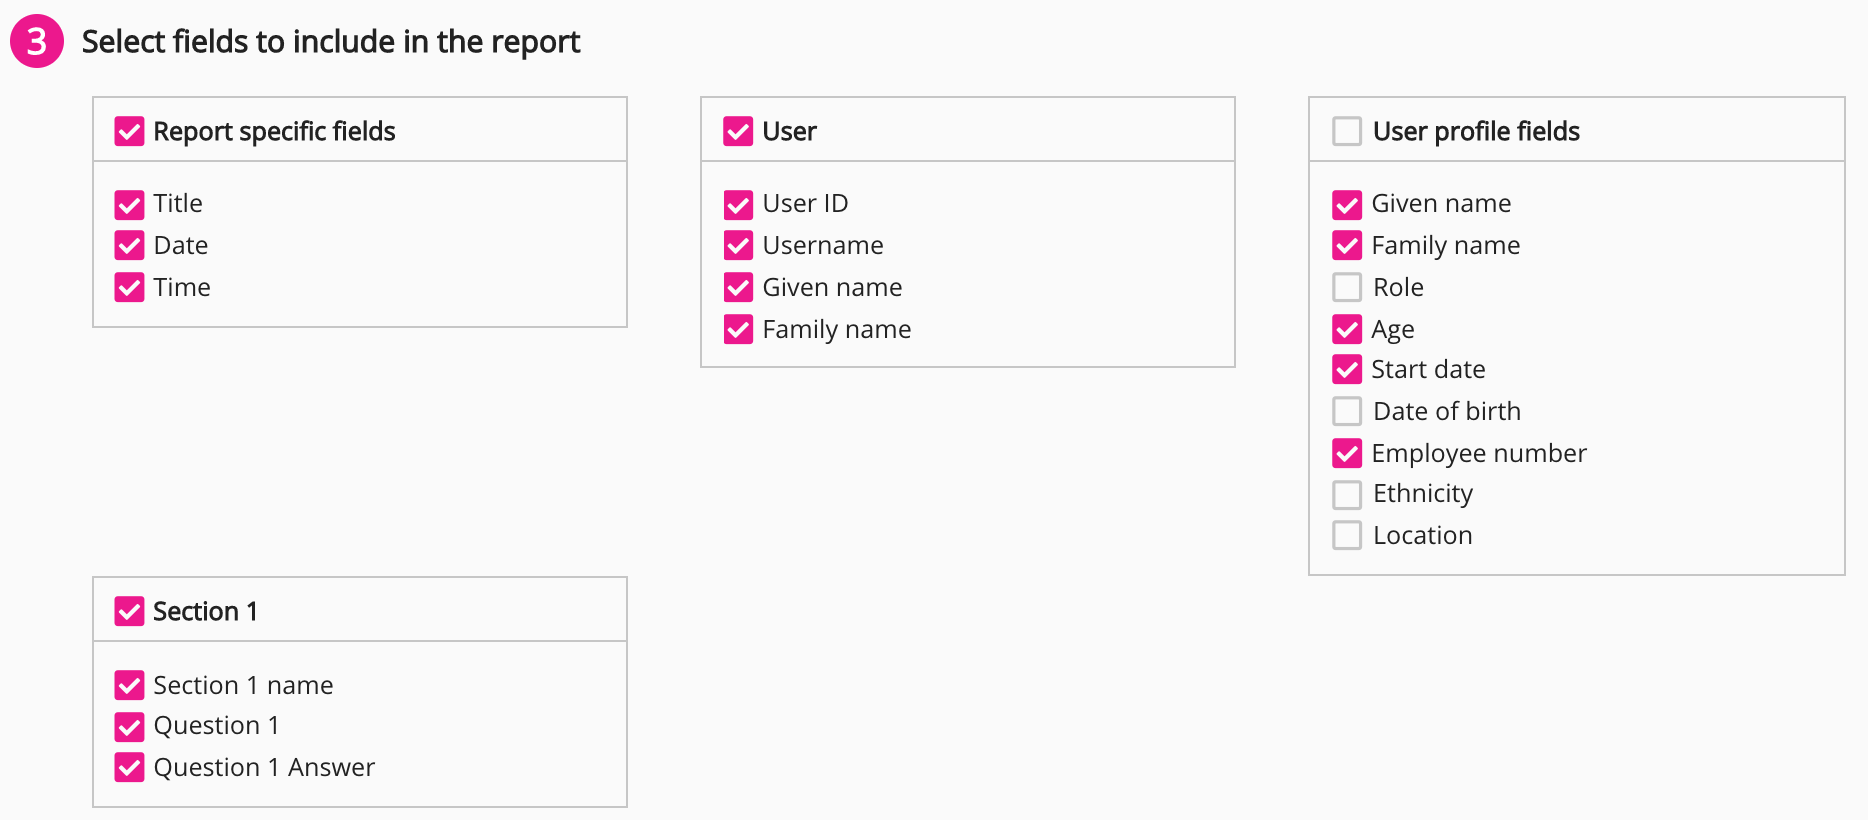
[Optional] In the Select fields to include in the report section, deselect fields and survey questions to exclude from the report. For example, you may want to exclude some custom fields from the report, such as Role, Date of birth, and Age.
-
[Optional] In the Filter the report (optional) section:
-
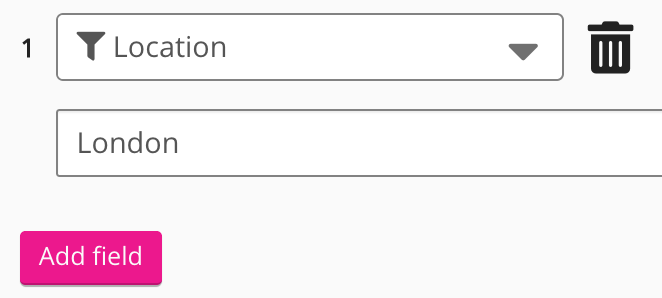
Click the Select field dropdown to enter a custom profile field.
An empty field appears. -
In the empty field, type a corresponding custom profile option. For example, if you selected the Location custom profile field, you could type London.
-
If necessary, click Add field to create more filters.
-
Select a profile field by which to filter the users in the report. For example, if you select the Location filter and enter London, the report will only include users in London.
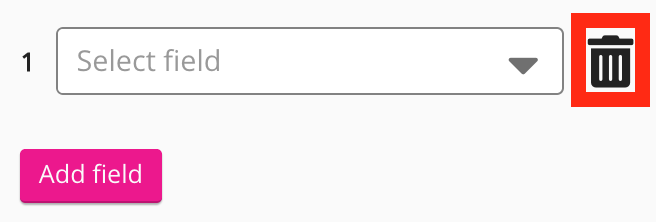
Filter the report (optional) is enabled by default. If this is not in use, you must click the Delete icon (

-
-
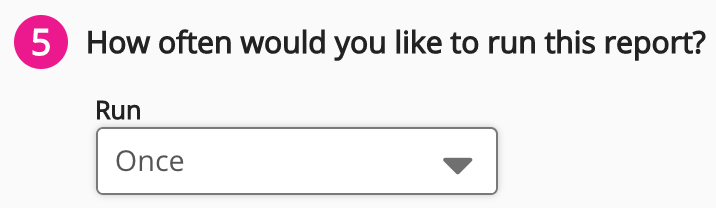
In the How often would you like to run this report? section, follow the steps below to configure a schedule to run the report:
-
Click the Run dropdown to select one of the following options:
-
Once: Run the report once.
-
Daily: Run the report on a daily basis.
-
Weekly: Run the report on a weekly basis.
-
Monthly: Run the report on a monthly basis.
-
-
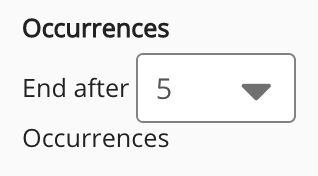
If you have selected Daily, Weekly, or Monthly, click the Occurrences dropdown to select how often to generate the report within the cycle. For example, if you have selected Daily, and select 5 from the Occurrences dropdown, the report will be generated 5 times per day.
-
-
In the Who can access this report section? area, select one of the following options:
-
Only me: Only you can access the report.
-
All users: All users on the Fuse instance can access the report.
-
Manually add users: Manually add one or more users who can access the report.
-
Assign by admin group: Select an admin group that can access the report.
-
-
[Optional] In the Forwarding (optional) section, in the Upload to which community\communities field, enter one or more communities to forward the report to.

-
Select one of the following:
-
Don't notify anyone: Don't notify any users in the selected community when the report is generated.
-
Notify all community members: Notify all users in the selected community when the report is generated.
-
Notify specific users: Notify specific users in the selected community when the report is generated.
-
-
In the top-right corner of the screen, click Submit.
The Reporting (Legacy) screen appears.
-
In the Reports (#) section, click the Download icon to download the report.

The report downloads and you will also receive an email containing a link to the CSV file.