
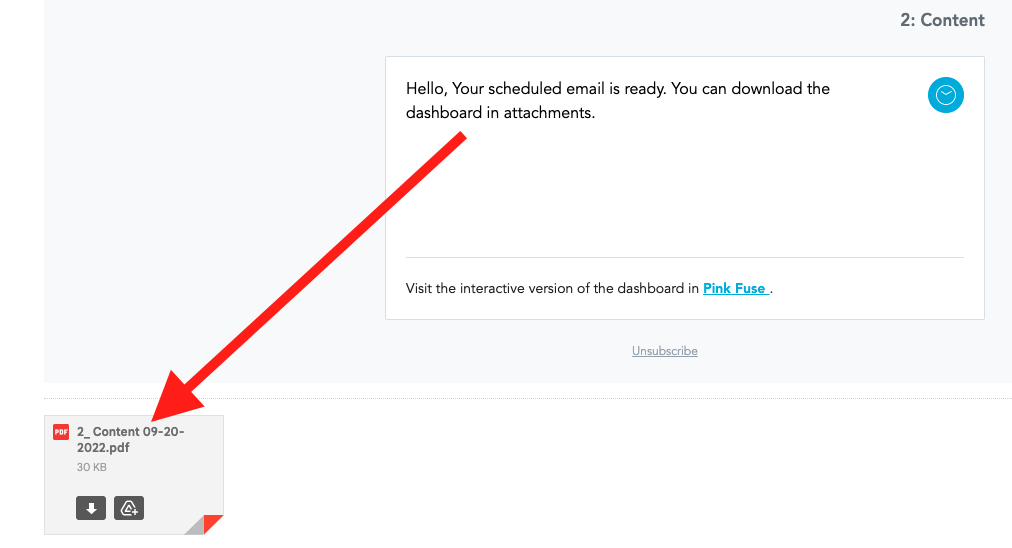
You can schedule emails to be sent to users at timed intervals in Universal Analytics, containing insights from custom dashboards you have created. Insights from your chosen dashboard are attached to the email as a PDF, meaning recipients can download and view it locally. Emails can be sent to users with access to Universal Analytics, as well to external users without access.
Use cases:
This feature is useful if you have created dashboards tailored to specific audiences, and want to share them on a regular basis.
For example, you might share these insights with:
-
Management or the leadership team
-
Community admins and/or team leads
Important:
-
If you intend to send emails to external users who do not have Universal Analytics credentials, ensure you abide by GDPR and your organisation’s internal policies.
-
External users are unable to view the interactive version of the link in the email, but will be able to access and download the PDF attachment. If you are scheduling to external users, we recommend including a note in the message body that informs them of this.
Below is an example of a PDF containing a snapshot of insights from a custom dashboard. Insights displayed in PDFs are static images, which means tables, charts and other insights from the dashboard are resized to fit into the PDF.
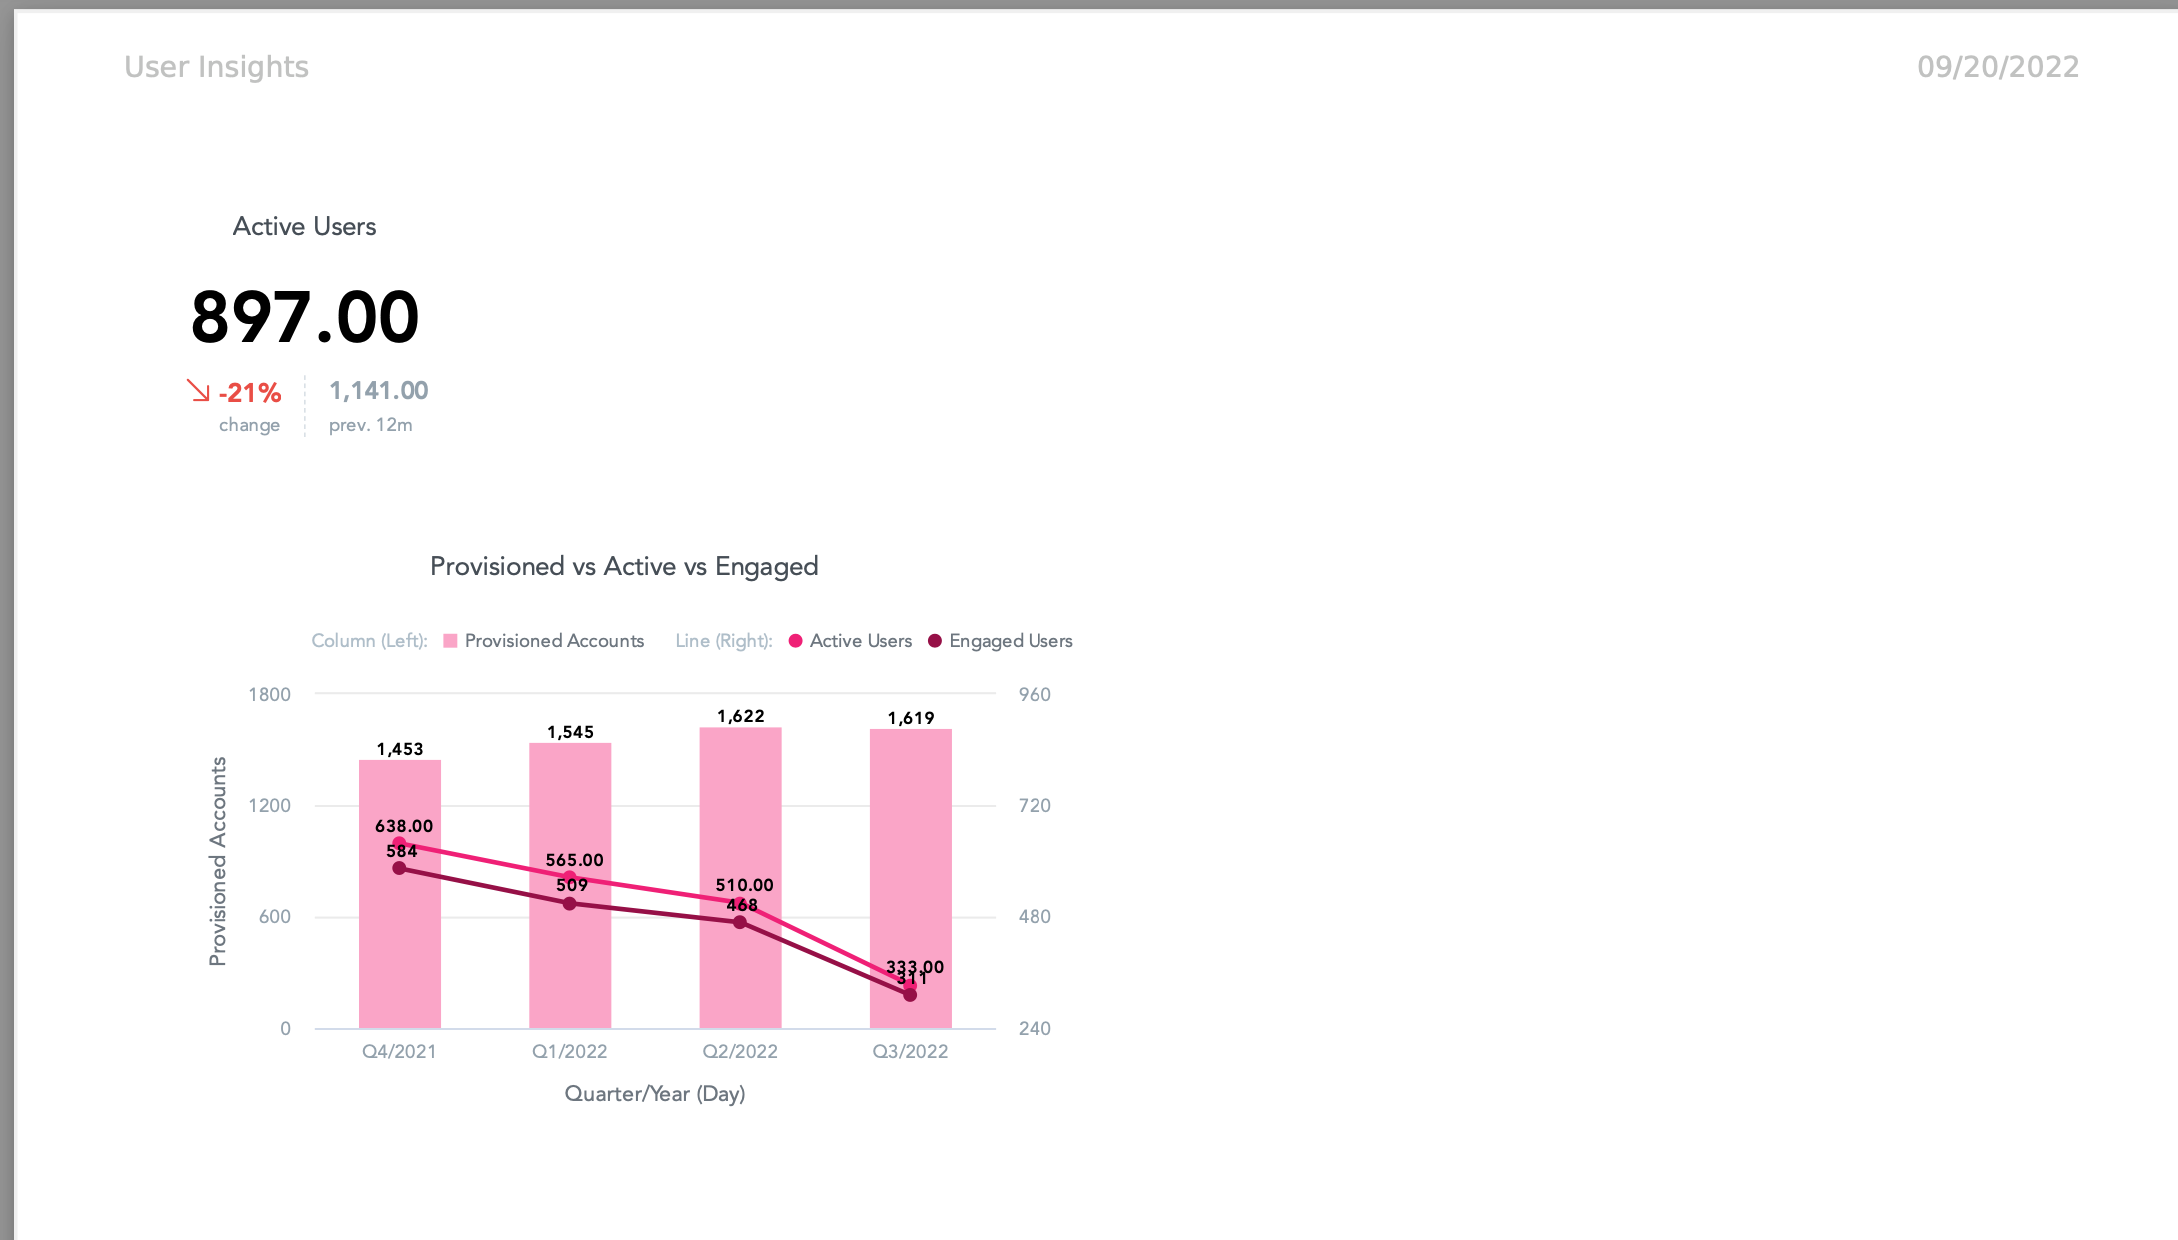
If you have applied filters to the dashboard at the time of setting up the scheduled email, insights shown in the attached PDF are filtered based on this. For example, the dashboard below has been filtered to only show data from the last 30 days. This means the insights in the PDF are also filtered to show data from the last 30 days by default. The attached PDF always reflects the filters set at the time the PDF is exported from Universal Analytics.
.png?cb=53d306130f506aed050f1207939f8e73)
Scheduling an email
To schedule an email in the KPI dashboard of Universal Analytics:
-
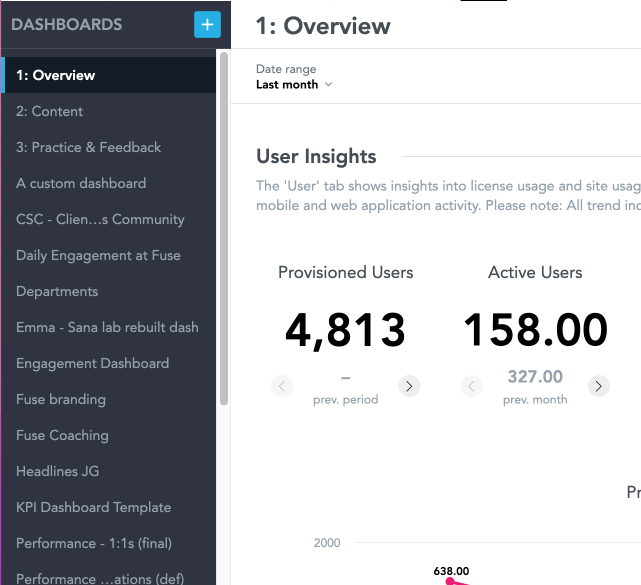
In Universal Analytics, click KPIs.

The KPI dashboard appears.
-
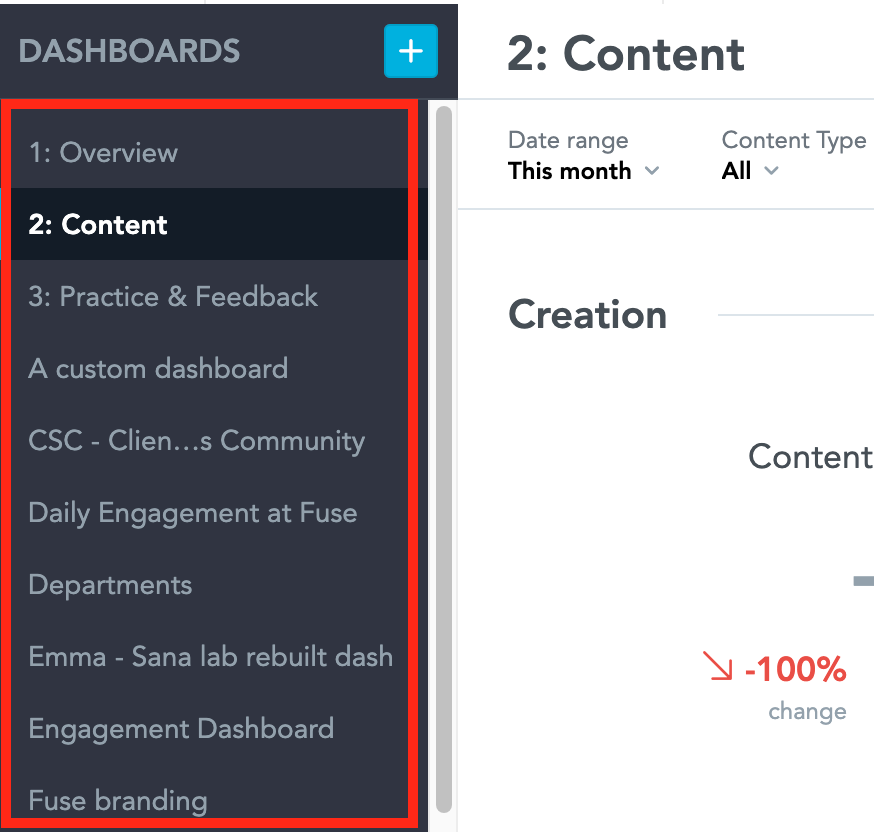
On the left-hand side, click on a dashboard you have created.
-
In the top-right corner, click the ellipsis (…).

-
From the menu, click Schedule emailing.
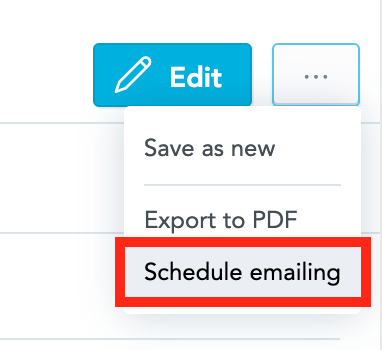
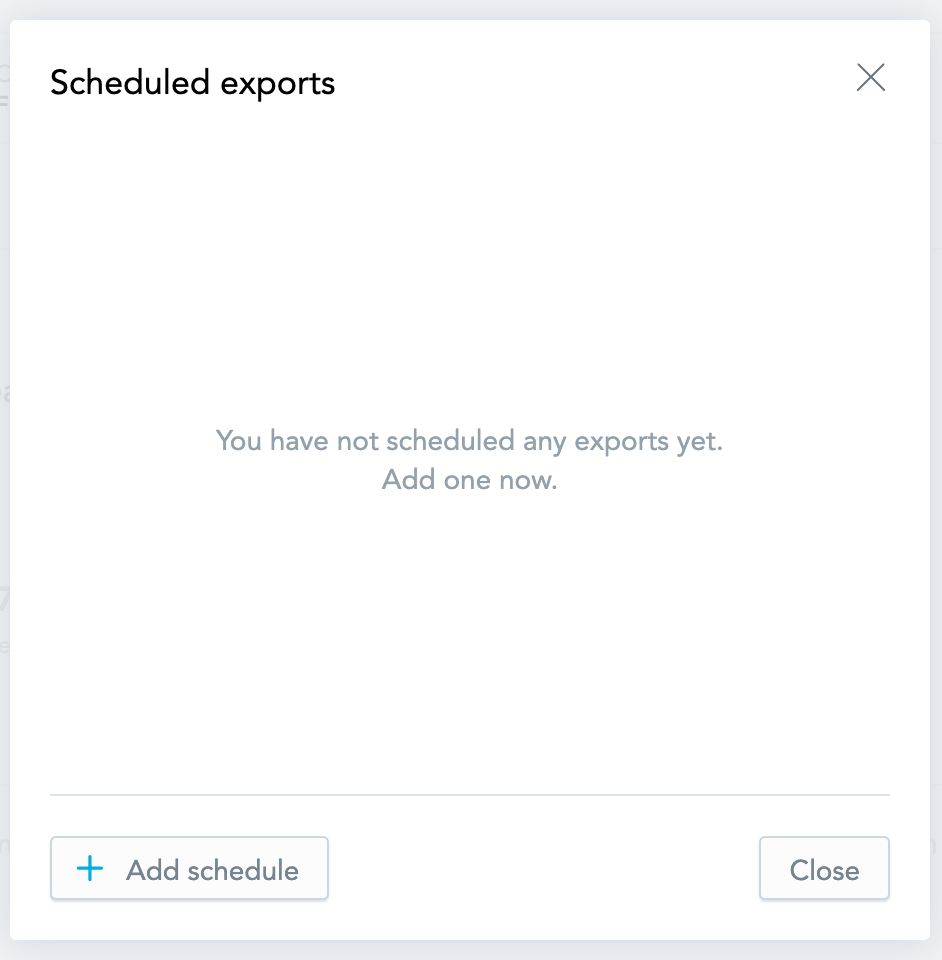
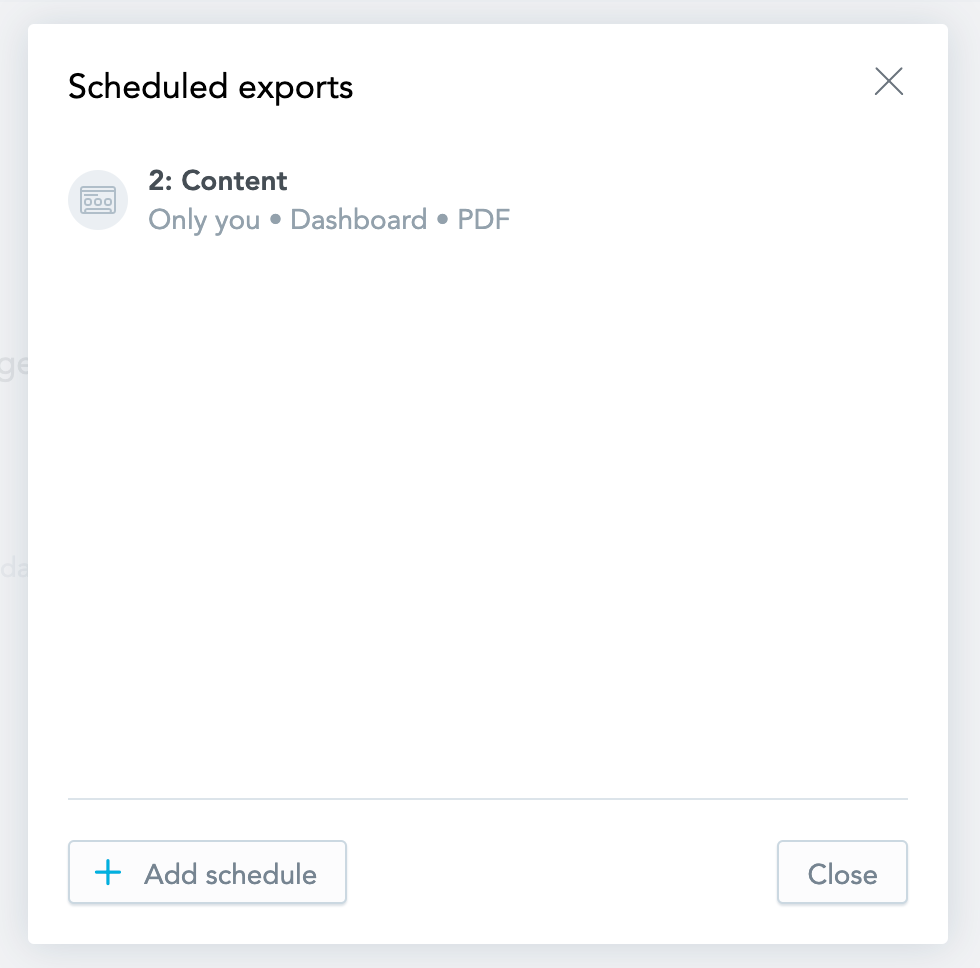
The Scheduled exports popup appears.
-
Click + Add schedule.

-
In the To field, specify which users will receive the scheduled email.
You can:-
Search for and enter the names of users with access to Universal Analytics:
(By default, your name is selected in this field. If you do not wish to receive the email, remove your name)
-
Enter the email address of an external user without Universal Analytics credentials:

-
-
In the Subject field, enter a subject. By default, this field contains the name of the selected dashboard, however, you can enter custom text if desired.

-
In the Message field, you can replace the default message with a custom one explaining the attached insights.

-
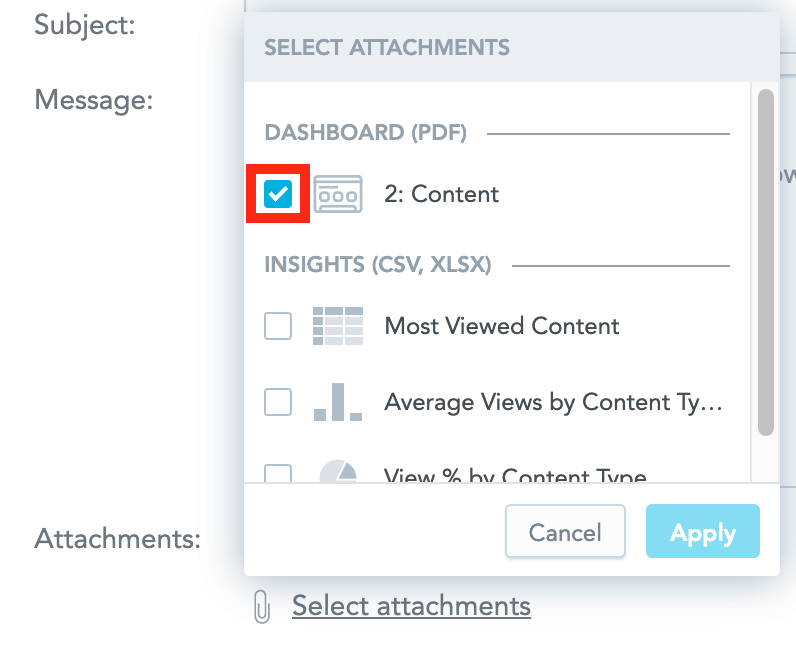
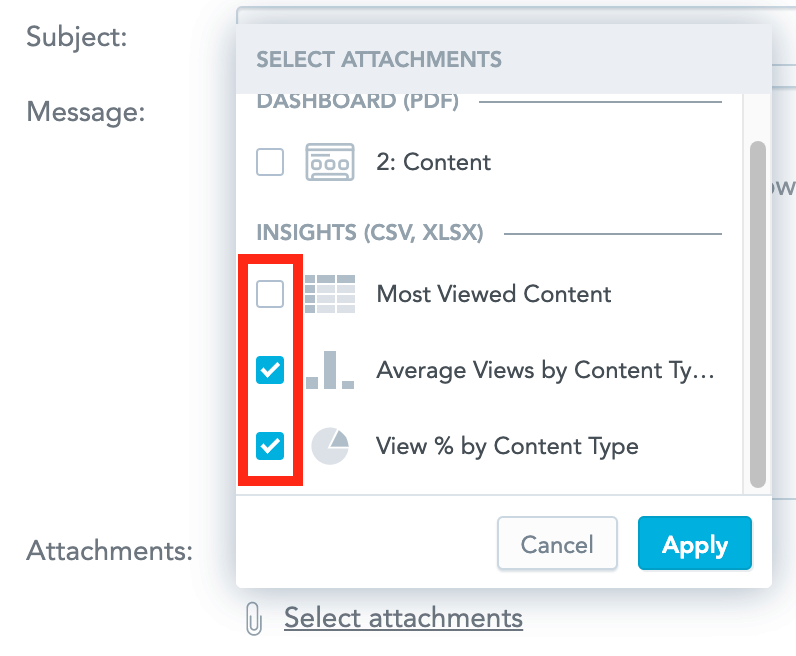
In the Attachments section, select the insights from the dashboard you would like to attach to the email.
You can:
-
Include a PDF of the entire dashboard, including all the metrics within it (This is selected by default):
-
Select one or more specific insights from the selected dashboard, by selecting the corresponding checkboxes next to each insight:
-
-
In the First occurrence section, select the date and time the first email will be sent. Once this has been saved, the email will be sent on a regular basis until the scheduled email is deleted.

-
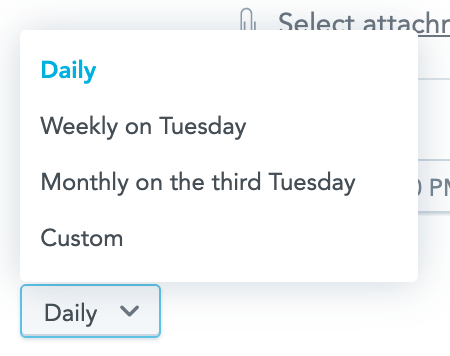
In the Repeats section, select how often this email will be sent to recipients. Scheduled emails can be sent on a daily, weekly or monthly basis, as well as at a custom interval.
-
Click Schedule.
The recipients receive the email at the specified date and time, and can download the PDF from the email.
Deleting a scheduled email
To stop a scheduled email from being sent, you must delete it.
To delete a scheduled email from the KPI dashboard of Universal Analytics:
-
In Universal Analytics, click KPIs.
The KPI dashboard appears.
-
On the left-hand side, click on the appropriate dashboard.
-
In the top-right corner, click the ellipsis (…).
-
From the menu, click Schedule emailing.
-
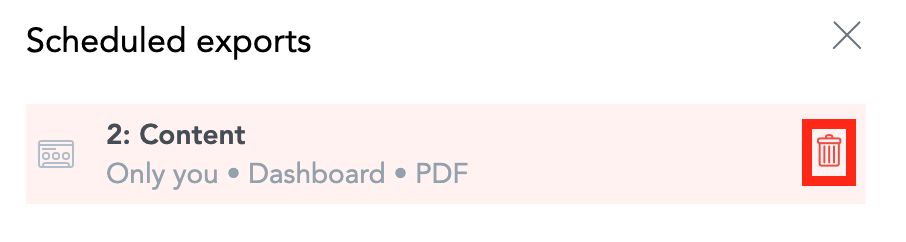
The Scheduled exports popup appears, containing a list of existing scheduled emails.
-
Hover over the scheduled email and click the Delete icon.
-
In the Delete schedule? popup, click Delete.

The scheduled email is deleted from the list.