Global community
The global community is created when a new Fuse instance is set up. By default, all Fuse users are members of this community, and any new users created after the instance has been set up will become members automatically. The global community is an easy way to instantly share content with every user in Fuse.
The global community is listed on the Communities screen along with other communities you are a member of.
Viewing the global community
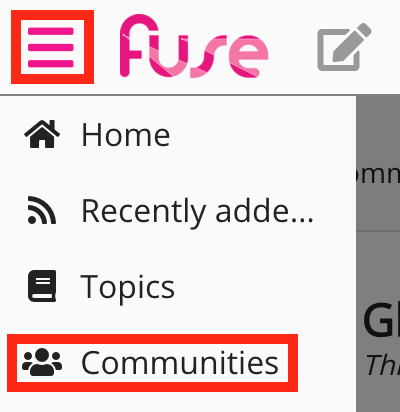
Expand the sidebar and click Communities.
A list of communities appears.
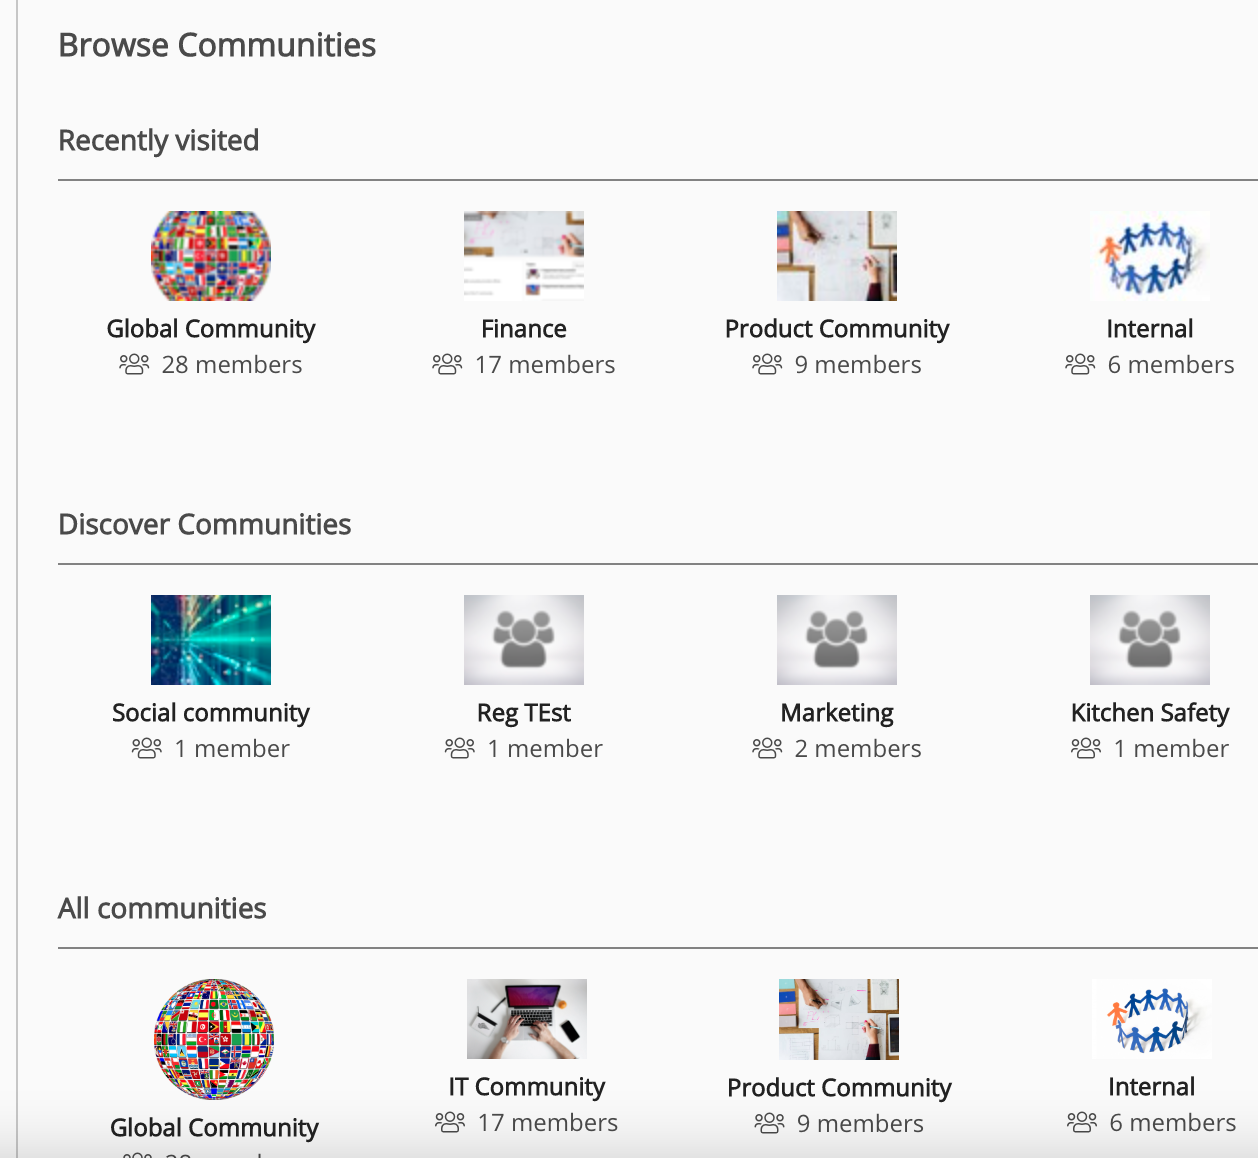
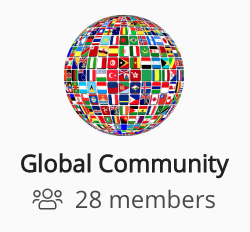
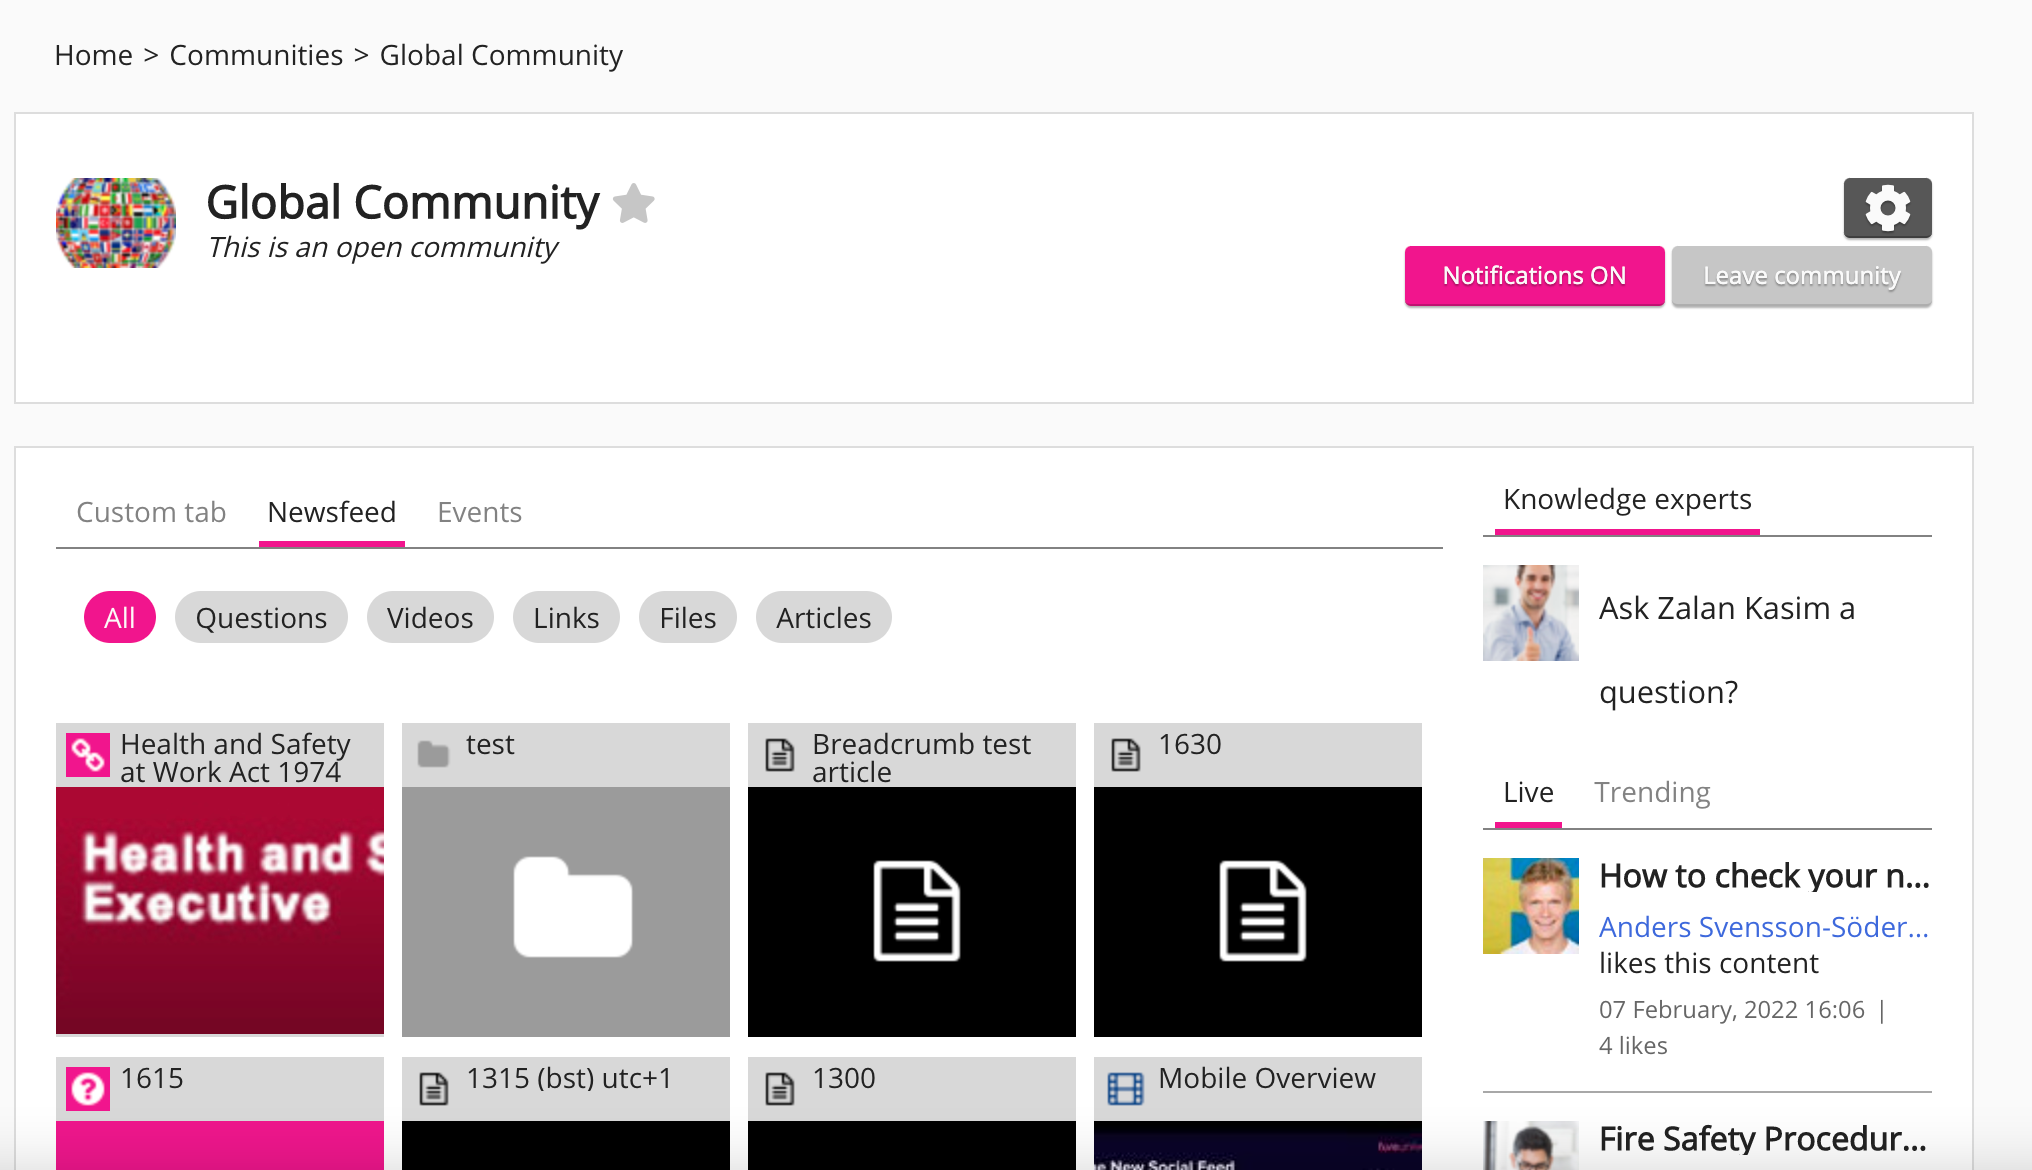
Click Global Community.
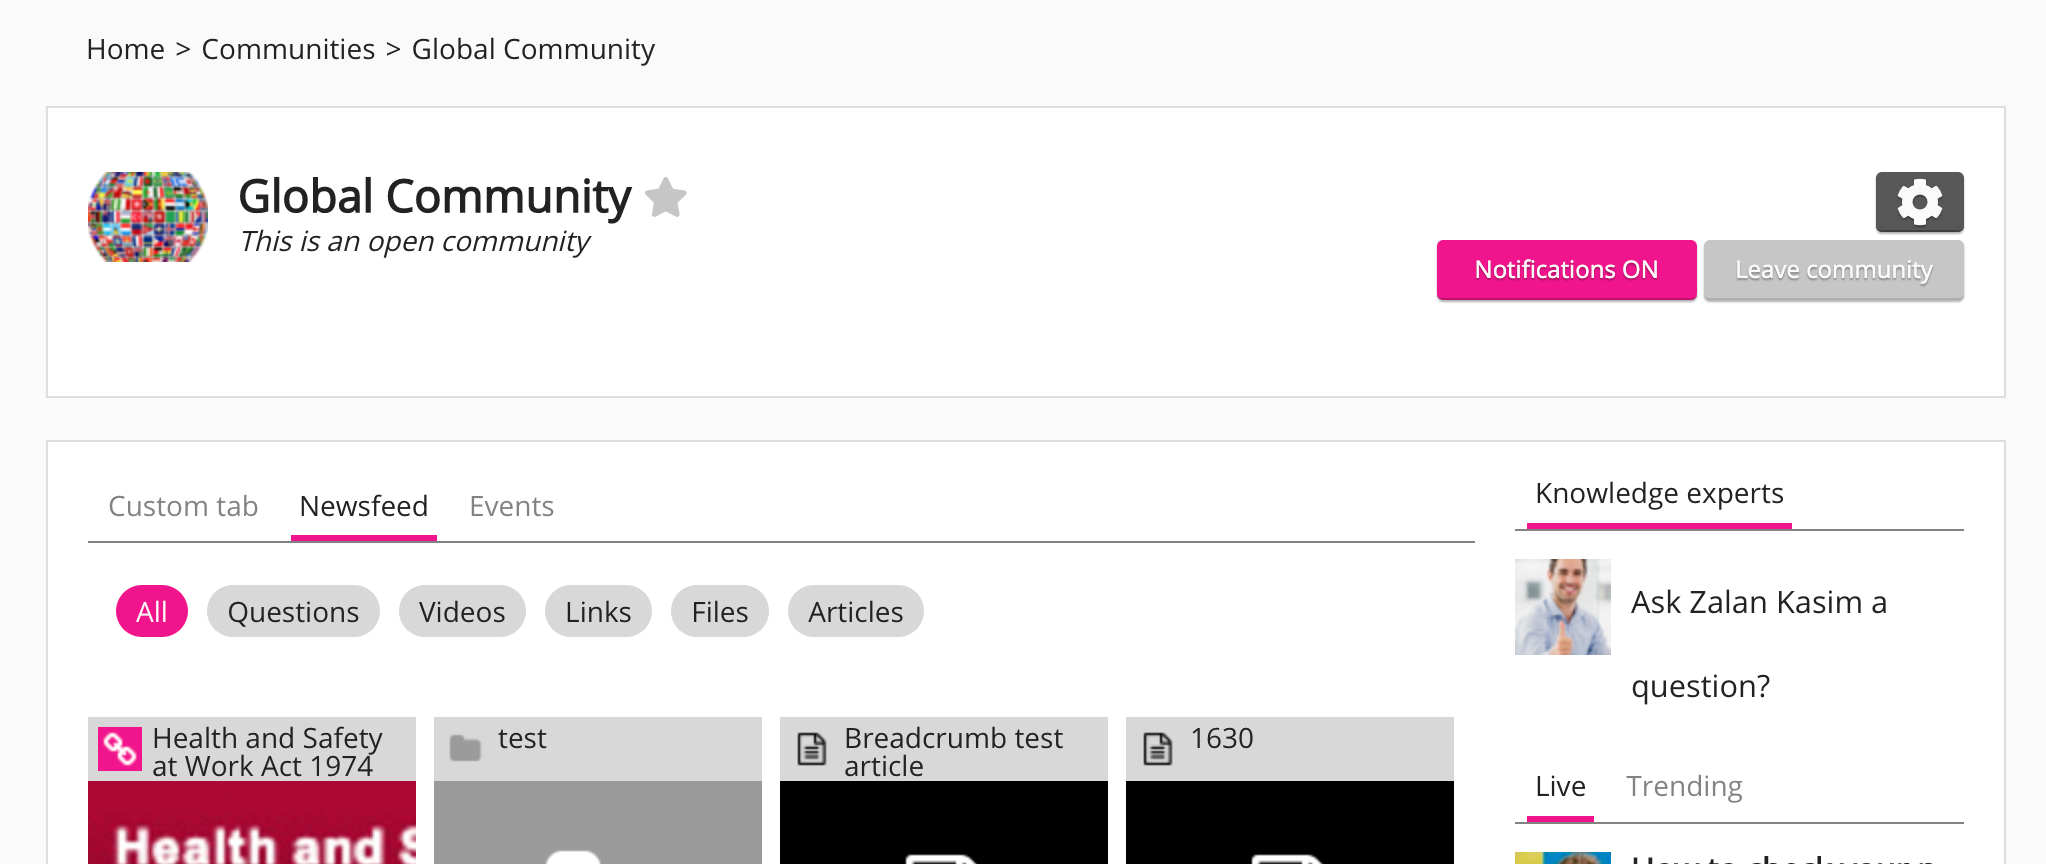
The community homepage appears.
Hiding the global community
The global community is useful if you have a large organisation with a single user group and an open taxonomy. However, if users in your organisation are segmented into lots of different groups,
it may be better to use audiences to map them to different communities and hide the global community.
It is possible to:
Hide the global community from Fuse so that it is no longer available to users
Hide the global community from the Leaderboard
Hide the global community from upload pages, as well as the share and community lists across Fuse
To hide the global community, contact your Customer Success Consultant (CSC).
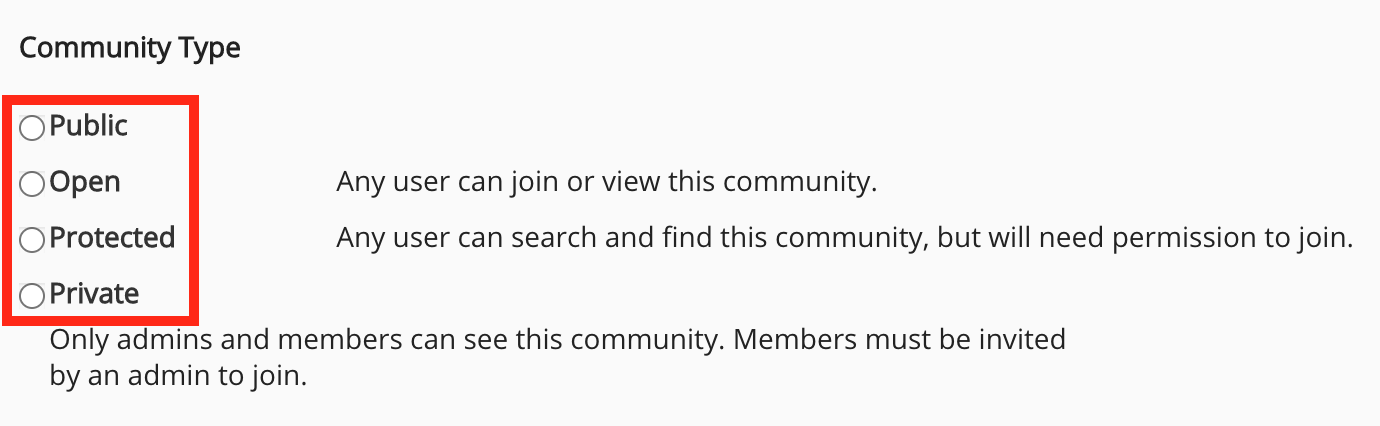
Community type
The global community is unique when compared to other communities in Fuse, as it does not have a community type selected in the Community admin screen, such as Open, Protected, Private or Public. You cannot change the community type for the global community.
Customising the layout of the global community
If you are a site admin, you can edit the layout of the global community in Design Studio using widgets.
Details such as the community name, description, thumbnail, learning plans, events, and membership can be altered in the Community admin screen.
By default the classic layout applies to the global community, as shown below:
To customise the layout of the global community:
Expand the sidebar and click Admin.
The Admin Panel appears.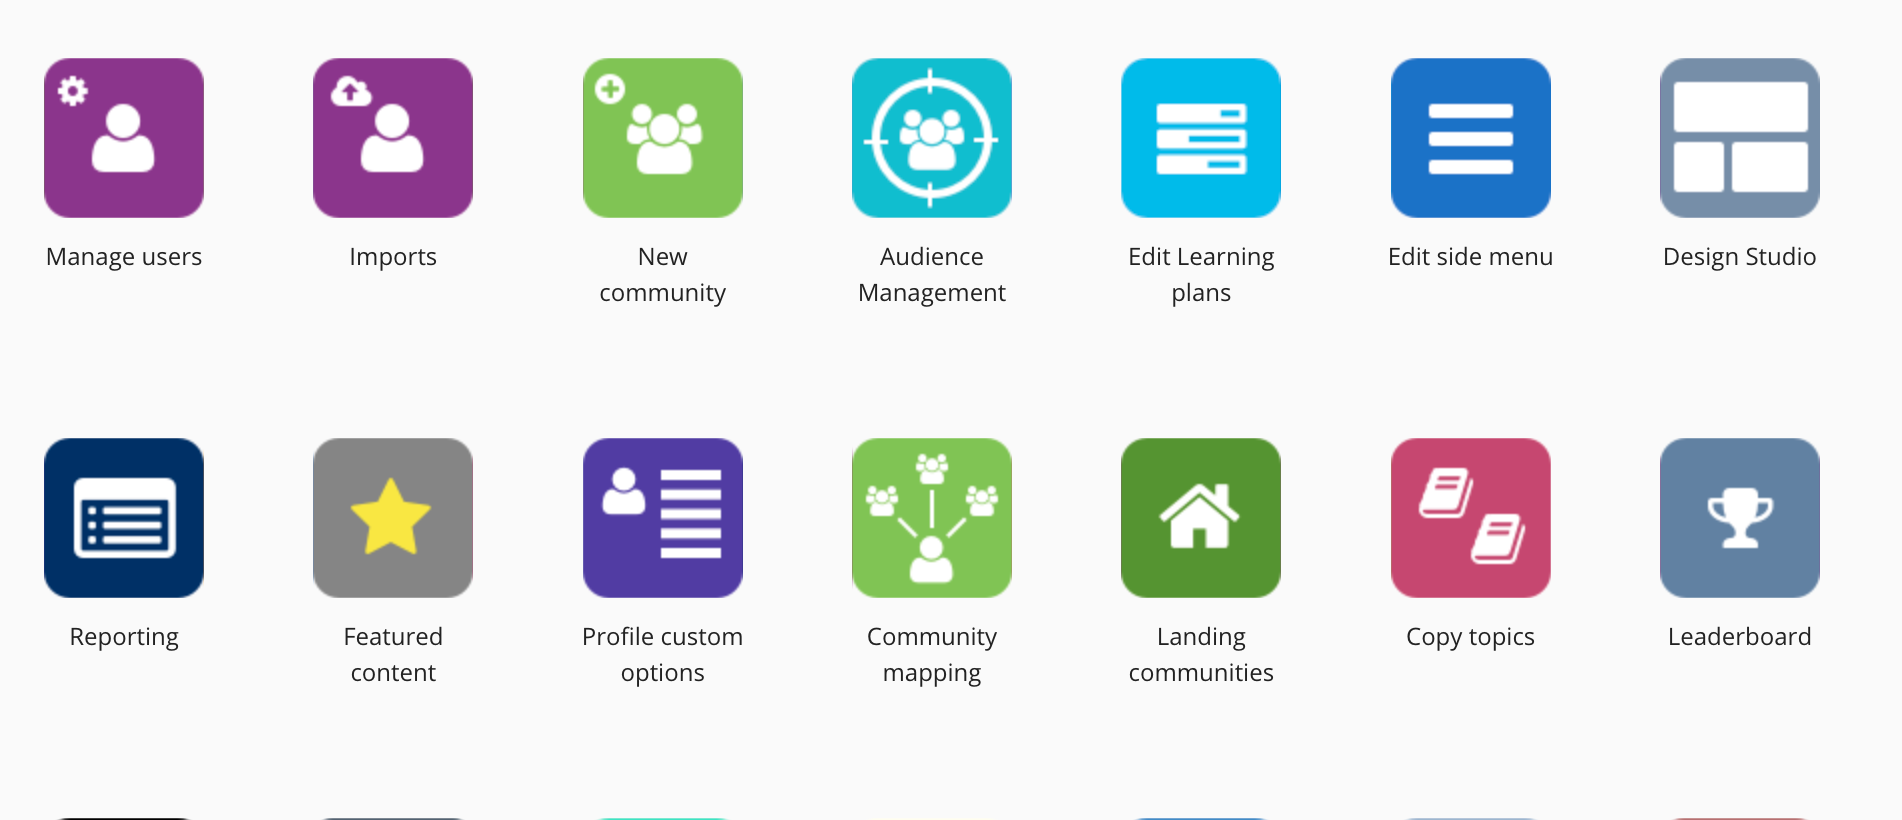
Click Design Studio.
Click the Community specific tab.

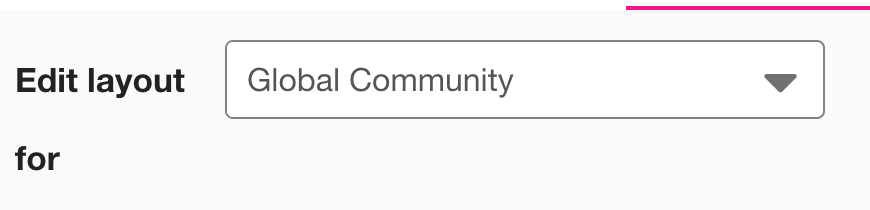
From the Edit layout dropdown, select Global Community.
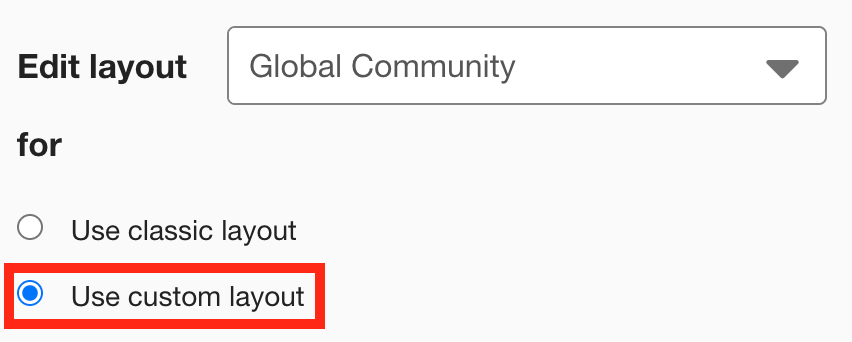
Select Use custom layout.
Drag widgets onto the layout grid and adjust their size and positions as required.
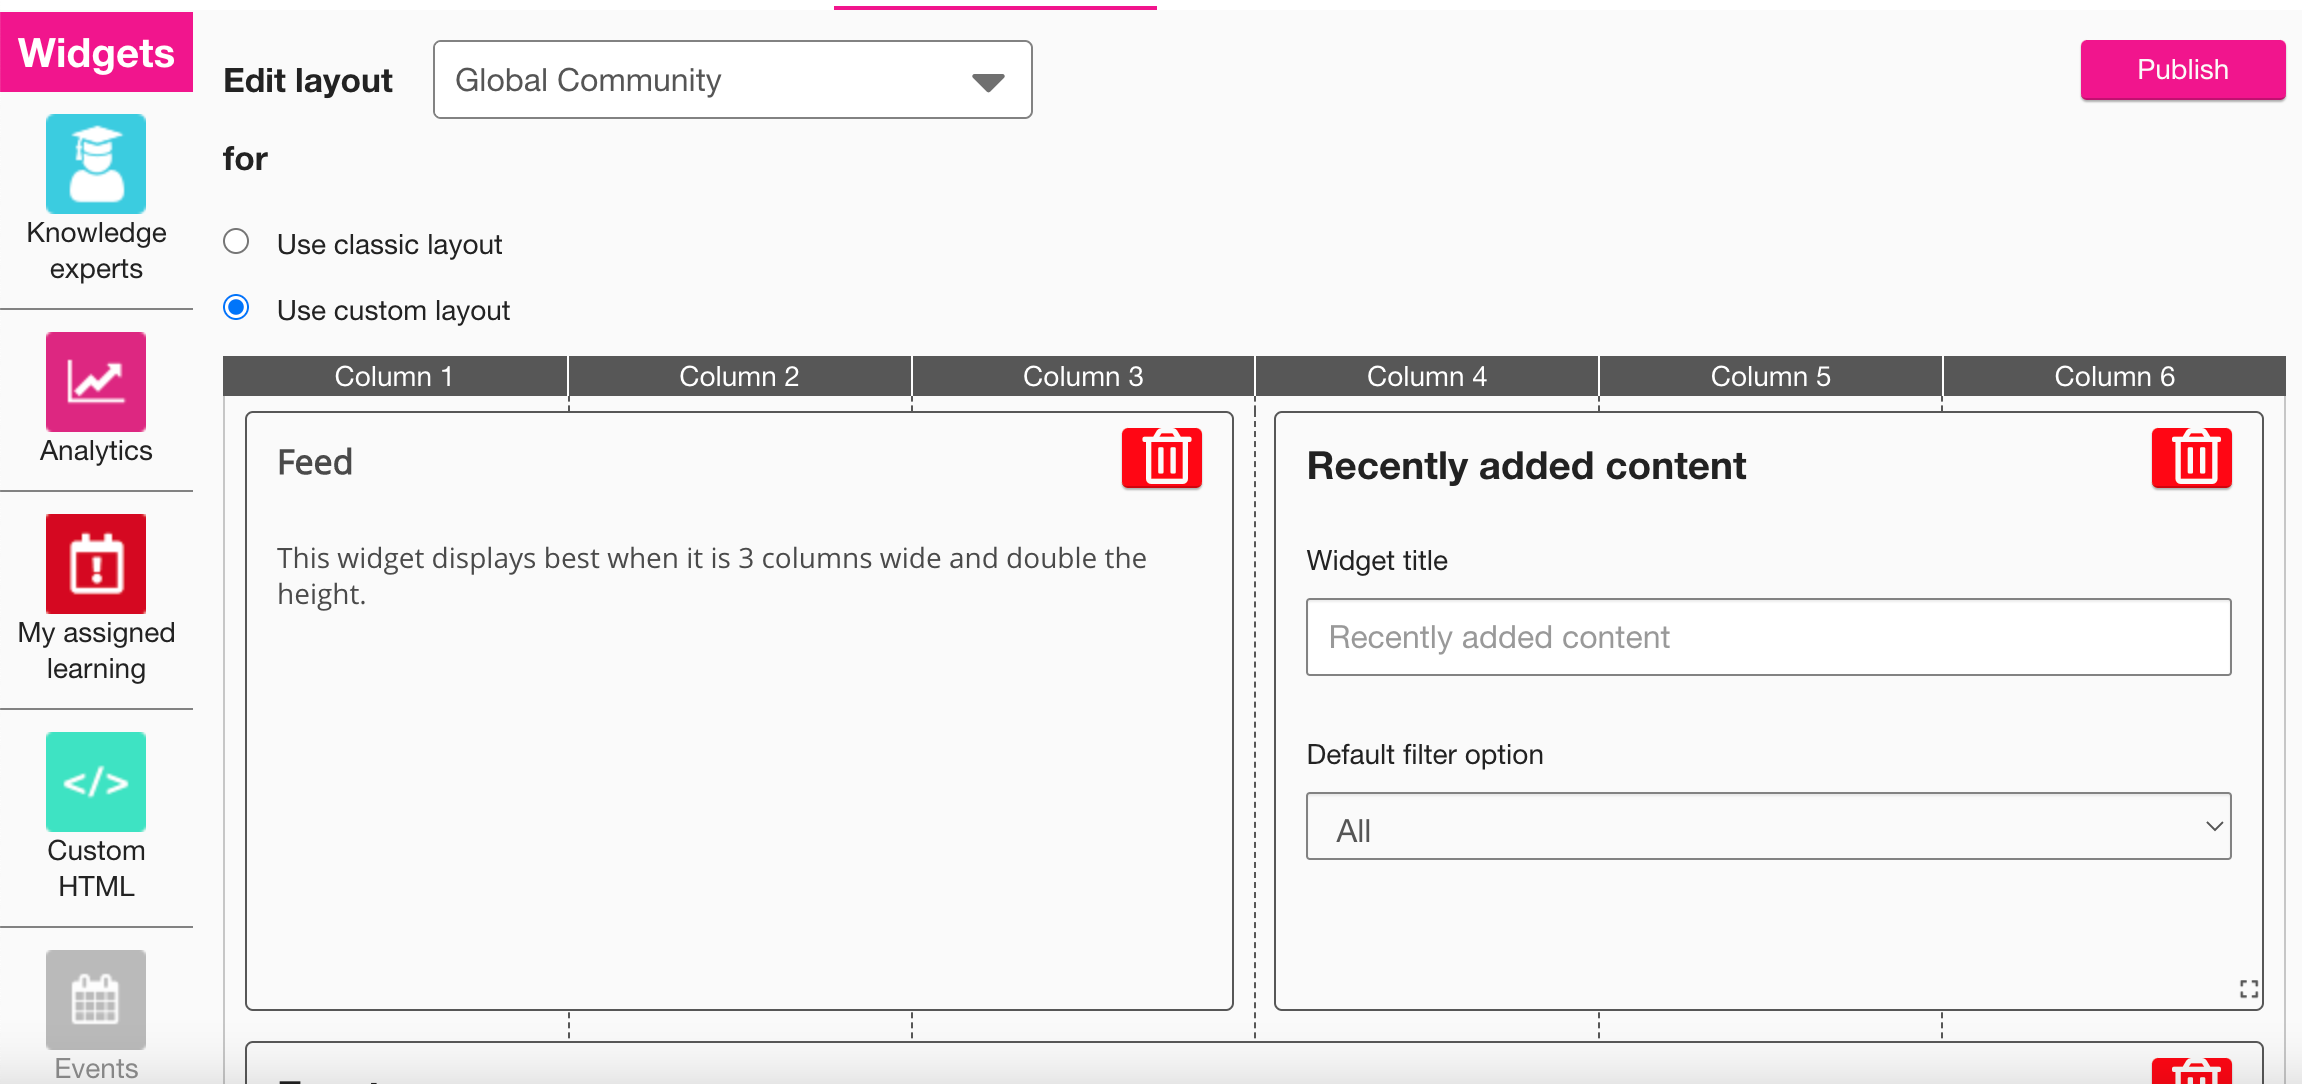
When you have finished customising the layout, click Publish.